Manuals
/
Airlink101
/
Computer Equipment
/
Network Card
Airlink101
AWLL6090 user manual Click Next at the welcome screen
Models:
AWLL6090
1
6
40
40
Download
40 pages
5.03 Kb
3
4
5
6
7
8
9
10
<
>
Install
Warranty
Configuring the Adapter
Wireless 300N USB Adapter
Wi-Fi Protected Setup WPS
Click Next to accept the default destination folder
Profile Settings
Page 6
Image 6
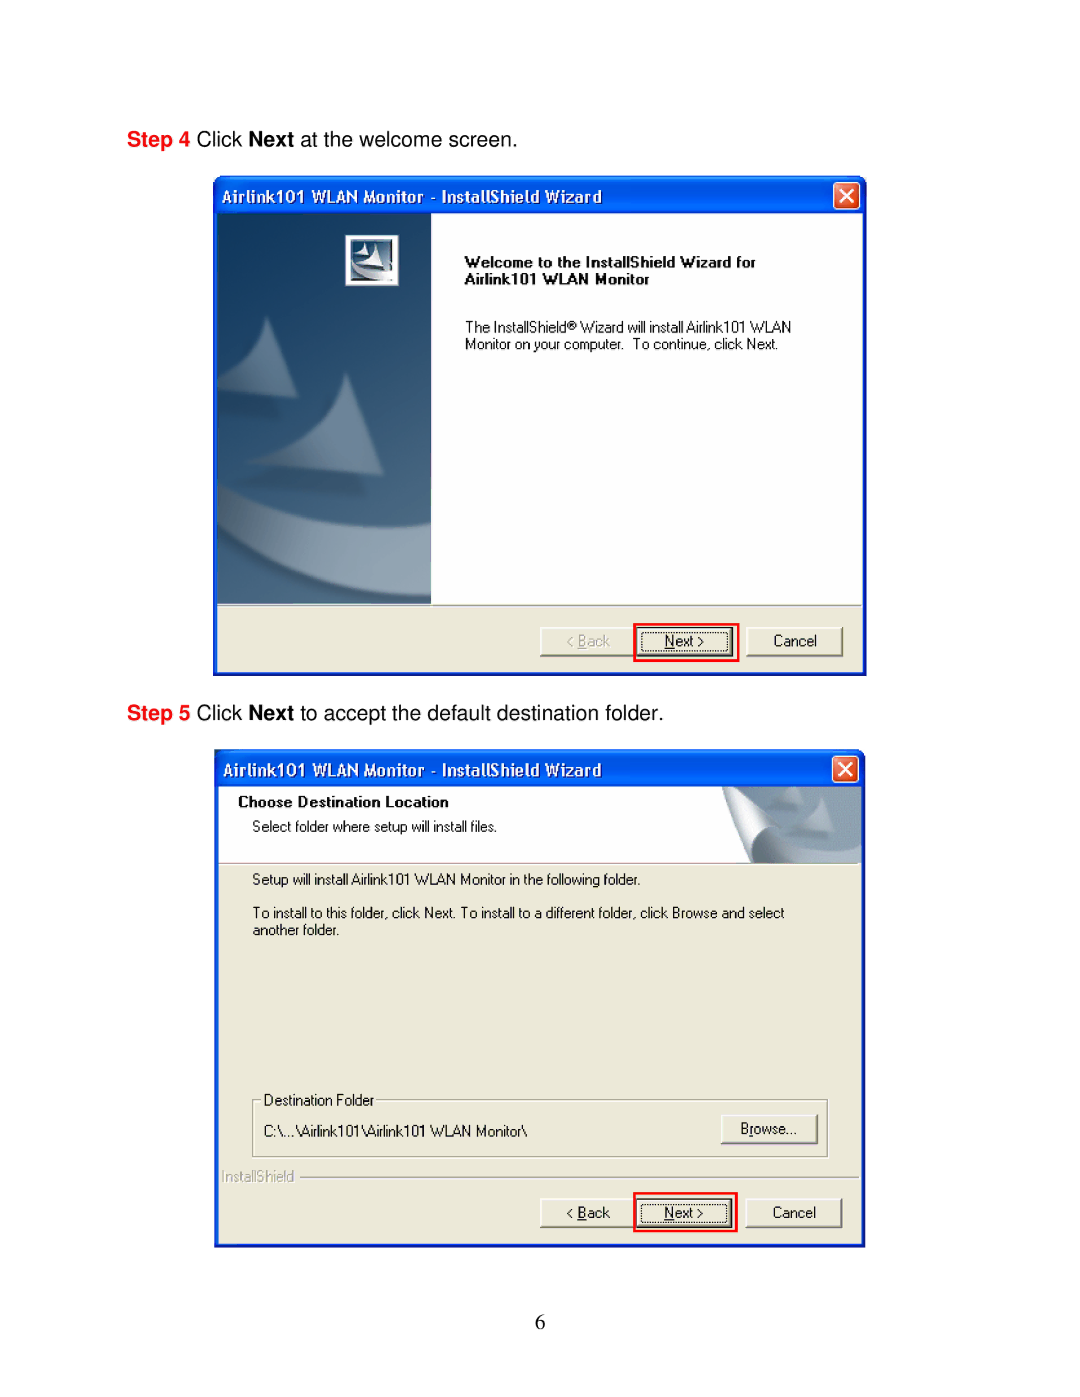
Step 4
Click
Next
at the welcome screen.
Step 5
Click
Next
to accept the default destination folder.
6
Page 5
Page 7
Page 6
Image 6
Page 5
Page 7
Contents
Wireless 300N USB Adapter
User’s Manual
Model # AWLL6090
Table of Contents
1.1 Package Contents
1.2 Features
1. Introduction
2. Installation
Page
Step 5 Click Next to accept the default destination folder
Step 4 Click Next at the welcome screen
Page
Page
Step 9 Select Install the software automatically and click Next
Step 10 Click Continue Anyway at the Windows Logo Screen
For Windows 2000, click Yes at the Digital Signature Not Found prompt
Step 11 Click Finish
3. Configuring the Adapter
Note to Windows XP Users
Page
Page
Page
Page
Page
4. Wireless Monitor
4.1 Wireless Information
4.2 AP List
4.3 Profile Settings
Page
4.4 Configuring Encryption
Click on Profile Settings then New
These three are meant for the home user None No encryption in use
WEP The most popular but least secure form of encryption
WPA/WPA2-PSK The most secure and recommended level of encryption
Configuring WEP encryption
Select WEP from the Set Security Option box
Configuring WPA/WPA2-PSK Encryption for home users
Select WPA/WPA2-PSK from the Set Security Option box
Enter the encryption key into the KEY box
Configuring WPA/WPA2 Encryption for corporate networks
Select WPA/WPA2 from the Set Security Option box
Configuring 802.1x authentication for corporate networks
Select 802.1x from the Set Security Option box
Click on Advanced Config to enter your authentication settings
4.5 Ad-hoc and Peer-to-Peer Wireless Networks
Open the Wireless Monitor
Once that is done, click on the AP List
4.6 Wi-Fi Protected Setup WPS
Page
Page
Step 4d Click Continue on the router configuration screen
Step 4c Enter the Pin Code in the Pin Number box and click Connect
Step 5 Click Finish on the WPS Connection screen
4.7 About
Temperature
Appendix A - Features
Dimensions
Transmitted Power
Appendix B - Information
Federal Communication Commission Interference Statement
IMPORTANT NOTE FCC Radiation Exposure Statement
Industry Canada Statement
IMPORTANT NOTE IC Radiation Exposure Statement
Technical Support
Toll Free
E-mail support@airlink101.com