TO ASSEMBLE BASE

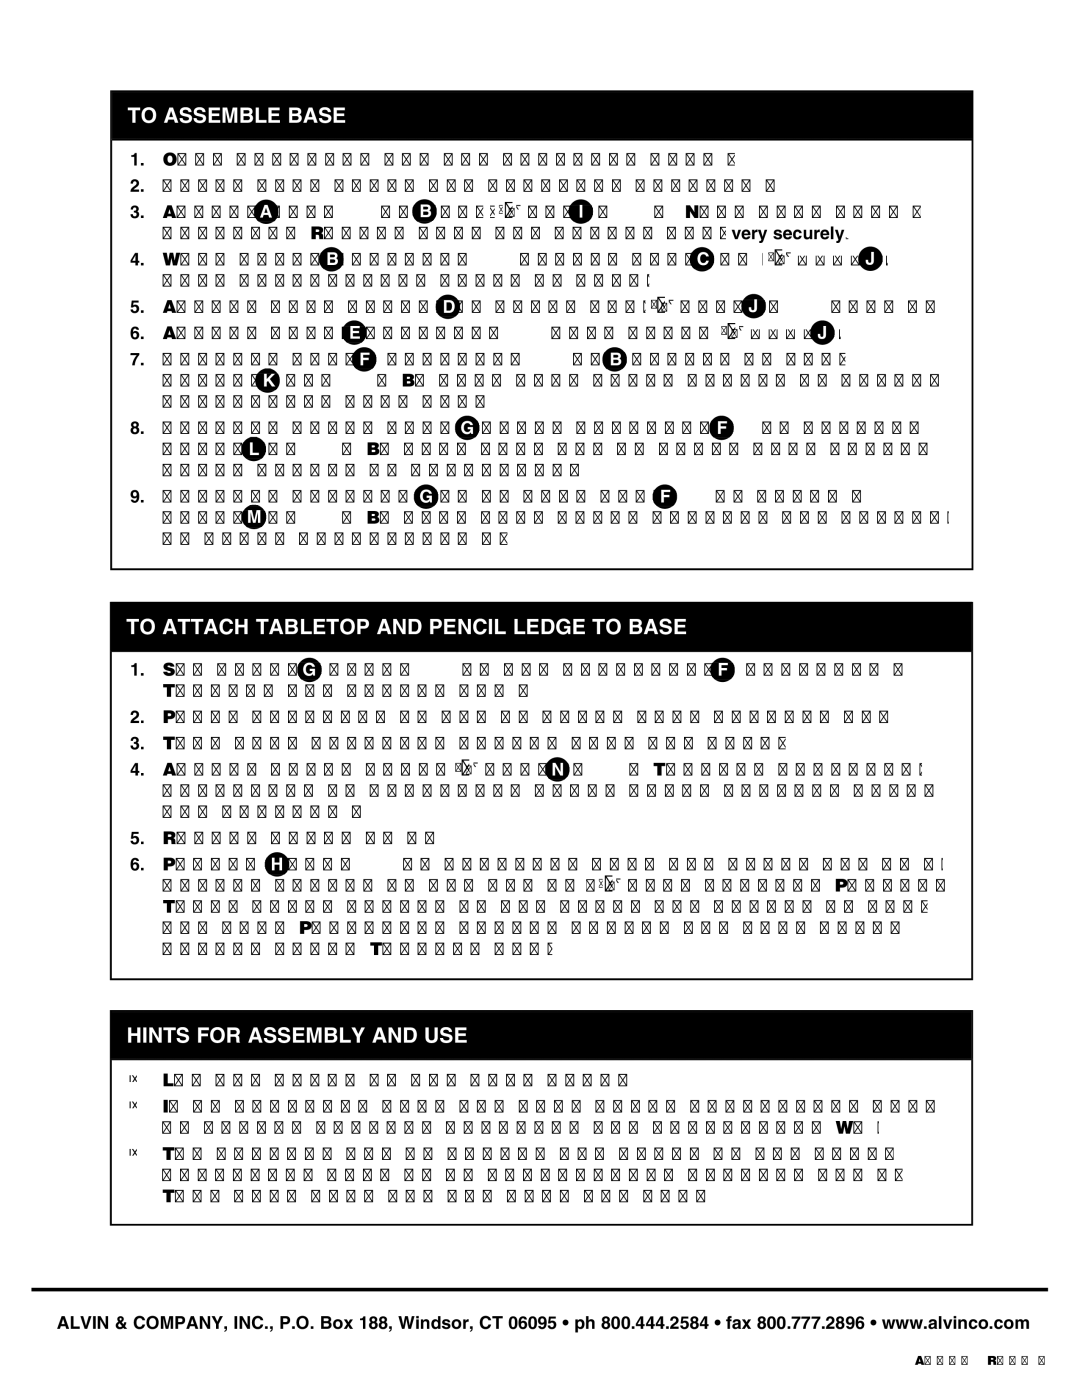
1.Open hardware bag and separate into like parts for ease of identification.

2.Check wood parts and hardware against parts listing to ensure all are included.

3.

Attach foot A to lower upright B using 1 bolts I . Note that nuts are pre-inserted in lower


upright. Repeat step for second foot. Be sure that all bolts are tightened very securely

4.

With lower uprights B facing inward, attach both lower crossbars C using 3screws J .


into pre-drilled holes in feet. Be sure to use the 28" crossbars.


5.

Attach both diagonal cross braces D to lower uprights using 3screws

J into pre-drilled holes.

6.

Attach upper crossbar E into pre-drilled holes in lower uprights using 3

screws J .

7.Connect upper uprights F to outside of lower uprights B using two adjustment knob assemblies K . Be sure that nylon washer is positioned between wood and brass washer to avoid scratching wood during height adjustment.

8.Connect metal board cleat assembly G to outside of upper uprights F using angle adjustment hardware L . Be sure that end of cleat with tilt-arm connection is facing front of the table and that nylon washer is positioned between cleat and upright.

9.Connect slotted end of tilt arms G to holes in upper uprights F using tilt-arm assembly

hardware M . Be sure that nylon washers are positioned between brass tilt arms and wood uprights to avoid scratching wood during adjustment.

TO ATTACH TABLETOP AND PENCIL LEDGE TO BASE

1.Set board cleats G in the horizontal position and set upper uprights F in the lowest position. Tighten all height and tilt adjustment hardware.

2Place tabletop on rug or other soft surface with the side you have chosen to use facing down.

3Turn base assembly upside down and carefully center board cleats on tabletop.

4Attach board cleats to tabletop using 5screws N . Tighten securely. You may find it easiest to pre-punch or pre-drill holes after marking their positions. If you pre-drill, be careful not to drill all the way through the tabletop.

5Return table to the upright position.

6Pencil ledge H is included with the table but is optional to use. To attach to front edge of tabletop,

locate center of top and mark placement of two holes 5 from center. Pre-punch or pre-drill holes. These holes should be 11" apart and should be centered between the top and bottom surfaces of the top. Partially insert screws and then slide pencil ledge into position with slots in pencil ledge facing down. Tighten screws until ledge is secure.

HINTS FOR ASSEMBLY AND USE

Lay the table on its back before making height adjustments.

It is critical that the five bolts connecting each foot piece to the uprights are kept securely tightened to ensure lasting strength and stability. We recommend that you retighten these seasonally.

The easiest way to “seat” the heads of the bolts into the wood for the assemblies that include butterfly nuts is to temporarily replace the butterfly nut with one of the black adjustment knobs. This will give you the grip you need to pull the bolt head into the wood.

ALVIN & COMPANY, INC., P.O. Box 188, Windsor, CT 06095 • ph 800.444.2584 • fax 800.777.2896 • www.alvinco.com

A6222 Rev. June 2006

Page 2
Image 2
Alvin Pavillon Pedestal manual To Assemble Base, To Attach Tabletop and Pencil Ledge to Base, Hints for Assembly and USE

Pavillon Pedestal specifications

The Alvin Pavillon Pedestal stands as a remarkable blend of modern design and functional utility, shaping the landscape of contemporary furniture. This pedestal is not just an aesthetic addition to any space, but also embodies practicality, making it perfect for various environments such as offices, living areas, or showrooms.

One of the main features of the Alvin Pavillon Pedestal is its sleek, minimalist design. Crafted with clean lines and a polished finish, it enhances the visual appeal of its surroundings while remaining unobtrusive. Available in a range of colors and materials, including wood, metal, and composites, the Pavillon Pedestal can seamlessly integrate into any decor style, from rustic to ultra-modern.

In terms of technology, the Pavillon Pedestal is designed with durability and longevity in mind. It employs advanced manufacturing techniques that ensure resilience against wear and tear. The high-quality materials used in its construction provide not only aesthetic value but also guarantee stability and strength, making it suitable for holding various types of displays, artworks, or even everyday items.

Another distinguishing characteristic of the Alvin Pavillon Pedestal is its versatility. With a height that can accommodate a variety of uses, it serves as an excellent platform for plants, vases, or decorative items. It can also be used in a professional setting, such as standing desks, display areas for products, or even as an auxiliary table during meetings.

The base is engineered to provide excellent stability, minimizing the risk of tipping or wobbling, even with heavier items placed on it. This safety feature is essential for environments where the pedestal might see active use, offering peace of mind to users.

In summary, the Alvin Pavillon Pedestal combines aesthetic grace, superior craftsmanship, and outstanding versatility. Its modern design, durable construction, and multifunctional use make it an ideal addition for anyone seeking to enhance their space with a piece of furniture that is as functional as it is beautiful. Whether for home, office, or retail use, the Pavillon Pedestal stands out as a leader in contemporary furniture design.