Rear Panel - Functions and Controls Cont
29.PHONO / AUX SELECTOR SWITCH - This switch is used to change the mode of PHONO/AUX INPUT JACKS (28). When using a turntable select PHONO, and when using other input devices select AUX. The PHONO /AUX SELECTOR SWITCH gives the DJ the possibilities of 4 inputs lines (ie. 4 lines CD, tape etc.; or 2 lines CD, tape etc. and 2 phono lines).
30.CHANNEL 2/LINE 2 RCA INPUT JACKS - Connect CD players or Tape Decks to LINE inputs. Line level musical instruments with stereo outputs such as Rhythm Machines or Samplers should also be connected to LINE inputs. Turntables should only be connected to "Phono" inputs. The red colored RCA jack represents the right channel input and the white represents the left channel input.
31.CHANNEL 2/PHONO 2/AUX 2 INPUT JACKS - The type of input must directly reflect the selected mode of the Aux/Phono Selector Switch (29). Connect turntables equipped with MM pickup cartridge to PHONO inputs. CD players or Tape Decks should be connected to AUX LINE input. Line level musical instruments with stereo outputs such as Rhythm Machines or Samplers should also be connected to AUX LINE inputs. The red colored RCA jack represents the right channel input and the white represents the left channel input.
32.GND (GROUND TERMINALS) - Connect each of your turntable ground leads to one of these terminals. Each turntable uses one ground terminal. This will reduce the humming and popping noises associated with magnetic phono cartridges.
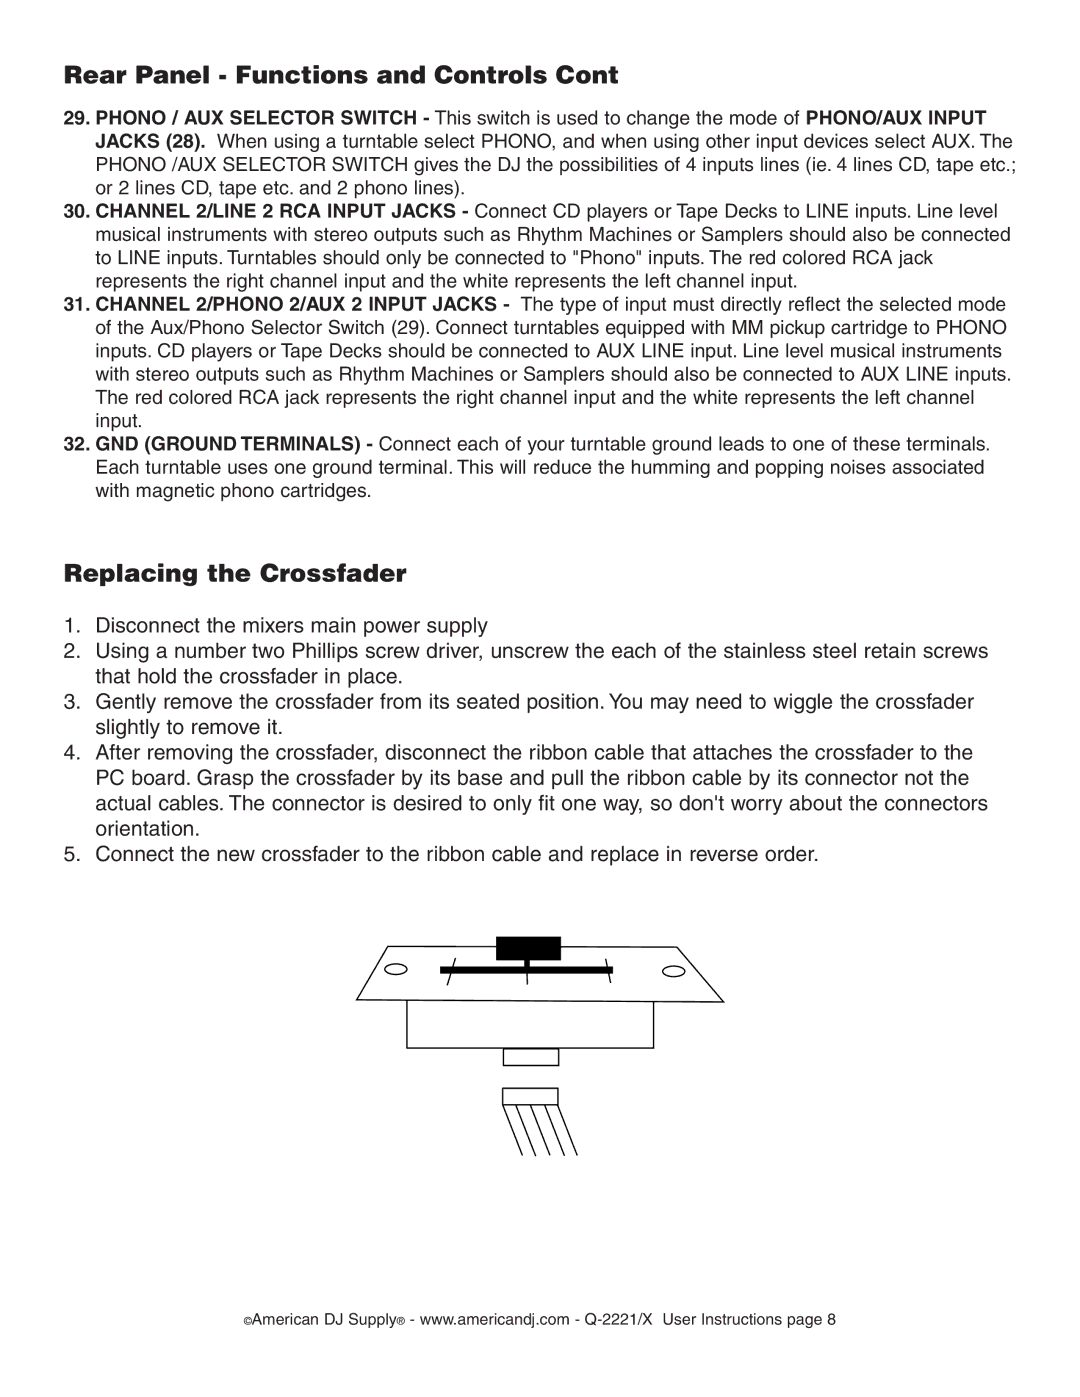
Replacing the Crossfader
1.Disconnect the mixers main power supply
2.Using a number two Phillips screw driver, unscrew the each of the stainless steel retain screws that hold the crossfader in place.
3.Gently remove the crossfader from its seated position. You may need to wiggle the crossfader slightly to remove it.
4.After removing the crossfader, disconnect the ribbon cable that attaches the crossfader to the PC board. Grasp the crossfader by its base and pull the ribbon cable by its connector not the actual cables. The connector is desired to only fit one way, so don't worry about the connectors orientation.
5.Connect the new crossfader to the ribbon cable and replace in reverse order.
©American DJ Supply® - www.americandj.com -
