


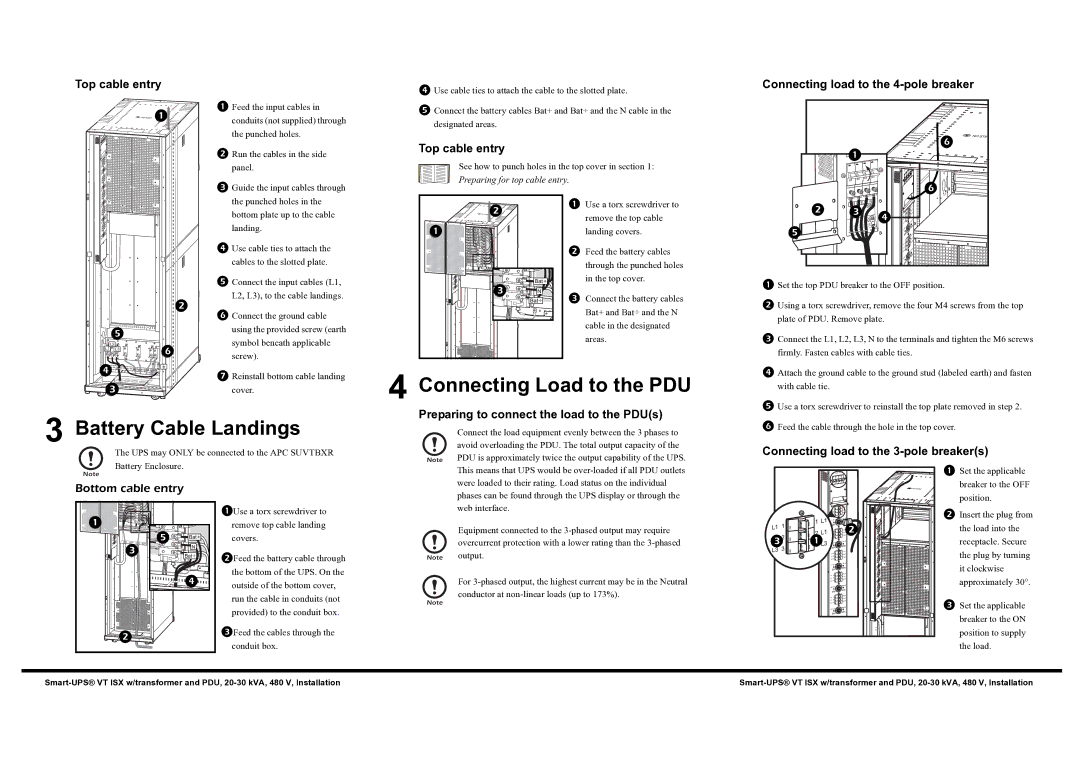
20-30 kVA 480V specifications
American Power Conversion (APC) is a leading global provider of power protection and management solutions. Among its extensive portfolio, the 20-30 kVA 480V series stands out as a robust choice for businesses seeking reliable power backup and management systems. This three-phase UPS (Uninterruptible Power Supply) is engineered to deliver high-quality power, ensuring that critical systems and equipment remain operational during unexpected outages.One of the main features of the APC 20-30 kVA model is its high efficiency. Utilizing advanced technologies, these UPS systems can operate at an impressive efficiency rate, minimizing energy consumption and operational costs. With scalable solutions, they are designed to support a range of applications, from IT and data centers to industrial operations and commercial facilities.
The technology embedded in these units includes intelligent battery management systems that extend battery life and ensure timely replacement. The dual conversion mode provides stable and clean power by using a double conversion architecture, which isolates connected equipment from utility power issues such as surges, sags, and outages. This is particularly crucial for sensitive electronic equipment that requires consistent power quality to function optimally.
Another hallmark of the APC 20-30 kVA series is its modular design. This feature allows for easy upgrades and maintenance, enabling users to adapt the system to their evolving power needs without significant downtime. The hot-swappable batteries, coupled with a user-friendly interface, streamline maintenance processes and enhance system reliability.
Moreover, these UPS systems come equipped with advanced monitoring and management software that offers real-time data on power usage and system health. This capability helps organizations gain insights into their energy consumption patterns, allowing for better planning and optimization of resources.
Additional characteristics such as a compact footprint, low noise operation, and robust thermal management make the APC 20-30 kVA series an attractive choice for a variety of environments. These units are also built to withstand harsh conditions, ensuring long-lasting performance.
In conclusion, the American Power Conversion 20-30 kVA 480V UPS systems offer a powerful combination of efficiency, advanced technology, and reliability. As businesses increasingly rely on constant uptime and clean power, APC's solutions provide a secure foundation for uninterrupted operations. Whether managing IT infrastructures or industrial processes, the APC 20-30 kVA UPS series is positioned as a vital asset in power management.