701022, 705, U273-1373(01) specifications
The American Water Heater 705,701022,U273-1373(01) is a cutting-edge solution designed to provide reliable and efficient hot water for residential and commercial use. This model embodies innovation, combining modern technology with user-friendly features to enhance the overall user experience.One of the standout characteristics of this water heater is its energy-efficient operation. The American Water Heater Company has incorporated advanced insulation materials and design techniques to minimize heat loss, ensuring that energy consumption is kept to a minimum. This not only leads to lower utility bills but also contributes to environmental sustainability, making it an ideal choice for eco-conscious consumers.
The 705,701022,U273-1373(01) features a powerful heating element that guarantees quick recovery rates. This ensures that users have access to ample hot water even during peak demands. The unit is designed to deliver consistent water temperatures, providing reliability for various applications, from daily showers to washing dishes and laundry.
In terms of safety, this model comes equipped with multiple safety features, including automatic shutoff valves and temperature regulators. These mechanisms protect against overheating and ensure that the water heater operates within safe temperature ranges, giving users peace of mind. Additionally, the unit is equipped with a durable tank, constructed from high-quality materials that resist corrosion and prolong lifespan, reducing the need for frequent replacements.
The American Water Heater 705,701022,U273-1373(01) is also designed for ease of installation and maintenance. Its compact size allows for flexible placement within homes or commercial settings. The straightforward design simplifies servicing, allowing homeowners or technicians to perform maintenance tasks with minimal hassle.
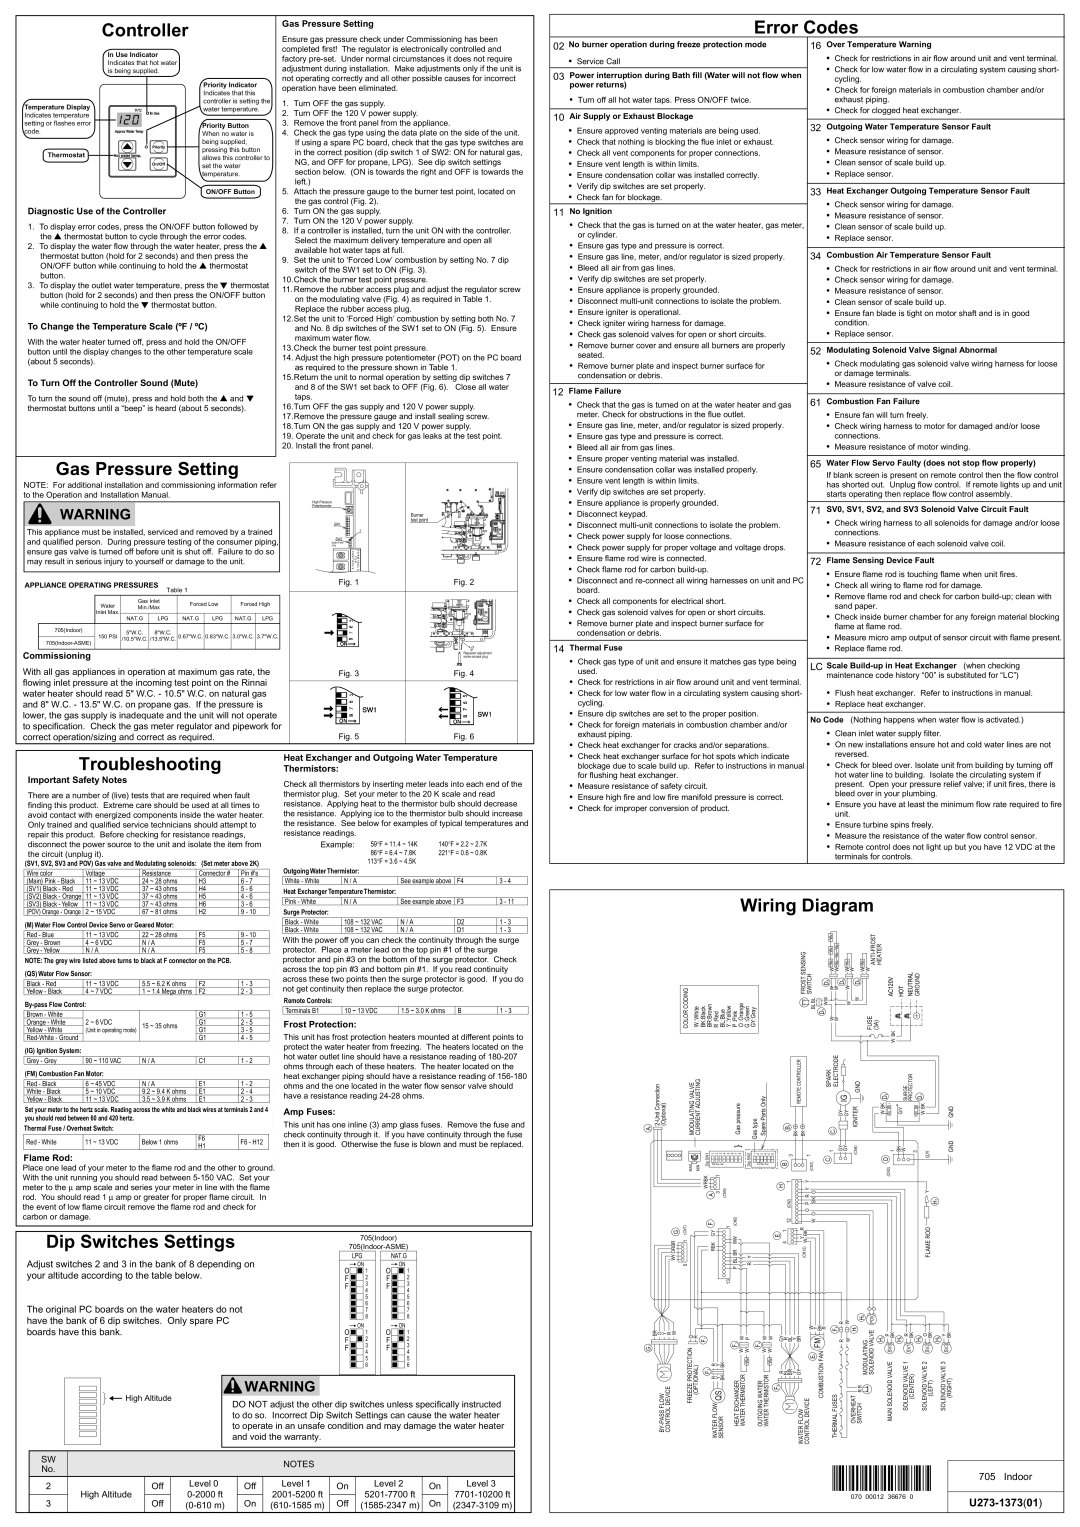
Another notable feature is its user-friendly interface. Many models include intuitive controls that allow users to set the desired water temperature with precision. This digital display provides clear feedback, ensuring better control over hot water settings.
Overall, the American Water Heater 705,701022,U273-1373(01) exemplifies modern water heating technology. Its energy efficiency, safety features, durability, and ease of use make it an excellent investment for anyone seeking reliable hot water solutions. Whether for household use or commercial applications, this model stands out in a crowded market, meeting the demands of today's consumers.