INSTALLATION:
1.Install the HCG-620 PSU into either the top or bottom of your case with the four screws provided. Refer to your case manual if you are unsure where the power supply should be installed.
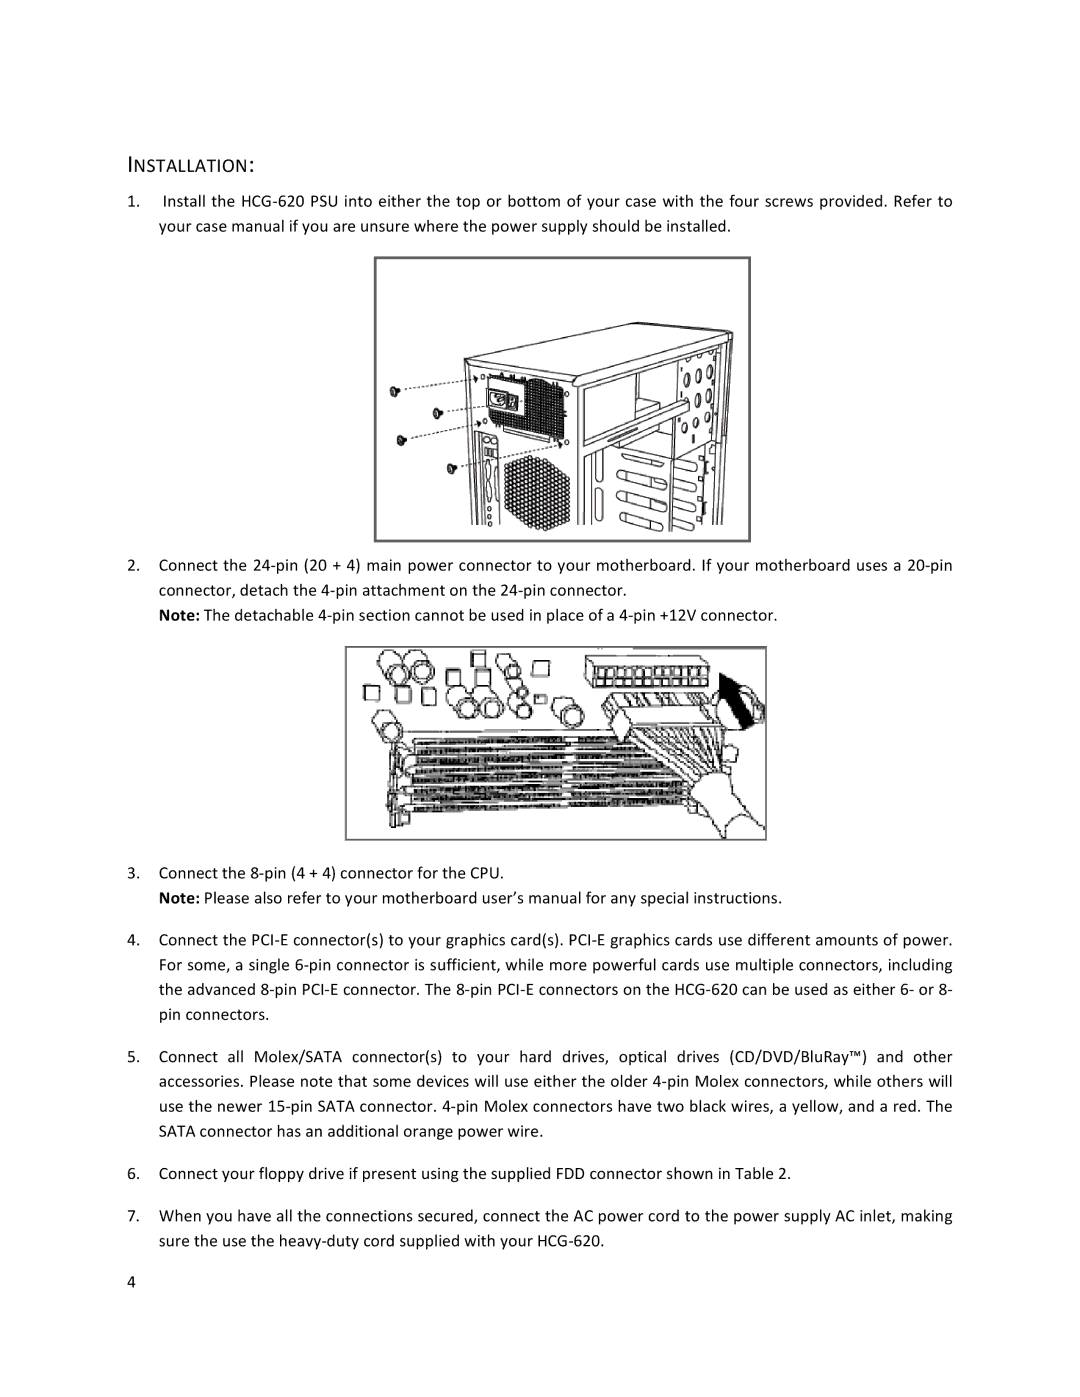
2.Connect the 24-pin (20 + 4) main power connector to your motherboard. If your motherboard uses a 20-pin connector, detach the 4-pin attachment on the 24-pin connector.
Note: The detachable 4-pin section cannot be used in place of a 4-pin +12V connector.
3.Connect the 8-pin (4 + 4) connector for the CPU.
Note: Please also refer to your motherboard user’s manual for any special instructions.
4.Connect the PCI-E connector(s) to your graphics card(s). PCI-E graphics cards use different amounts of power. For some, a single 6-pin connector is sufficient, while more powerful cards use multiple connectors, including the advanced 8-pin PCI-E connector. The 8-pin PCI-E connectors on the HCG-620 can be used as either 6- or 8- pin connectors.
5.Connect all Molex/SATA connector(s) to your hard drives, optical drives (CD/DVD/BluRay™) and other accessories. Please note that some devices will use either the older 4-pin Molex connectors, while others will use the newer 15-pin SATA connector. 4-pin Molex connectors have two black wires, a yellow, and a red. The SATA connector has an additional orange power wire.
6.Connect your floppy drive if present using the supplied FDD connector shown in Table 2.
7.When you have all the connections secured, connect the AC power cord to the power supply AC inlet, making sure the use the heavy-duty cord supplied with your HCG-620.
4