Parts list:
# | Quantity | Part Name | Description | |
|
|
|
| |
|
|
| includes | |
1 | Neo HE power supply | +12V connector for HE 380 & 430 or | ||
|
|
| 4+4 pin +12V connector for HE 500 & 550 | |
4 | 2 | 77 cm Molex connector w/cable | includes three Molex connectors | |
|
|
|
| |
5 | 1 | 14 cm Molex to Floppy connectors w/cable | includes one Molex and two floppy | |
connectors | ||||
| 1 | 60 cm PC I Express connector w/cable | Includes one PC I Express connector | |
| (Neo HE380 andNeo HE430 only) | |||
6 |
|
|
| |
2 | 60 cm PC I Express connector w/cable | Include one PC I Express connectors | ||
| ||||
| (Neo HE500 and Neo HE550 only) | |||
|
|
|
| |
7 | 2 | 73 cm Serial ATA connector w/cable | includes two Serial ATA connectors | |
|
|
|
|
Installation:
This power supply is
1.Disconnect the power cord from your old power supply.
2.Open your computer case. Follow the directions provided in your case manual.
3.Disconnect all power connectors from the motherboard and from the peripheral devices such as case fans, hard drives, optical drives, floppy drives, etc.
4.Remove the existing power supply from your computer case and replace it with your new Neo HE power supply.
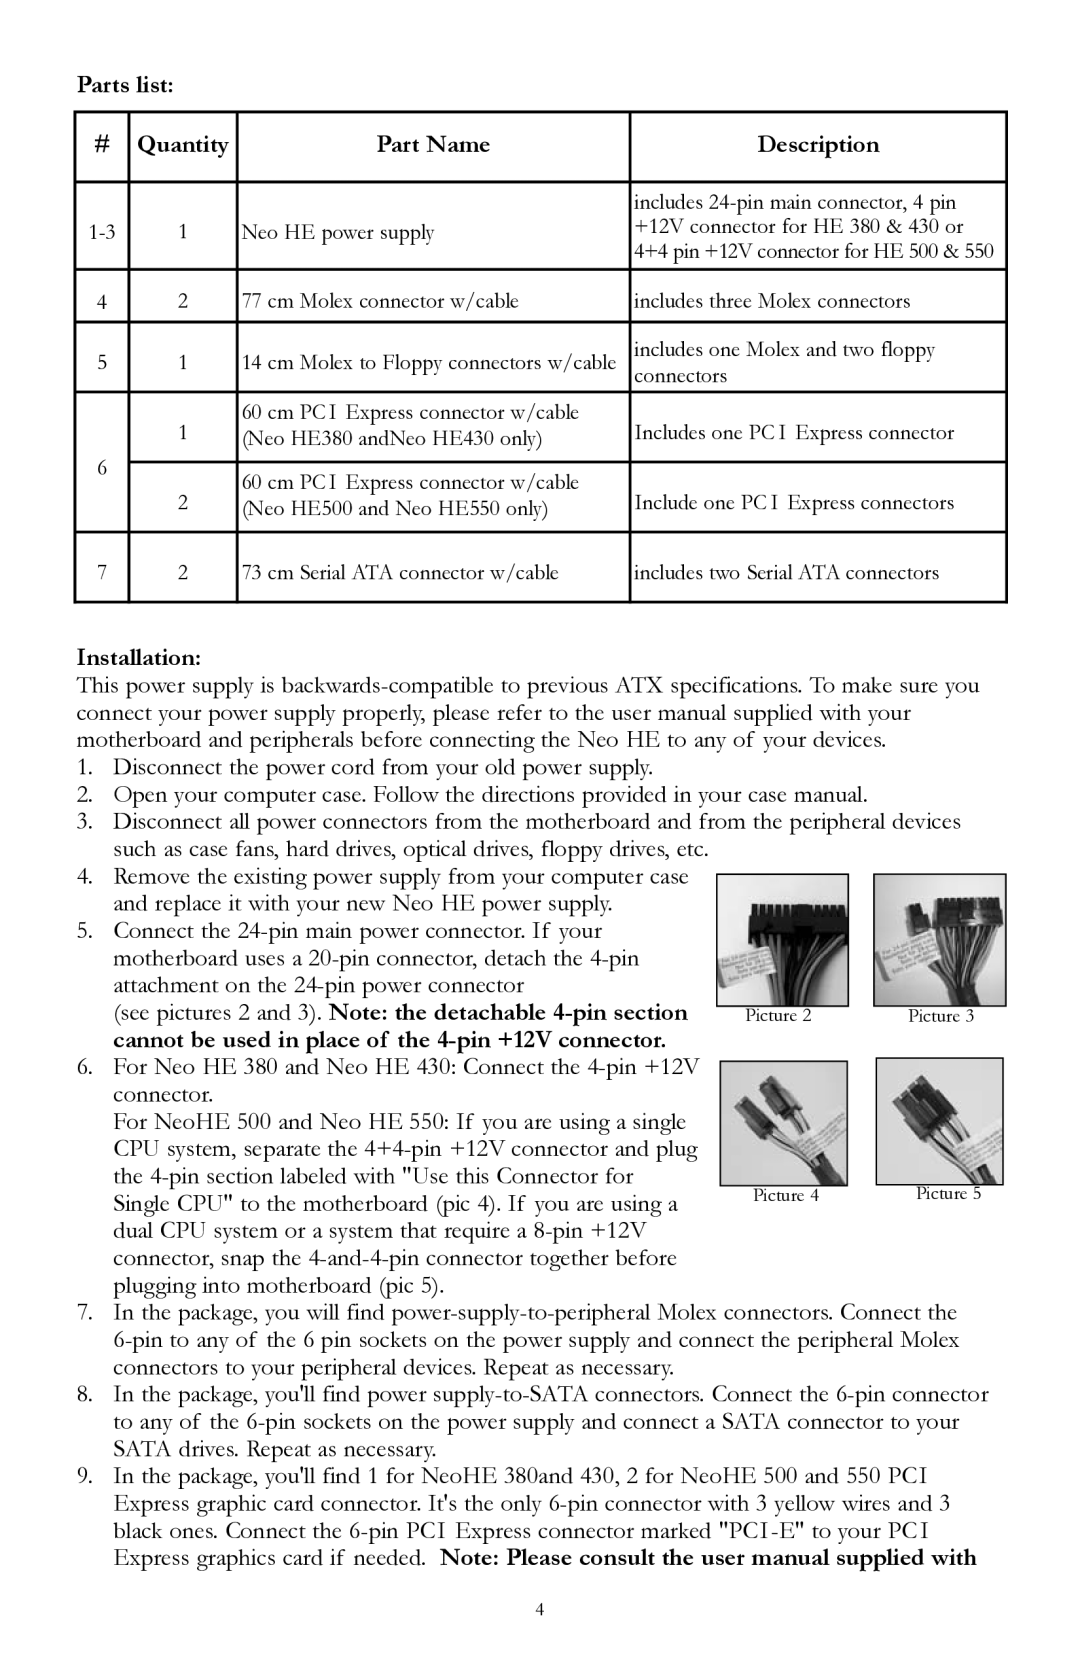
5.Connect the
(see pictures 2 and 3). Note: the detachable |
|
|
|
Picture 2 | Picture 3 | ||
cannot be used in place of the |
|
|
|
6.For Neo HE 380 and Neo HE 430: Connect the
For NeoHE 500 and Neo HE 550: If you are using a single CPU system, separate the
the
Single CPU" to the motherboard (pic 4). If you are using a Picture 4 Picture 5 dual CPU system or a system that require a
connector, snap the
7.In the package, you will find
8.In the package, you'll find power
9.In the package, you'll find 1 for NeoHE 380and 430, 2 for NeoHE 500 and 550 PCI Express graphic card connector. It's the only
4