Logic Board specifications
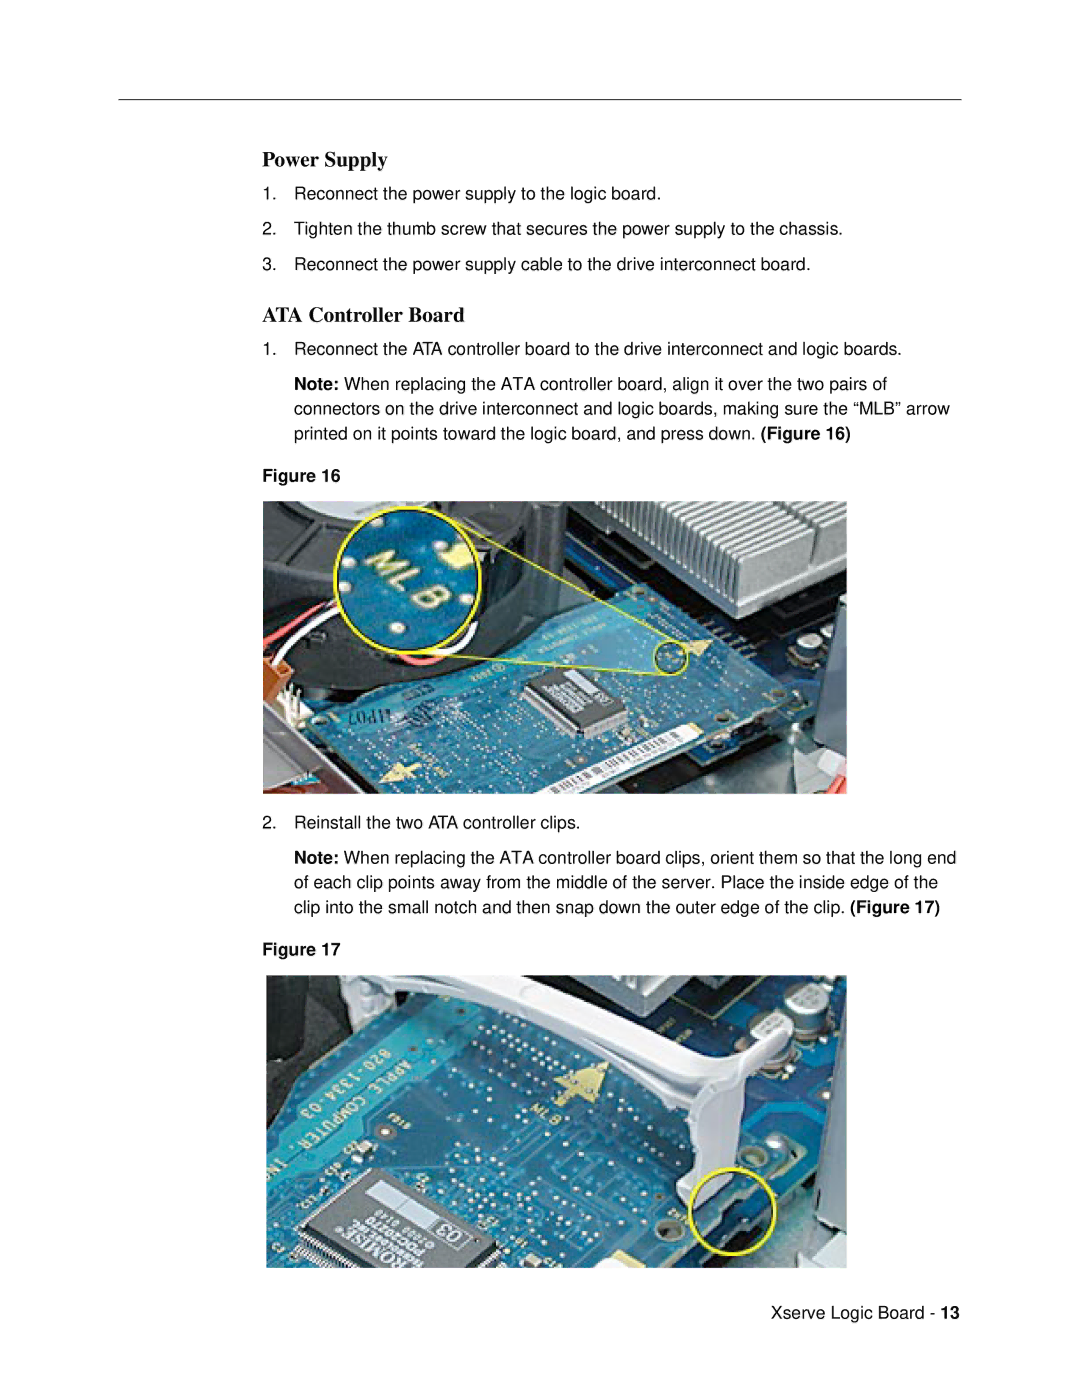
The Apple Logic Board is a quintessential component of Apple's computers, playing a pivotal role in the overall functionality and performance of the device. Acting as the main circuit board, it houses the CPU, memory, and other vital components, thereby forming the backbone of Apple's systems, including desktops and laptops like the MacBook, iMac, and Mac Pro.One of the defining features of the Apple Logic Board is its integration of various technologies that enhance performance and efficiency. For instance, Apple has increasingly adopted its own Apple Silicon chips, such as the M1 and M2 series. These chips integrate multiple functions into a single system on a chip (SoC), including CPU, GPU, and Neural Engine capabilities. This not only streamlines the design of the logic board but also optimizes power consumption and boosts processing power, making even the most demanding tasks smooth and efficient.
In terms of layout, Apple’s logic boards are meticulously designed to maximize space and improve thermal management. The unique approach to soldering components directly onto the board ensures a compact design, which is particularly crucial for the slim form factors of Apple's laptops. This also contributes to increased durability and the reduction of potential connection issues associated with traditional socketed components.
Another key characteristic of the Logic Board is its support for a wide range of high-speed connectivity options. The inclusion of Thunderbolt ports allows for incredibly fast data transfer rates and supports various peripherals and external displays. Furthermore, the logic board integrates Wi-Fi and Bluetooth modules that comply with the latest standards, ensuring user connectivity remains seamless.
Apple places significant emphasis on the user experience, and the Logic Board plays a vital role in this regard. With advanced power management technologies, the board helps extend battery life without compromising performance. Additionally, the integration of soldered RAM in some models ensures maximum efficiency, though it does limit user upgrade options.
Overall, the Apple Logic Board embodies a sophisticated blend of cutting-edge technology and advanced engineering, offering users a high-performance computing experience. With its continued evolution, Apple consistently sets the standard for innovation in personal computing. The focus on reliability, efficiency, and power reinforces Apple's commitment to delivering superior products that cater to both casual users and professionals alike.

