Removing the Installed Hard Drive
1.Make sure the drive being replaced is not in use by any application and that removing it will not disrupt the RAID scheme in use.
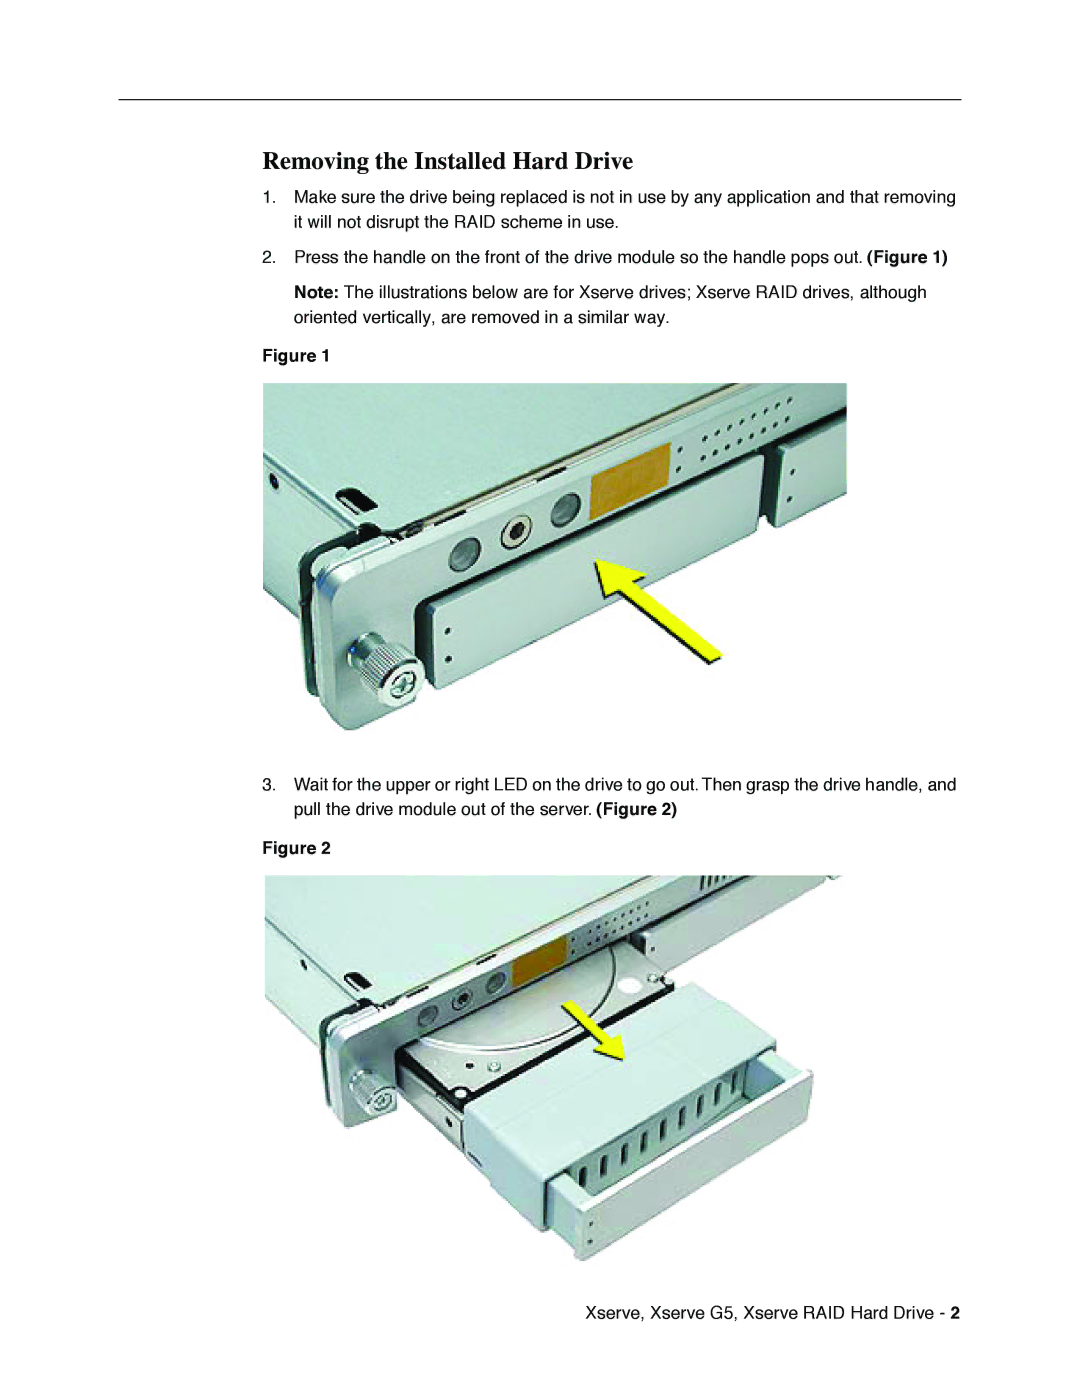
2.Press the handle on the front of the drive module so the handle pops out. (Figure 1)
Note: The illustrations below are for Xserve drives; Xserve RAID drives, although oriented vertically, are removed in a similar way.
Figure 1
3.Wait for the upper or right LED on the drive to go out. Then grasp the drive handle, and pull the drive module out of the server. (Figure 2)
Figure 2
Xserve, Xserve G5, Xserve RAID Hard Drive - 2