8051 specifications
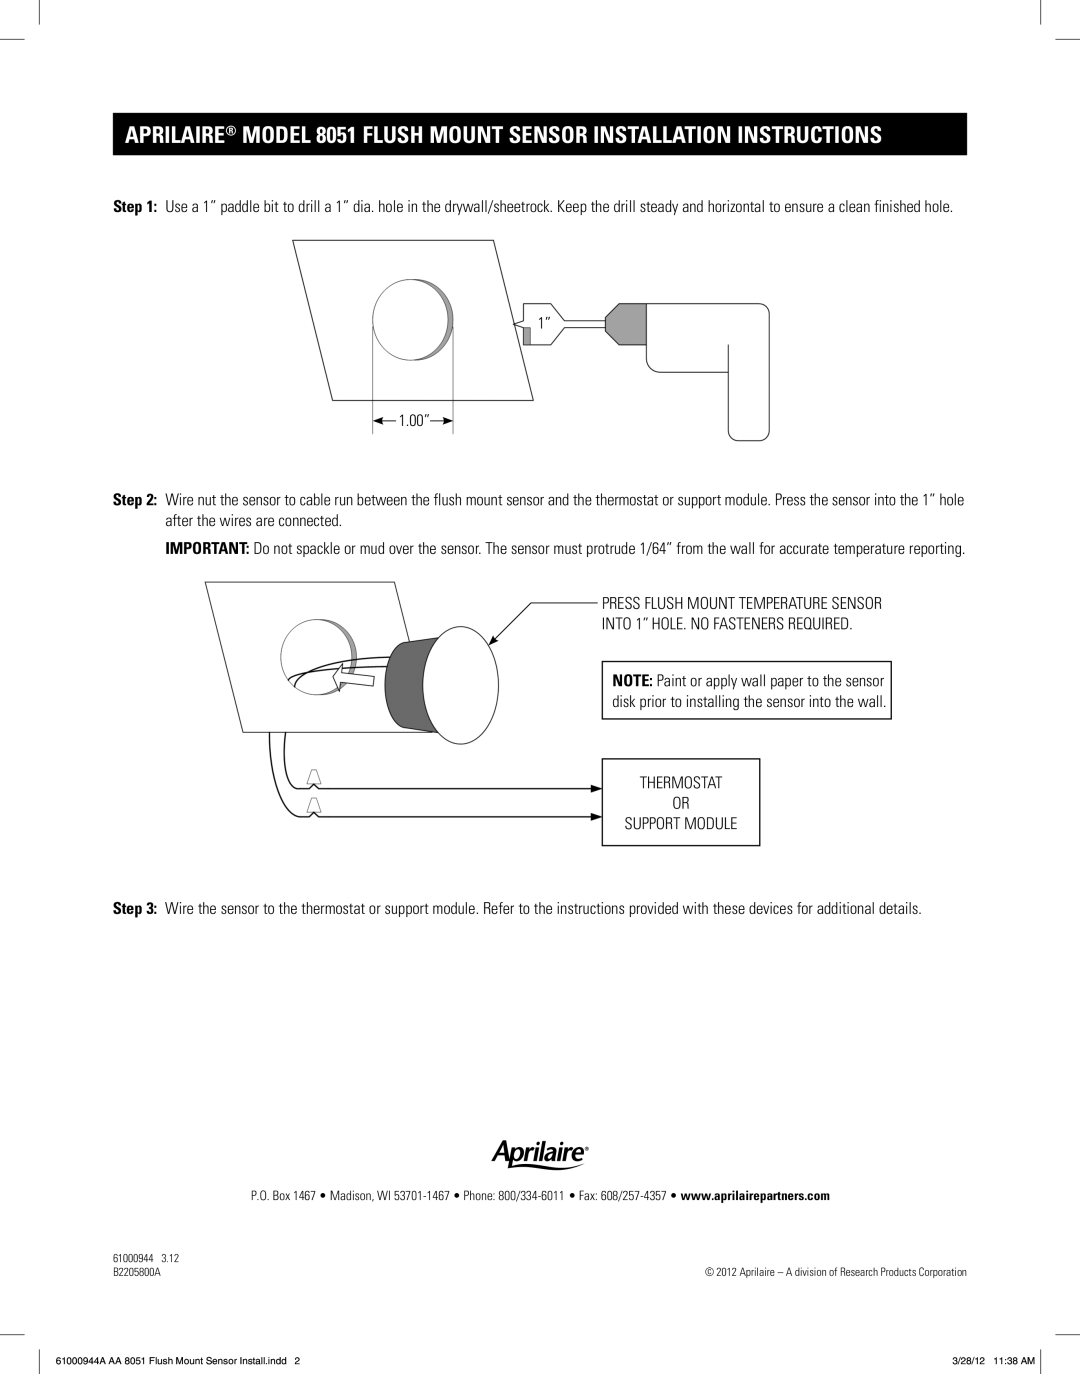
The Aprilaire 8051 is a state-of-the-art thermostat designed for optimal home climate control. Known for its innovative technology and user-friendly features, it stands out in the crowded market of smart thermostats. One of the main highlights of the Aprilaire 8051 is its ability to control humidity levels, which is crucial for both comfort and health. It utilizes an integrated humidity sensor that allows users to maintain ideal humidity levels throughout their home, preventing issues such as mold growth and dust mite infestation.The Aprilaire 8051 features a touchscreen interface that is both intuitive and easy to navigate. Users can quickly access temperature settings, humidity controls, and system modes with just a few taps. The display is designed for clear visibility and can be adjusted to suit the user's preferences. This thermostat is also equipped with Wi-Fi connectivity, enabling remote access via a smartphone app. This feature allows homeowners to adjust settings while away from home, ensuring that their environment is always comfortable upon return.
Another notable characteristic of the Aprilaire 8051 is its compatibility with a wide range of heating, ventilation, and air conditioning (HVAC) systems. This versatility makes it suitable for various home setups, whether they involve central air systems, heat pumps, or zoned heating systems. Additionally, it supports multi-stage heating and cooling, providing precise control over the home’s climate.
Energy efficiency is a key priority in the design of the Aprilaire 8051. The thermostat has features that promote energy-saving practices, such as programmable settings that allow users to set temperature schedules based on their daily routines. The learning capability of the thermostat optimizes energy use by adapting to the homeowner's preferences over time.
Moreover, the Aprilaire 8051 prioritizes air quality. It can work in conjunction with air purifiers and ventilation systems to ensure that indoor air remains fresh and clean. Notifications and reminders for filter changes help maintain optimal performance, further enhancing air quality and ensuring system efficiency.
In summary, the Aprilaire 8051 is an advanced thermostat that embodies the perfect blend of technology, energy efficiency, and user convenience. With its ability to control humidity, intuitive touchscreen interface, Wi-Fi connectivity, and compatibility with various HVAC systems, it is an excellent choice for homeowners looking to enhance their living environment.

