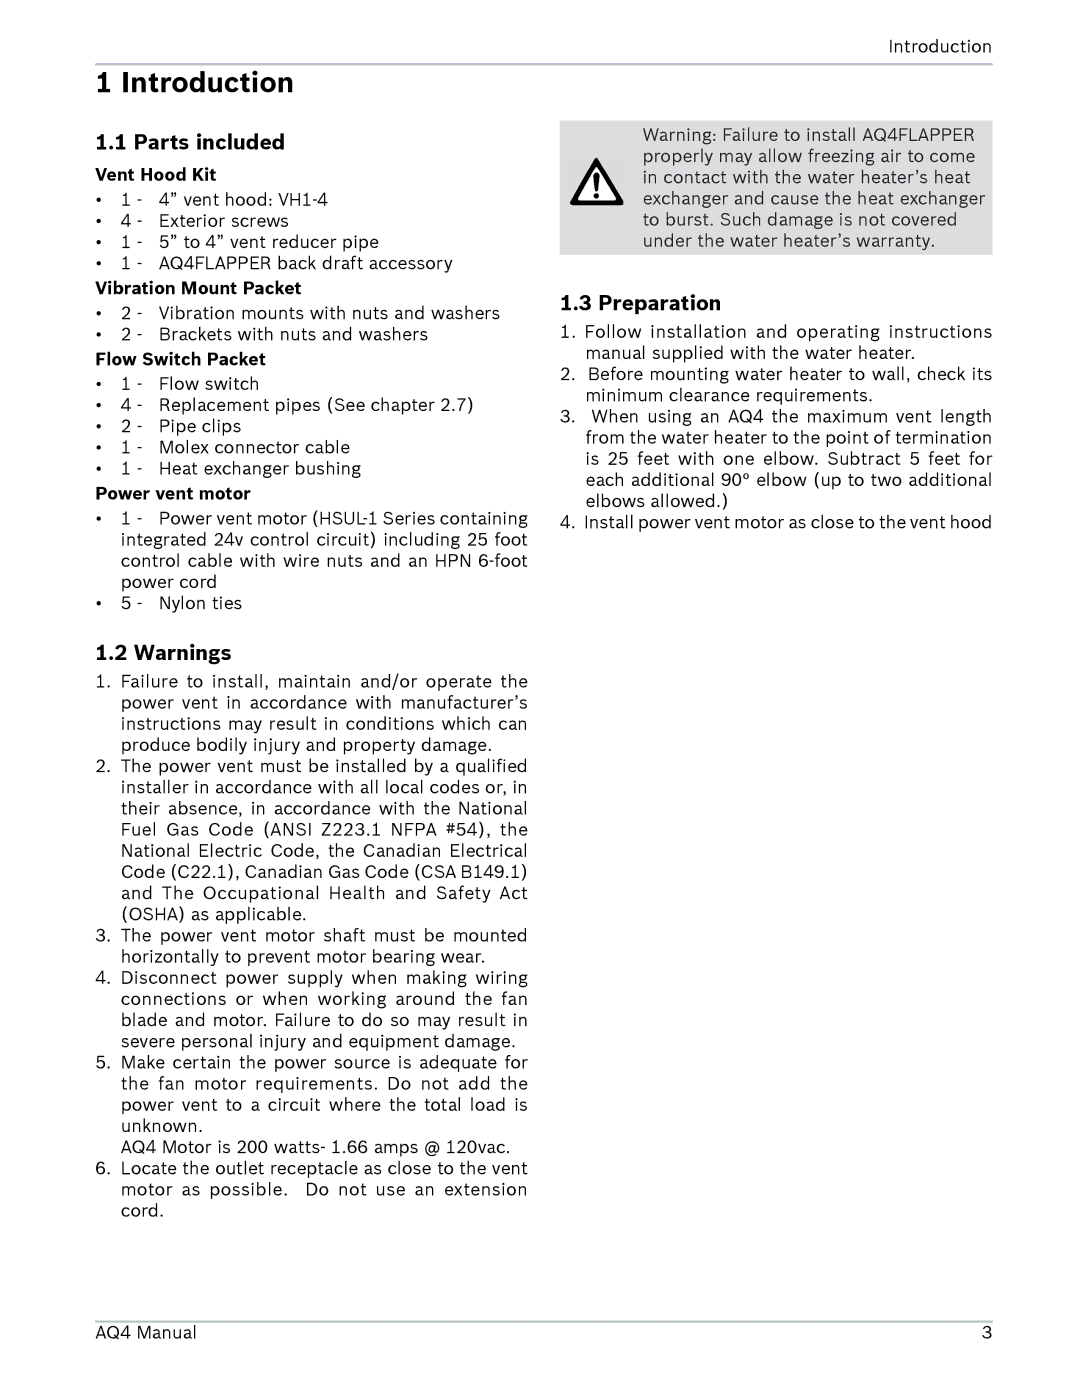
AQ4 specifications
AquaStar AQ4 is a cutting-edge water filtration system designed to provide clean and safe drinking water for households and businesses. This innovative product stands out in the market with its advanced technology and user-friendly features, making it a top choice for those seeking high-quality water purification.One of the main features of the AquaStar AQ4 is its multi-stage filtration process. The system employs a series of filters that work together to remove a wide range of contaminants from water. This includes sediment, chlorine, heavy metals, and microorganisms. The first stage is a sediment filter that captures larger particles, while subsequent filters target smaller impurities. This comprehensive approach ensures that the water is not only clear but also free from harmful substances.
The AquaStar AQ4 utilizes activated carbon technology, which is renowned for its effectiveness in removing odors and improving taste. The activated carbon filter absorbs chemicals and volatile organic compounds (VOCs), resulting in crisp and refreshing drinking water. Additionally, the system features a reverse osmosis membrane, which acts as a barrier, allowing only pure water molecules to pass through while blocking contaminants.
Another impressive characteristic of the AquaStar AQ4 is its smart monitoring system. It is equipped with sensors that track filter performance and water quality in real time. Users receive alerts when it is time to replace filters, ensuring optimal performance at all times. This intelligent feature not only simplifies maintenance but also enhances the longevity of the system.
Installation and operation of the AquaStar AQ4 are straightforward, catering to both DIY enthusiasts and those who prefer professional assistance. The compact design allows it to fit seamlessly under most kitchen sinks, saving valuable space. Moreover, the system operates quietly, making it suitable for residential or commercial use without causing disturbances.
In addition, the AquaStar AQ4 is environmentally friendly. By reducing the reliance on bottled water, it contributes to decreasing plastic waste. The system’s durable filters are designed to provide long-lasting performance, reducing the frequency of replacements and promoting sustainability.
In conclusion, the AquaStar AQ4 is a robust water filtration solution that combines advanced technology with user-friendly features. Its multi-stage filtration process, activated carbon technology, smart monitoring system, and environmental benefits make it an excellent choice for anyone seeking quality water purification. With the AquaStar AQ4, users can enjoy peace of mind knowing that they have access to safe and great-tasting water at all times.

