6.Replace the Back Cover by hooking it onto the right side of the camera and closing it onto the Lock Clip. While closing the camera, ensure that the foam Film Cartridge Retainer on the Back Cover presses down on the lip of the film cartridge.
CAUTION: If the Back Cover does not go down easily, do not force it. Remove it and restart the loading process.
7.You must now wind the portion of the film that has been exposed to daylight. This is done by advancing the film twice.
Advancing The Film: Look at the Counter Dial and remember the number of the current exposure. Push the Counter Dial Release towards the View Finder and hold it there. Turn the Winding Knob until the Counter Dial spins about a quarter of the way around, then let go of the Counter Dial Release. Continue to turn the Winding Knob until it nears the number of the next exposure, then slow down until you feel the Winding Knob stiffen. Do this gently or you will rip out the perforations on the film and possibly ruin your pictures. The Counter Dial should be set to the next number and an unexposed portion of the film will be in position ready to take a picture.
8.If you set the Counter Dial in Step 2, then the Exposure Counter should be set to “0”. If not, set the Counter Dial to “0” by turning it
9.You are now ready to take a picture.
Taking Pictures
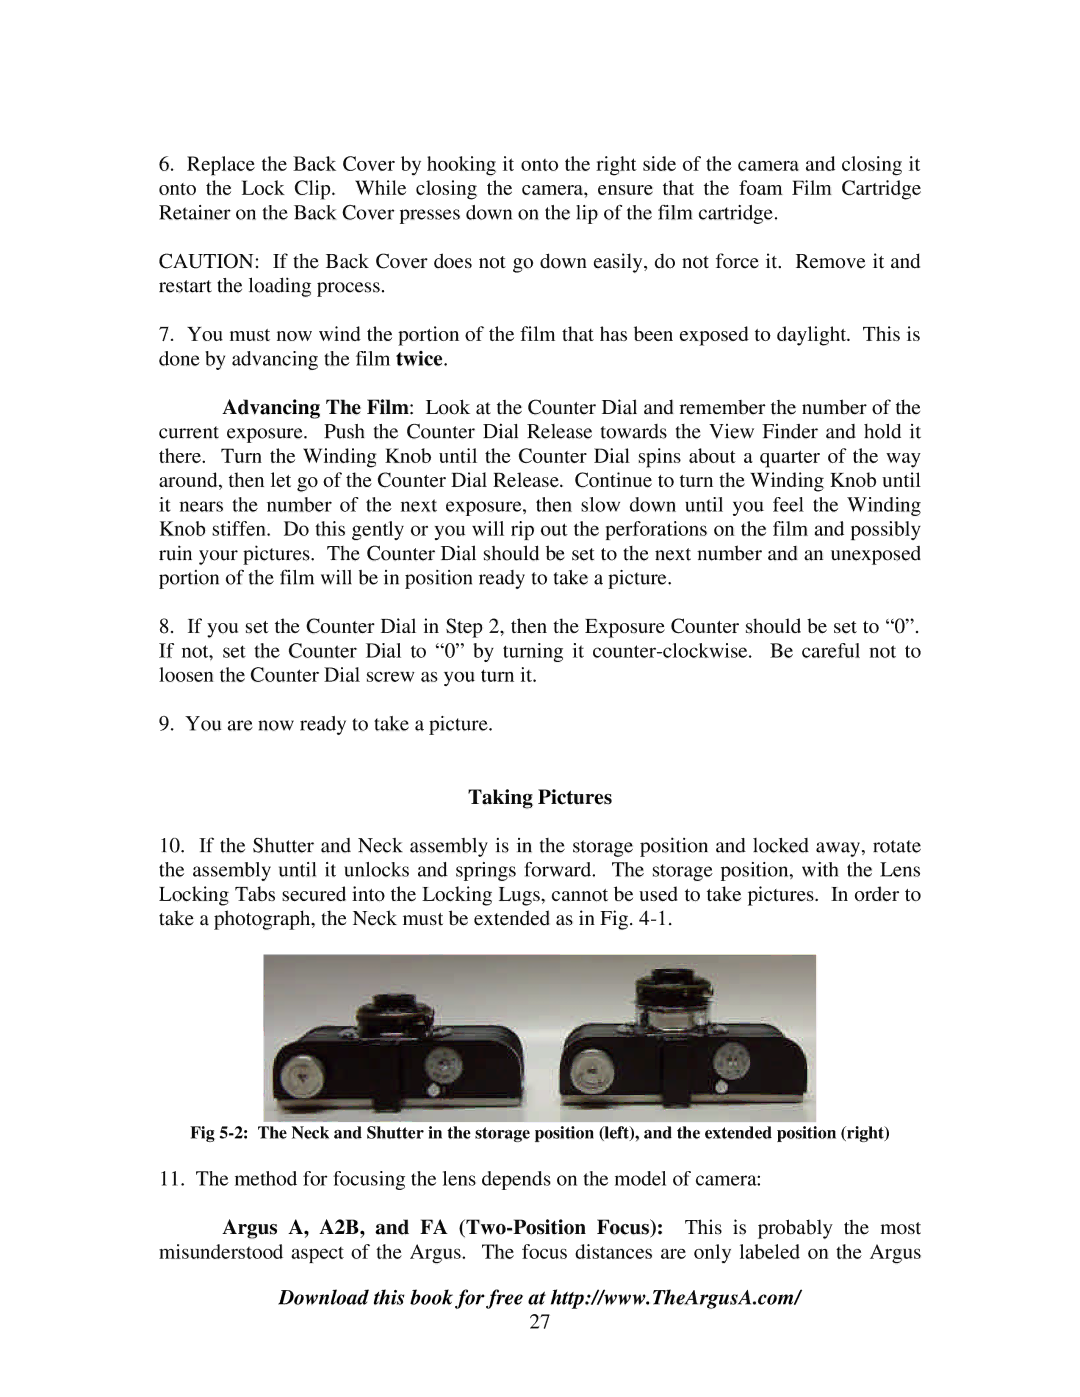
10.If the Shutter and Neck assembly is in the storage position and locked away, rotate the assembly until it unlocks and springs forward. The storage position, with the Lens Locking Tabs secured into the Locking Lugs, cannot be used to take pictures. In order to take a photograph, the Neck must be extended as in Fig.
Fig
11. The method for focusing the lens depends on the model of camera:
Argus A, A2B, and FA
Download this book for free at http://www.TheArgusA.com/
27
