E6366 April
Table of Contents
Chapter Using the Notebook PC
Appendix
CTR 21 Approvalfor Notebook PC with built-in Modem
Introducing
About This User’s Manual
Safety Precautions
Page
Transportation Precautions
Sound Pressure warning
DC Fan warning
Adapter Information
Airplane Precautions
Cover Your Notebook PC
Charge Your Batteries
These are only quick instructions for using your Notebook PC
Preparing your Notebook PC
Opening the LCD display panel
Chapter
Top Side
Keyboard differs for each territory
Camera Indicator
Power Switch
3D Vision IR port on selected models
Microphone Built-in
Status Indicators front
Instant Key
Keyboard
Touchpad and Buttons
Bottom Side
Battery Lock Spring
Battery Pack
Memory RAM Compartment
Hard Disk Drive Compartment
Right Side
Flash Memory Slot
USB Port 3.0 on selected models
USB Port
USB Universal Serial Bus port is compatible with USB
Display Monitor Output
Hdmi Hdmi Port
Power DC Input
Left Side
Kensington Lock Port
Optical Drive
Model
Microphone Input Jack
Headphone Output Jack
Power Indicator
Rear Side
Front Side
Air Vents
Getting Started
Power System
Using AC Power
Page
Using Battery Power
Installing and Removing the Battery Pack
To install the battery pack
Battery Care
To remove the battery pack
Powering on the Notebook PC
Power-On Self Test Post
Self Monitoring and Reporting Technology
Checking Battery Power
Charging the Battery Pack
Power Options
Restarting or Rebooting
Hold the power button over 4 seconds
Emergency Shutdown
Power Management Modes Sleep and Hibernate
Page
Thermal Power Control
Special Keyboard Functions
Colored Hot Keys
Decreases the speaker volume only in Windows OS
Increases the speaker volume only in Windows OS
Speaker Down Icon F11
Speaker Up Icon F12
Microsoft Windows Keys
Keyboard as a Numeric Keypad
Extended Keyboard on selected models
Multimedia Control Keys on selected models
During CD play Stops CD play
During CD play, skips to the next audio track/movie chapter
Switches and Status Indicators
Switches
3D Mode Switch Key on 3D models
Splendid Key on non-3D models
Status Indicators
Battery Charge Indicator dual-color
Drive Activity Indicator
Bluetooth / Wireless Indicator
Page
Using the Notebook PC
Pointing Device
Using the Touchpad
Moving The Pointer
Touchpad Usage Illustrations
Hold left button and slide finger on touchpad
Clockwise or counterclockwise rotation based on your needs
Caring for the Touchpad
Automatic Touchpad Disabling
Page
Storage Devices
Optical Drive on selected models
Inserting an optical disc
Page
Removing an optical disc
Emergency eject
Using the Optical Drive
Listening to Audio CD
Flash Memory Card Reader
Hard Disk Drive
Removing the primary hard disk drive
Installing the primary hard disk drive
Installing the secondary hard disk drive
Page
Removing the secondary hard disk drive
Memory RAM
Installing a Memory Card Removing a Memory Card
Connections
Network Connection
Twisted-Pair Cable
Wireless LAN Connection on selected models
Ad-hoc mode
Infrastructure mode
Optional 802.11 wireless
LAN adapters
Windows Wireless Network Connection
Connecting to a network
Page
Bluetooth Wireless Connection on selected models
Turning on and Launching Bluetooth Utility
Select View Bluetooth Network Devices
Click Add a device to look for New devices
Page
AppendixA
Optional Accessories
Optional Connections
Operating System and Software
Support Software
System Bios Settings
Boot Device
On the Boot screen, select Boot Option #1
Press Enter and select a device as the Boot Option #1
Security Setting
To set the password
Interface Security
To lock the I/O interface
On the Security screen, select I/O Interface Security
Select an interface you would like to lock and click Lock
USB Interface Security
To lock the USB interface
HDD Password
Not Installed
Save Changes
P1 HL-DT-STBDDVDRW CA21N
Common Problems and Solutions
Hardware Problem Optical Disc
Hardware Problem Keyboard / Hotkey
Unknown Reason System Unstable
Hardware Problem Built-in Camera
Hardware Problem Battery
Hardware Problem Power ON/OFF Error
Battery maintenance
Hardware Problem Wireless Card
Mechanical Problem FAN / Thermal
Symptom & Solutions
Why is the cooling fan always on and the temperature high?
Software Problem Asus bundled software
Blue screen with white text appears after system bootup
Unknown Reason Blue screen with white text
Page
Software Problem Bios
Start Easy Flash
Recovering Your Notebook PC
Using Recovery Partition
About the Recovery Partition
Using Recovery DVD on selected models
Recover Windows to entire HD with two partitions
Lock the secondary hard disk drive
Press F10 to save the configuration and exit
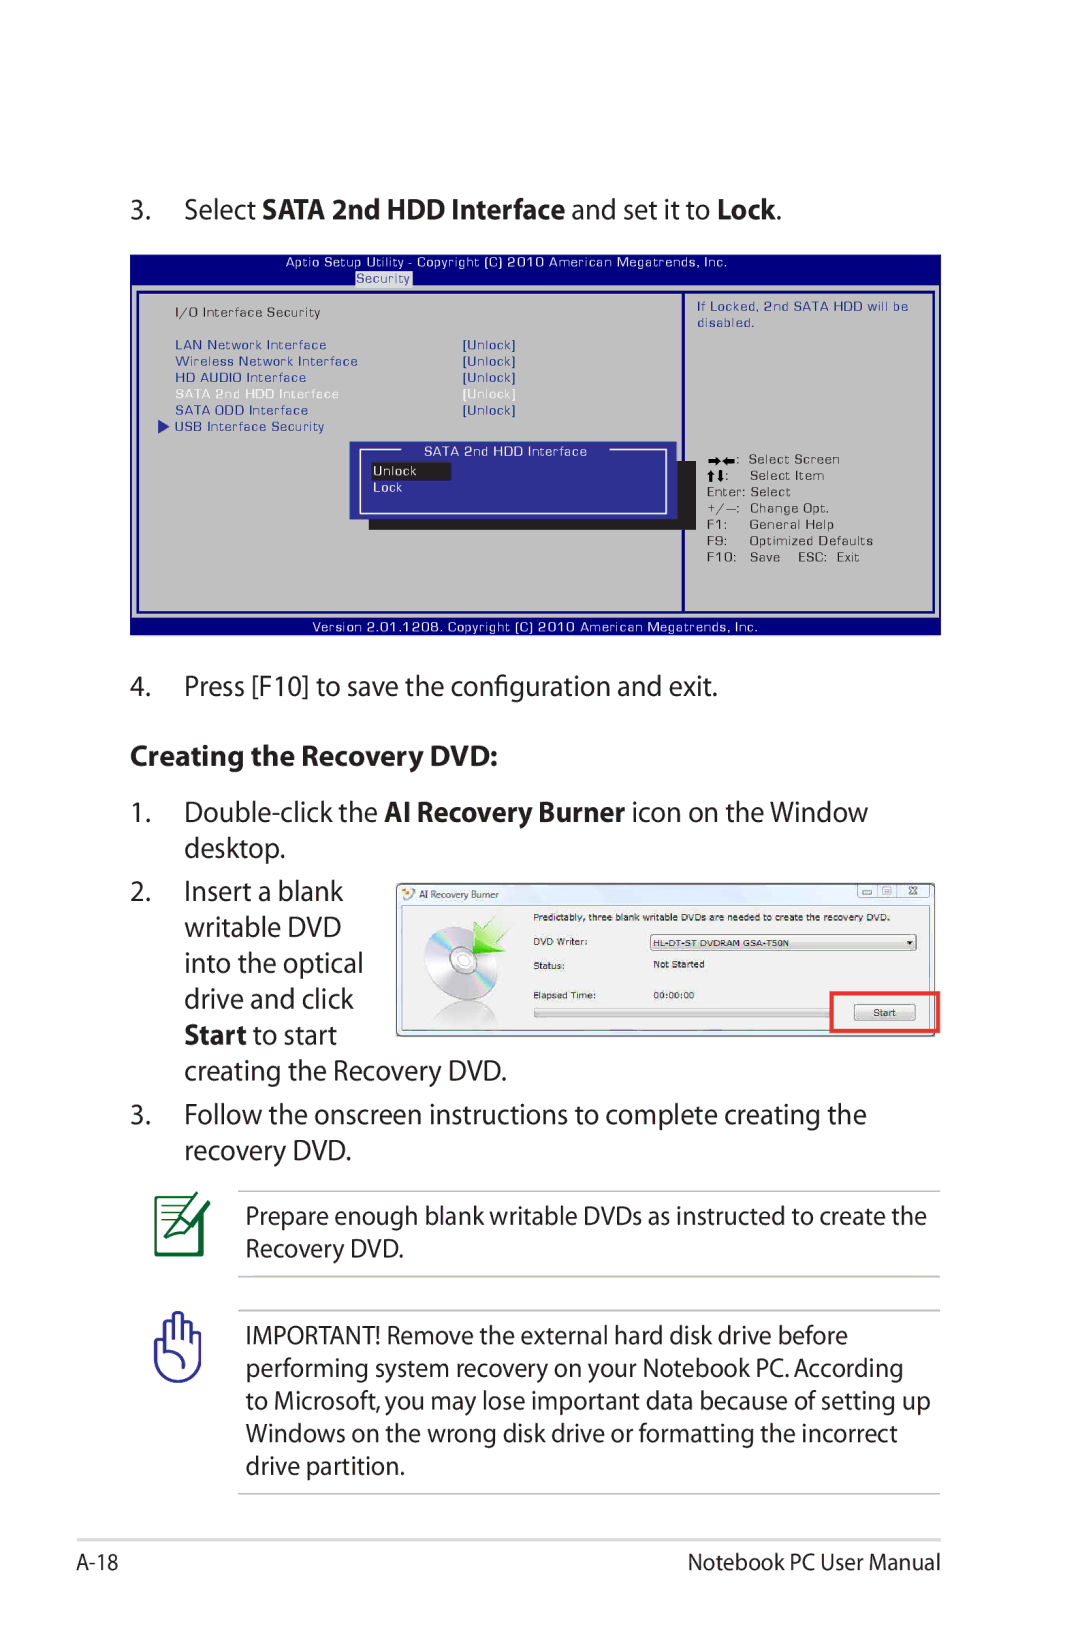
Creating the Recovery DVD
Select Sata 2nd HDD Interface and set it to Lock
Using the Recovery DVD
DVD-ROM Drive Information
Regional Playback Information
Region Definitions
Region
Canada, US, US Territories
CIS, India, Pakistan, Rest of Africa, Russia, North Korea
Region a
Region B
Region C
Internal Modem Compliancy
Overview
Network Compatibility Declaration
Non-Voice Equipment
Country Applied
Page
Declarations and Safety Statements
Federal Communications Commission Statement
FCC Radio Frequency RF Exposure Caution Statement
Declaration of Conformity R&TTE directive 1999/5/EC
CE marking for devices without wireless LAN/Bluetooth
CE marking for devices with wireless LAN/ Bluetooth
CE Marking
IC Radiation Exposure Statement for Canada
Wireless Operation Channel for Different Domains
France Restricted Wireless Frequency Bands
Oise Orne Puy du Dôme
Bas Rhin
UL Safety Notices
Do not use the Notebook PC in the vicinity of a gas leak
Power Safety Requirement
TV Tuner Notices
Nordic Lithium Cautions for lithium-ion batteries
Japanese
Optical Drive Safety Information Laser Safety Information
Service warning label Cdrh Regulations
Macrovision Corporation Product Notice
Sound Pressure warning
DC Fan warning
Adapter Information
CTR 21 Approval For Notebook PC with built-in Modem
Spanish Swedish
European Union Eco-label
Energy Star complied product
Asus Recycling/Takeback Services
Global Environmental Regulation Compliance and Declaration
Japan JIS-C-0950 Material Declarations
Korea RoHS Swiss Energy Laws
Copyright Information
Service and Support
Limitation of Liability
Visit our multi-language web site at http//support.asus.com

![]() USB Interface Security
USB Interface Security![]() : Select Item Enter: Select
: Select Item Enter: Select 