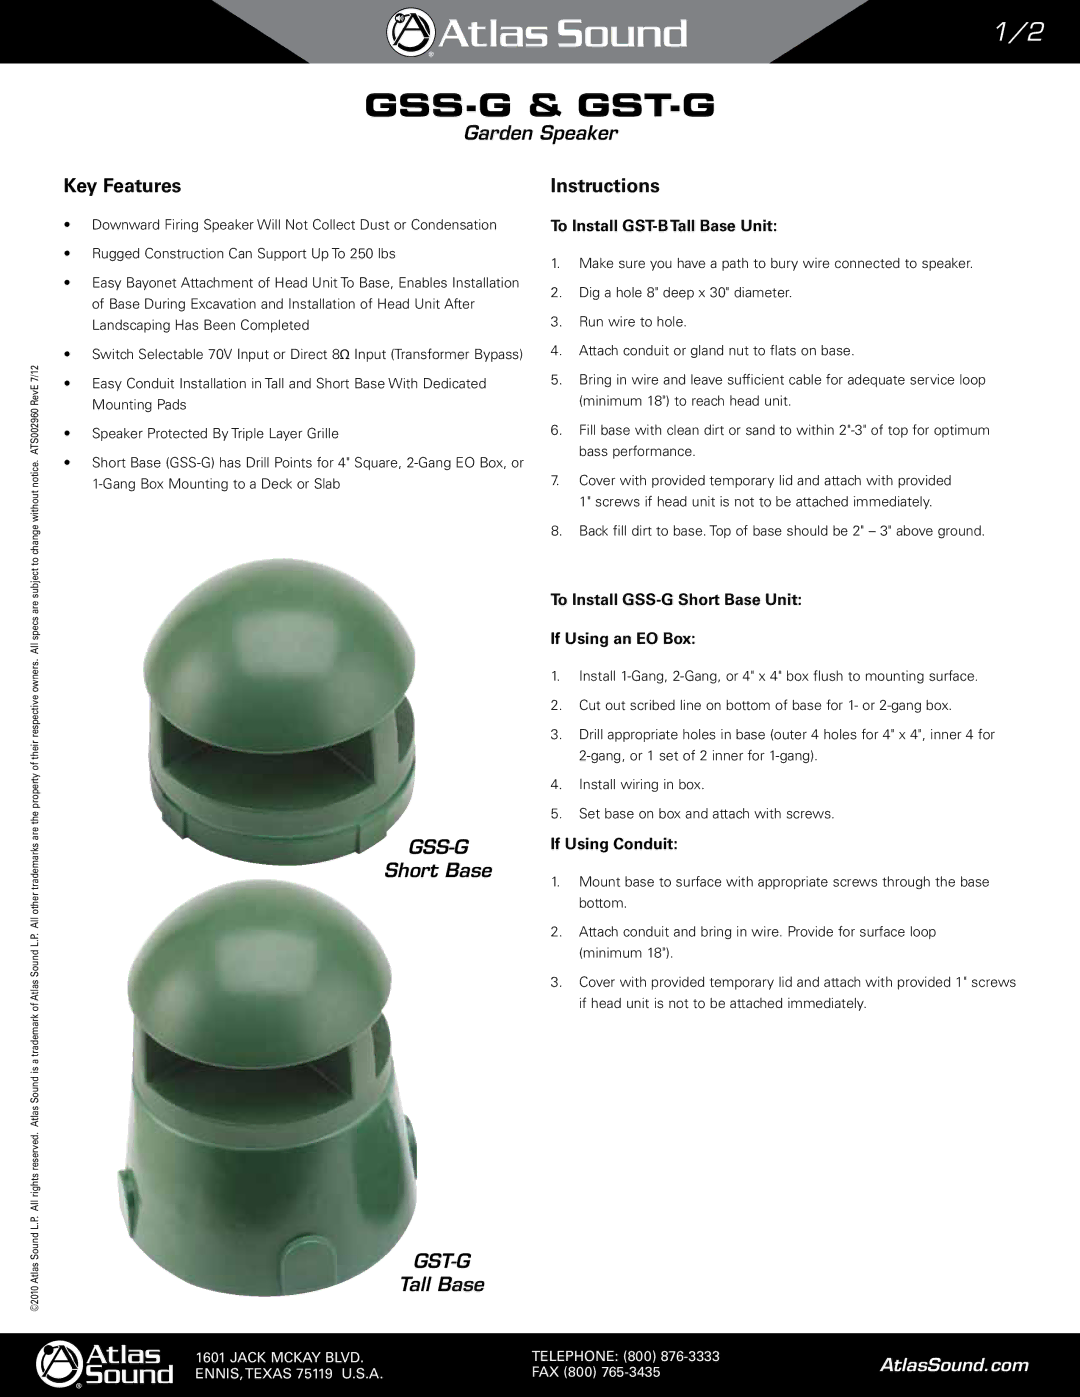
GSS-G, GST-G specifications
Atlas Sound, a leader in professional audio solutions, has continuously evolved its product offerings to address the demands of the modern soundscape. Among its popular products are the GSS-G and GST-G series loudspeakers, which are engineered to deliver exceptional sound quality and versatility for a wide range of applications.The GSS-G model is a high-performance loudspeaker designed primarily for installation in commercial environments such as retail spaces, airports, and auditoriums. It features a robust enclosure that ensures durability and longevity, even in high-traffic areas. One of its standout characteristics is the high-efficiency driver, providing clear and dynamic sound reproduction across a wide frequency range. The GSS-G is equipped with a compression driver that enhances high-frequency response, making it ideal for both speech intelligibility and music playback.
On the other hand, the GST-G is a more versatile option, offering a similar high-quality audio performance but with additional features aimed at mobile installations. The GST-G is designed for portable use, making it a favorite among event planners and sound engineers. It offers lightweight construction without compromising on sound quality, making it easy to transport and set up for events or performances.
Both the GSS-G and GST-G employ state-of-the-art technologies, including advanced digital signal processing (DSP) capabilities. This technology optimizes the sound output based on the environment in which the speakers are used, ensuring consistent audio performance. Furthermore, they are equipped with comprehensive connectivity options, allowing seamless integration with various audio sources, including microphones, mixers, and media players.
In terms of design, both models maintain a sleek aesthetic, blending well with different decors. The GSS-G is generally suited for fixed installations while the GST-G sports a more adaptable form factor that caters to transient setups. Both series include mounting hardware that simplifies installation, ensuring that they can be securely and efficiently outfitted into any environment.
In conclusion, Atlas Sound’s GSS-G and GST-G series loudspeakers exemplify the brand's commitment to quality and innovation. With advanced features such as high-efficiency drivers, robust construction, and modern DSP technology, these loudspeakers are well-equipped to meet the challenges of today’s audio environments, whether in a permanent installation or a temporary setting.