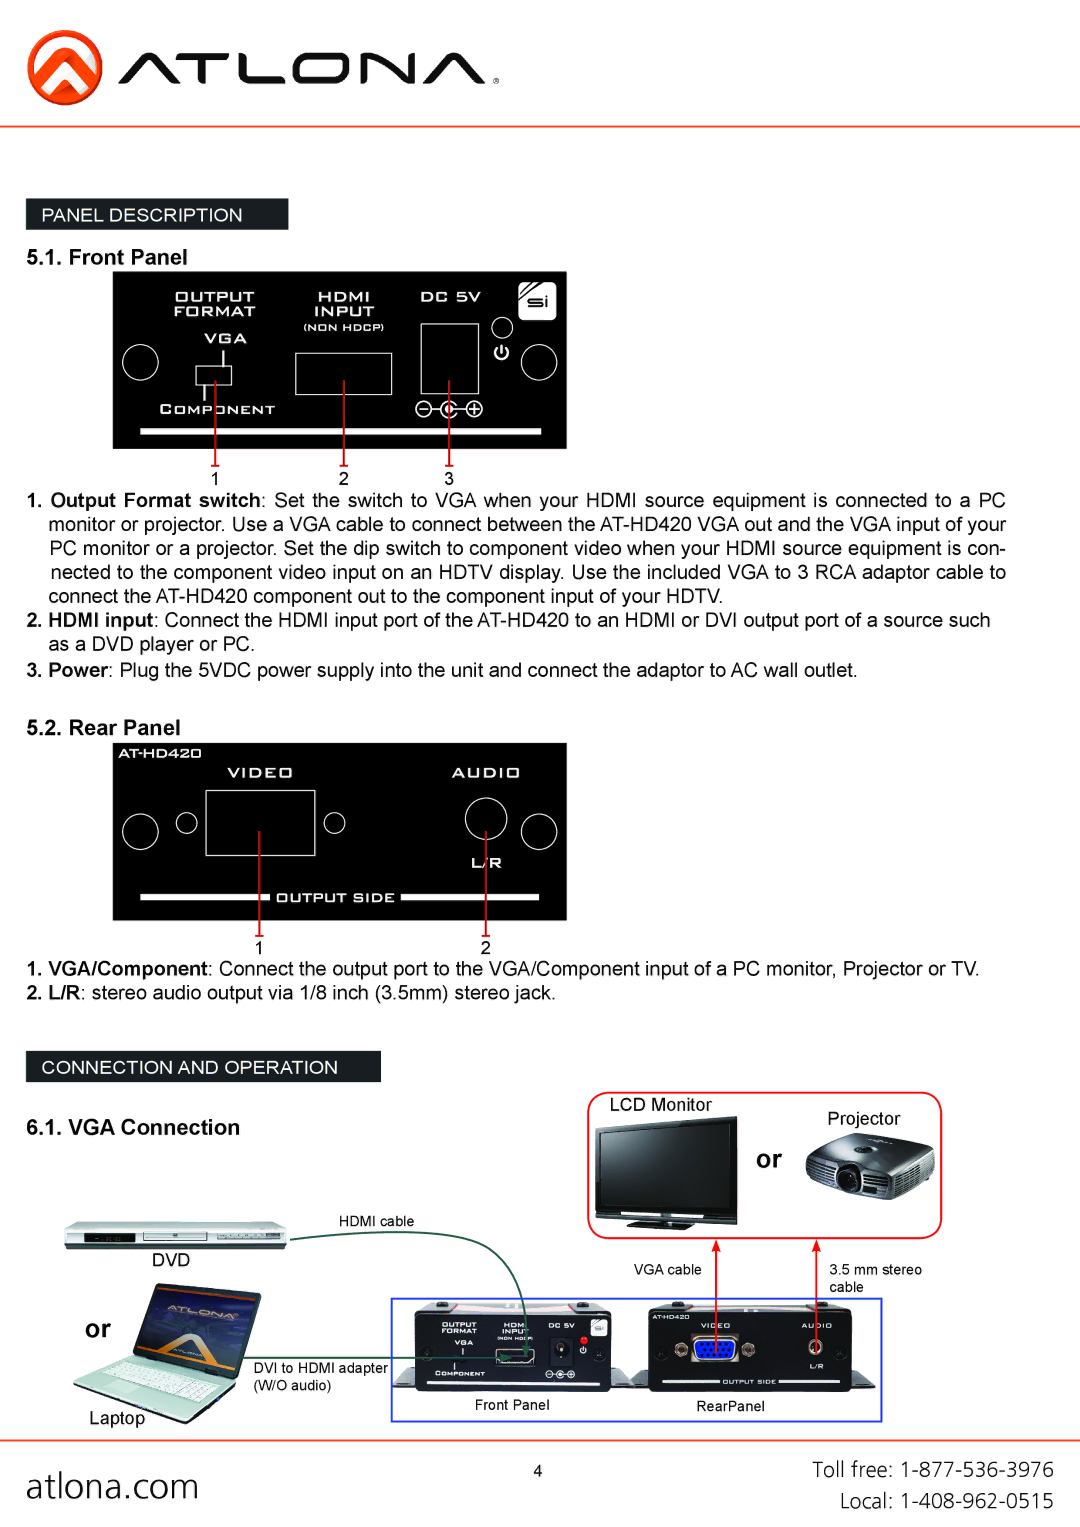
PANEL DESCRIPTION
5.1. Front Panel
12 3
1.Output Format switch: Set the switch to VGA when your HDMI source equipment is connected to a PC monitor or projector. Use a VGA cable to connect between the
2.HDMI input: Connect the HDMI input port of the
3.Power: Plug the 5VDC power supply into the unit and connect the adaptor to AC wall outlet.
5.2. Rear Panel
12
1.VGA/Component: Connect the output port to the VGA/Component input of a PC monitor, Projector or TV.
2.L/R: stereo audio output via 1/8 inch (3.5mm) stereo jack.
CONNECTION AND OPERATION
LCD Monitor
6.1. VGA Connection
or
HDMI cable
DVD |
| VGA cable |
|
| |
or |
|
|
|
| |
| DVI to HDMI adapter |
|
| (W/O audio) | |
Laptop | Front Panel | RearPanel |
|
|
Projector
3.5mm stereo cable
atlona.com | 4 | Toll free: |
| Local: |