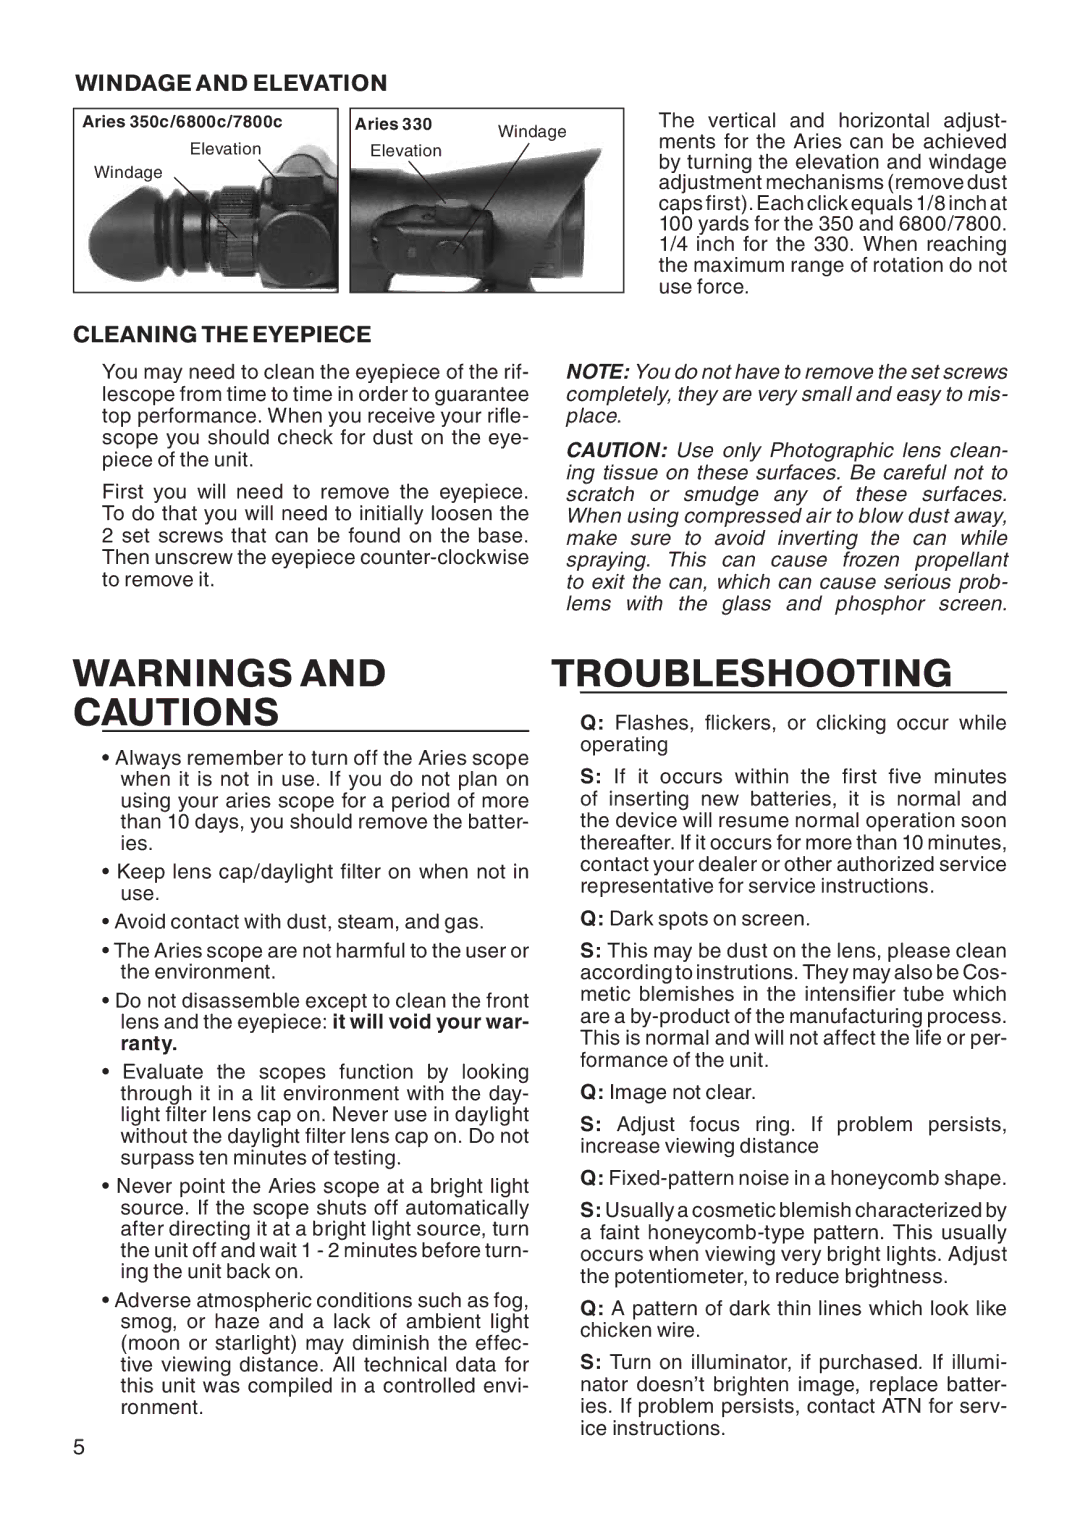
7800c, 330, 6800c, 350c specifications
ATN is a well-known brand in the field of night vision and thermal imaging technologies. Among its notable products are the ATN 330, 350c, 7800c, and 6800c, each designed to meet the needs of various users, from recreational outdoor enthusiasts to professional hunters and tactical operators.The ATN 330 is a compact and lightweight thermal imaging scope designed for user-friendly operation. It features a high-resolution thermal sensor, providing clear imagery in total darkness, as well as through smoke, fog, or rain. The device boasts an easy-to-use interface, allowing users to quickly adjust settings for optimal performance. Additionally, the ATN 330 offers a variety of reticles and image enhancements, making it versatile for different shooting scenarios.
The ATN 350c takes thermal imaging to the next level with its advanced features. It includes a built-in video recorder which allows users to capture their experiences and analyze them later. The 350c comes with Wi-Fi connectivity, enabling users to stream their footage live to a phone or tablet. This model is designed for those looking to share their experiences in real-time. Furthermore, the device supports multiple reticles and has customizable color palettes, enhancing the user experience.
The ATN 7800c is known for its high-definition features. This scope integrates both night vision and thermal imaging, offering users unparalleled versatility. The 7800c includes a dual-core processor which ensures fast image processing and smooth performance. Its built-in GPS allows for precise location tracking, while the firmware is upgradeable, meaning users can keep up with the latest technologies. The device is also equipped with a powerful zoom, making it suitable for long-distance shooting.
Lastly, the ATN 6800c is another premium model, distinguished by its large objective lens that gathers more light, resulting in excellent clarity and detail even in low-light environments. This device incorporates an easy-to-use ballistic calculator, allowing shooters to make precise adjustments based on environmental conditions. The 6800c also offers a highly durable design, making it resistant to varied weather conditions, and is equipped with a long-lasting battery for extended use.
In conclusion, ATN’s 330, 350c, 7800c, and 6800c night vision and thermal imaging devices stand out in their respective categories due to their innovative features, advanced technologies, and user-friendly designs. These models cater to a broad range of users, ensuring that whether for recreation or professional-grade applications, there is an ATN product to meet their needs.