AMP200 specifications
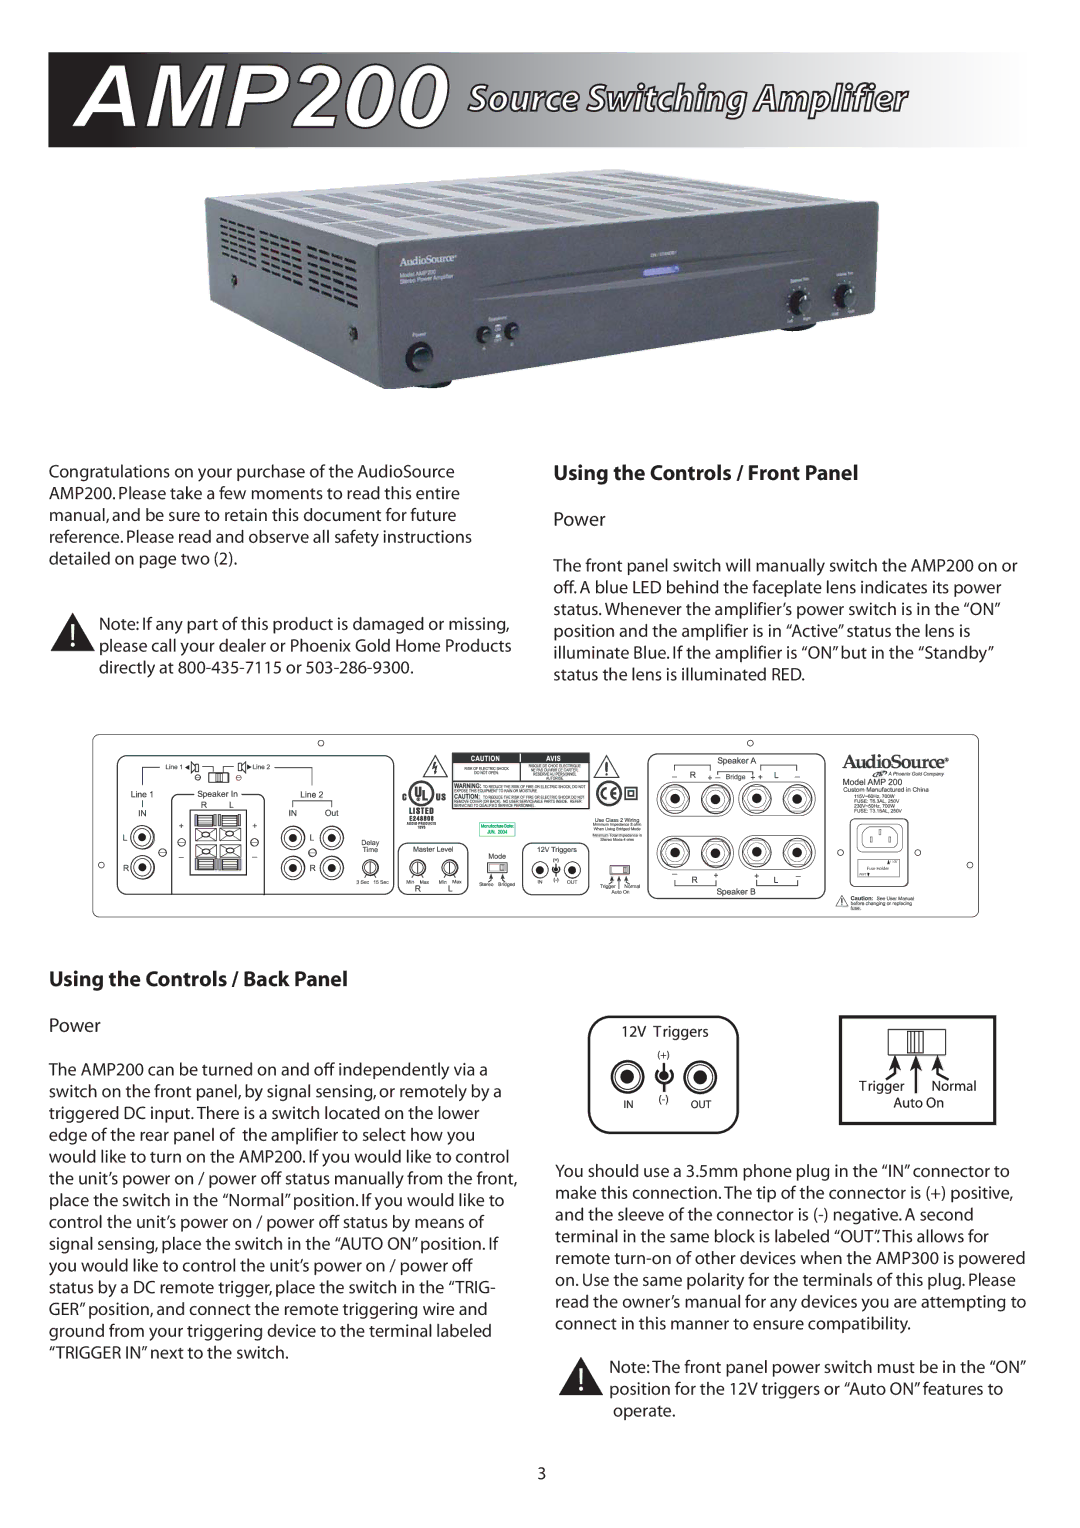
The AudioSource AMP200 is a versatile and powerful amplifier designed for both commercial and residential audio applications. With a compact design and user-friendly features, it caters to a variety of audiophile needs, making it a popular choice among enthusiasts and professionals alike.One of the standout features of the AMP200 is its robust power output. It delivers 50 watts per channel at 8 ohms, ensuring that it can drive a wide range of speakers effectively. This power level is suitable for both small spaces and larger areas, making the AMP200 a flexible option for different listening environments.
The amplifier incorporates a high-efficiency Class D technology, which not only provides impressive audio quality but also helps in reducing energy consumption. This efficiency is crucial for extended listening sessions, allowing users to enjoy their audio without worrying about excessive power usage or heat generation. As a result, the AMP200 remains cool even during long operational periods.
Connectivity options on the AudioSource AMP200 are diverse, ensuring compatibility with a wide array of audio sources. It features both RCA and 1/4-inch inputs, enabling users to connect various devices, from music players and televisions to professional audio equipment. The inclusion of speaker connection terminals supports both conventional wire connections as well as banana plugs, enhancing usability.
An important characteristic of the AMP200 is its flexibility in installation. It can be mounted in a conventional rack setup, placed on a shelf, or even positioned upside down for under-table setups, thanks to its compact dimensions. This adaptability makes it ideal for both fixed installations and temporary setups.
The AMP200 also includes various protective features such as short circuit protection, thermal overload protection, and a soft-start feature to prevent loud pops during power-up. These safety mechanisms ensure the longevity of the amplifier and connected equipment, a critical concern for both casual users and professionals.
In terms of sound quality, the AMP200 delivers crystal-clear audio reproduction with a frequency response that spans from 20Hz to 20kHz. This wide range enables it to accurately reproduce the nuances of both music and speech, making it an excellent choice for home theaters, music systems, and commercial sound applications.
Overall, the AudioSource AMP200 stands out as a reliable, powerful, and efficient amplifier that meets a variety of audio needs. Its combination of advanced technology, user-friendly features, and robust performance makes it a must-have for anyone looking to enhance their audio experience.


