SFS-112 specifications
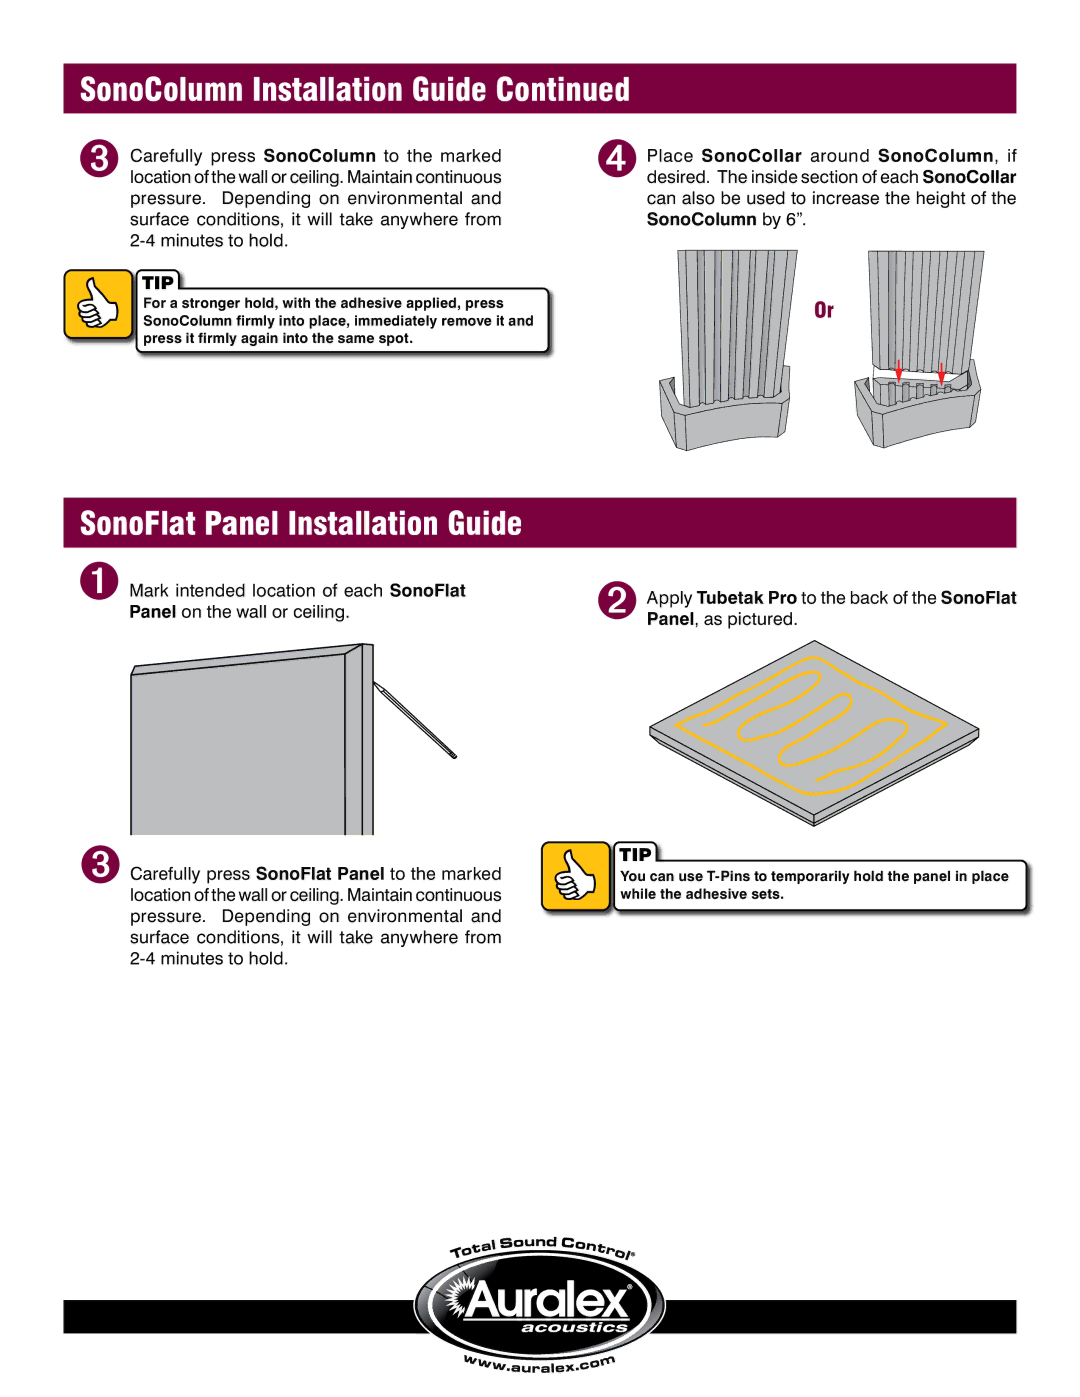
Auralex Acoustics SFS-112 is a cleverly designed acoustic panel that finds its use in a variety of environments, from professional recording studios to home theaters and even practice spaces. One of its standout features is its effective sound absorption capability. The SFS-112 is constructed using high-density foam that significantly enhances its ability to reduce sound reflections, thereby improving the auditory experience in any space.The dimensions of the SFS-112 are particularly well-thought-out, typically measuring 12 inches by 12 inches. This size makes it versatile and easy to install, fitting seamlessly into various layouts and designs. Whether you're looking to treat specific areas of a room or cover larger wall sections, the SFS-112 can be adapted to meet those needs. The lightweight foam material contributes further to its ease of installation, allowing users to attach the panels without hassle.
One of the key technologies employed in the SFS-112 is its proprietary Auralex Acoustic Warfare technology, which assists in managing sound dynamics. This technology is crucial for controlling unwanted reflections and echoes, thus ensuring a cleaner sound profile in your workspace or entertainment area. Additionally, the open-cell structure of the foam allows for effective sound wave penetration, capturing and dissipating energy to minimize sound transmission.
Another important characteristic of the SFS-112 is its aesthetic appeal. Auralex offers various colors and finishes, meaning users can select options that match their decor while also enhancing audio quality. The panels are not only functional but also add a stylish touch to any environment.
Ease of maintenance is another advantage of the SFS-112. The foam is readily cleanable, ensuring that the panels can maintain their aesthetic quality over time. This practicality is essential for users who value both sound performance and a visually pleasing environment.
In summary, the Auralex Acoustics SFS-112 is an essential tool for anyone serious about improving their sound environment. Its high-density foam construction, proprietary acoustic technology, versatile sizes, and aesthetically pleasing designs make it a remarkable choice for both professional and personal spaces. Investing in SFS-112 panels can lead to a significant improvement in sound quality, making them a must-have for audiophiles and professionals alike.

