Page 6 | AXIS 206/206M Quick Installation Guide |
UPnPTM
UPnPTM functionality is enabled by default in the AXIS 206/206M. If also enabled on your computer (Windows ME or XP), the camera will automatically be detected and a new icon will be added to “My Network Places.” Click this icon to access the AXIS 206/206M. See page 7 for instructions on how to set the language and password.
Notes:
•To install the UPnPTM service on your computer, open the Control Panel from the Start Menu and select Add/Remove Programs. Select Add/Remove Windows Components and open the Networking Services section. Click Details and then select UPnP as the service to add.
•Once the AXIS 206/206M is accessible from your computer, it is then possible to use the
UPnPTM is a certification mark of the UPnPTM Implementers Corporation.
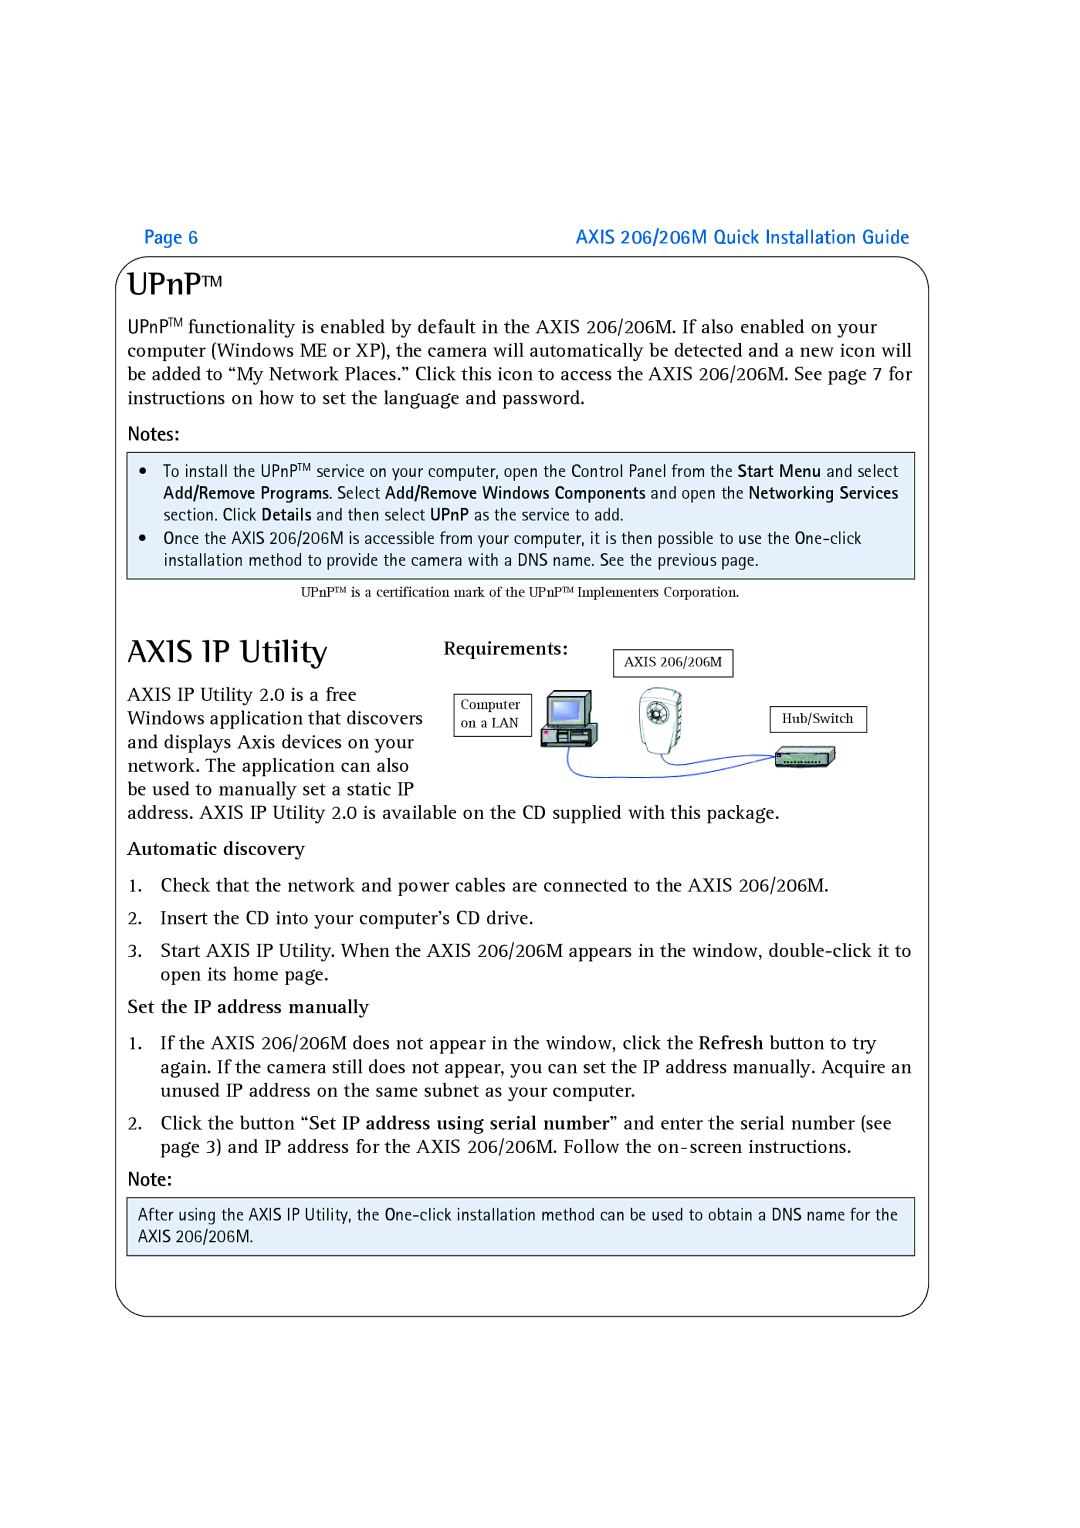
AXIS IP Utility
AXIS 206/206M
AXIS IP Utility 2.0 is a free
Windows application that discoversHub/Switch and displays Axis devices on your 
![]() network. The application can also
network. The application can also
be used to manually set a static IP
address. AXIS IP Utility 2.0 is available on the CD supplied with this package.
Automatic discovery
1.Check that the network and power cables are connected to the AXIS 206/206M.
2.Insert the CD into your computer’s CD drive.
3.Start AXIS IP Utility. When the AXIS 206/206M appears in the window,
Set the IP address manually
1.If the AXIS 206/206M does not appear in the window, click the Refresh button to try again. If the camera still does not appear, you can set the IP address manually. Acquire an unused IP address on the same subnet as your computer.
2.Click the button “Set IP address using serial number” and enter the serial number (see page 3) and IP address for the AXIS 206/206M. Follow the
Note:
After using the AXIS IP Utility, the