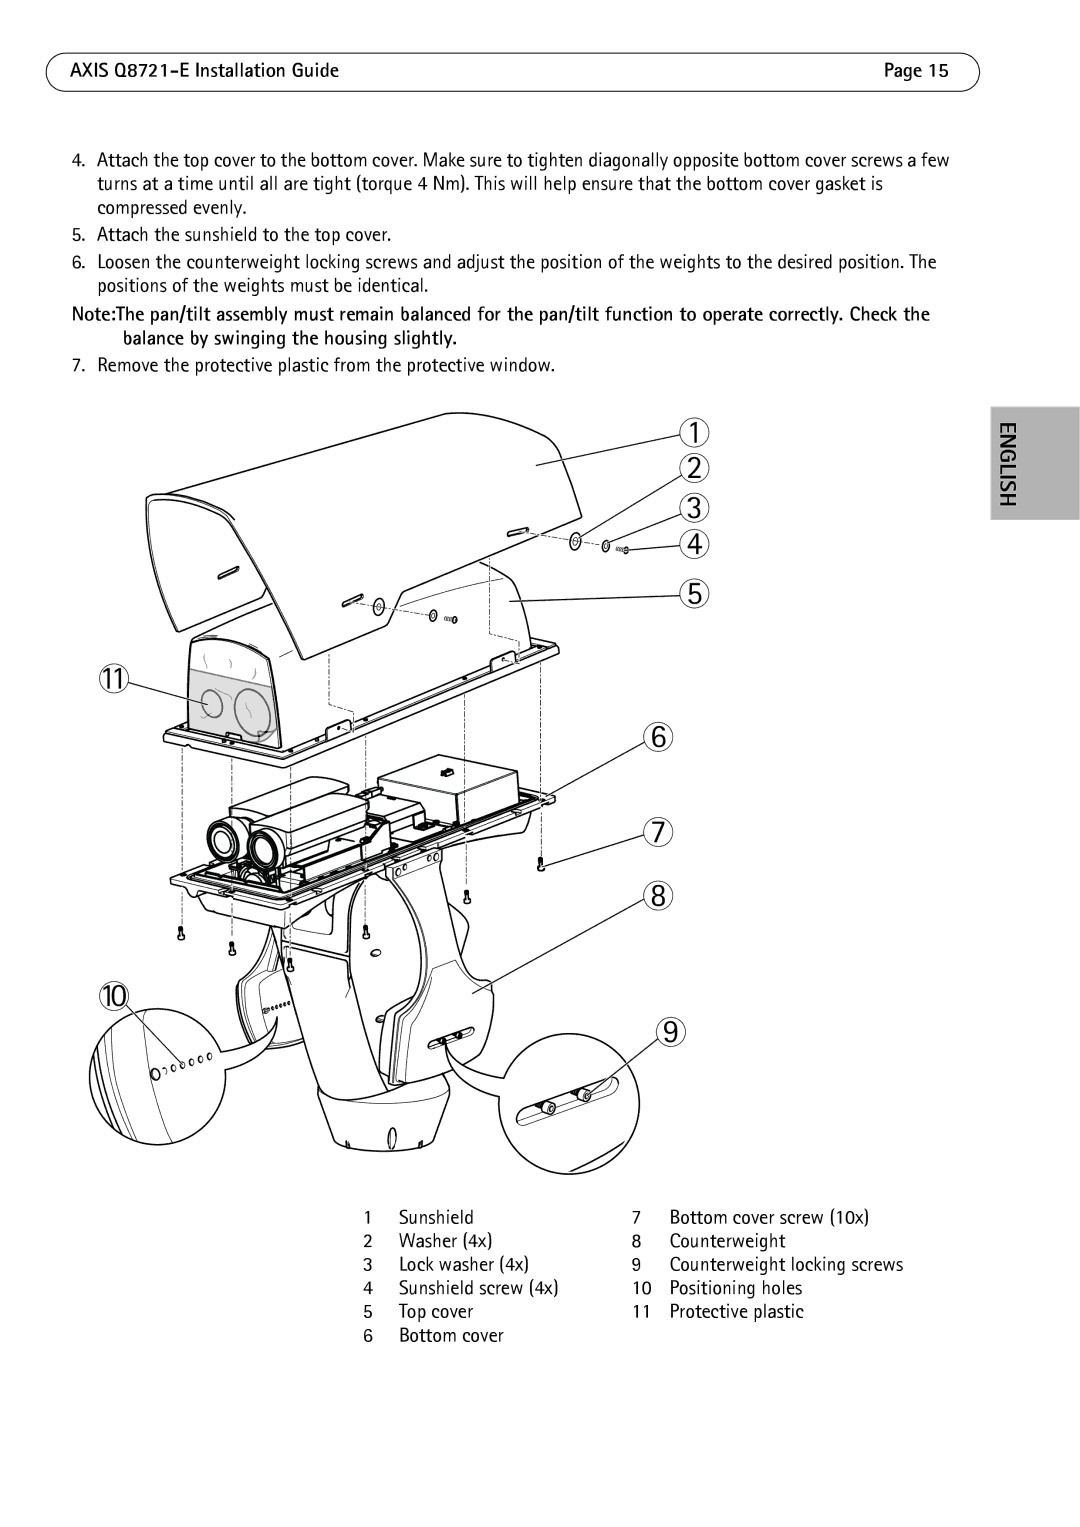
dual ptz network camera specifications
Axis Communications is a leading provider of network cameras and offers an array of advanced surveillance solutions. One of their standout products is the dual PTZ (pan-tilt-zoom) network camera, which combines high-performance imaging capabilities with advanced functionality, making it an ideal choice for a variety of surveillance applications.The dual PTZ network camera features two independently controllable PTZ heads, enabling operators to monitor multiple areas simultaneously while providing comprehensive coverage. Each PTZ head can pan, tilt, and zoom, allowing for precise tracking of subjects and events in real-time. With the ability to cover large spaces and zoom in on specific details, these cameras are perfect for environments such as airports, stadiums, and large retail spaces.
One of the key technologies employed in Axis dual PTZ cameras is Focal Length Zoom. This feature allows users to get close-up views of subjects without compromising image quality. The cameras come equipped with high-definition sensors, delivering crisp and clear video even in low-light conditions. This enhanced low-light performance is supported by technologies like Wide Dynamic Range (WDR), which ensures that both bright and dark areas of an image are visible.
Axis Communications also integrates their proprietary Compression Technology into these cameras, enabling efficient video streaming without sacrificing quality. This ensures that users can monitor their premises in real-time without overwhelming their network bandwidth. Furthermore, the cameras support various streaming protocols, making integration with existing surveillance systems seamless.
Motion detection is another critical feature, with customizable zones that trigger alerts for unusual activity. These capabilities can be further enhanced with built-in analytics, providing users with insights into traffic patterns and potential security threats.
The rugged design of Axis dual PTZ network cameras ensures they can withstand challenging environmental conditions. They are often weather-resistant and vandal-proof, making them suitable for outdoor deployment.
In summary, Axis Communications dual PTZ network cameras blend high-quality imaging, advanced features, and robust design to offer a versatile solution for modern surveillance needs. With their ability to cover extensive areas while delivering detailed imagery, they are an invaluable tool for security professionals seeking to enhance safety and monitoring efficiency in their operations. Whether monitoring public spaces or private properties, these cameras stand out in the market for their reliability and performance.

