Documentation Number
Quick Start Guide
Modbus TCP to
Modbus ASCII/RTU
Converters
Models: MES1A/MES1B
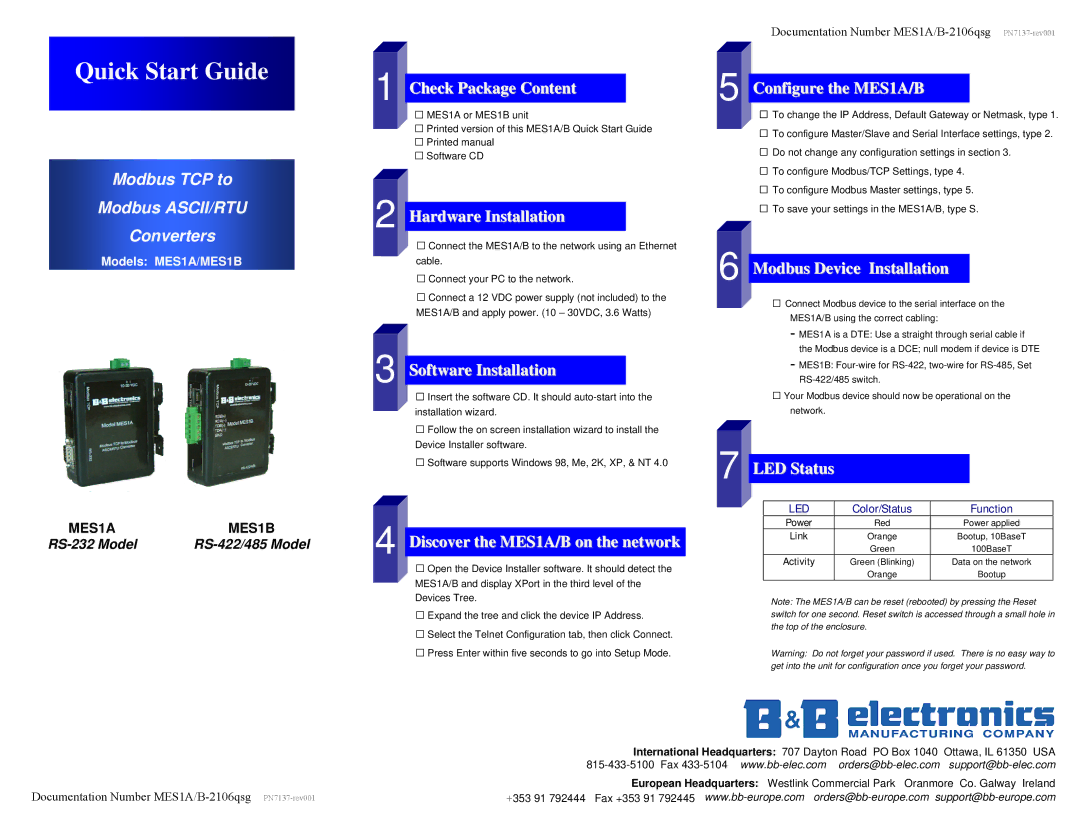
MES1A | MES1B |
1 Check Package Content
□ MES1A or MES1B unit
□ Printed version of this MES1A/B Quick Start Guide □ Printed manual
□ Software CD
2 Hardware Installation
□ Connect the MES1A/B to the network using an Ethernet cable.
□ Connect your PC to the network.
□ Connect a 12 VDC power supply (not included) to the MES1A/B and apply power. (10 – 30VDC, 3.6 Watts)
3 Software Installation
□ Insert the software CD. It should
□ Follow the on screen installation wizard to install the Device Installer software.
□ Software supports Windows 98, Me, 2K, XP, & NT 4.0
4 Discover the MES1A/B on the network
□ Open the Device Installer software. It should detect the MES1A/B and display XPort in the third level of the Devices Tree.
□ Expand the tree and click the device IP Address.
□ Select the Telnet Configuration tab, then click Connect. □ Press Enter within five seconds to go into Setup Mode.
5 Configure thee MMEESS11AA//BB
□ To change the IP Address, Default Gateway or Netmask, type 1. □ To configure Master/Slave and Serial Interface settings, type 2. □ Do not change any configuration settings in section 3.
□ To configure Modbus/TCP Settings, type 4. □ To configure Modbus Master settings, type 5. □ To save your settings in the MES1A/B, type S.
6 Modbus Deviiccee IInnssttaallllaattiioonn
□ Connect Modbus device to the serial interface on the MES1A/B using the correct cabling:
- MES1A is a DTE: Use a straight through serial cable if the Modbus device is a DCE; null modem if device is DTE
- MES1B:
□ Your Modbus device should now be operational on the network.
7 |
|
|
|
|
| |
| LED Status |
|
|
| ||
|
|
|
|
|
|
|
|
|
| LED | Color/Status |
| Function |
| ||||||
|
|
| Power | Red | Power applied | |
|
|
| Link | Orange | Bootup, 10BaseT | |
|
|
|
| Green |
| 100BaseT |
|
|
| Activity | Green (Blinking) | Data on the network | |
|
|
|
| Orange |
| Bootup |
Note: The MES1A/B can be reset (rebooted) by pressing the Reset switch for one second. Reset switch is accessed through a small hole in the top of the enclosure.
Warning: Do not forget your password if used. There is no easy way to get into the unit for configuration once you forget your password.
Documentation Number
International Headquarters: 707 Dayton Road PO Box 1040 Ottawa, IL 61350 USA
European Headquarters: Westlink Commercial Park Oranmore Co. Galway Ireland
+353 91 792444 Fax +353 91 792445
