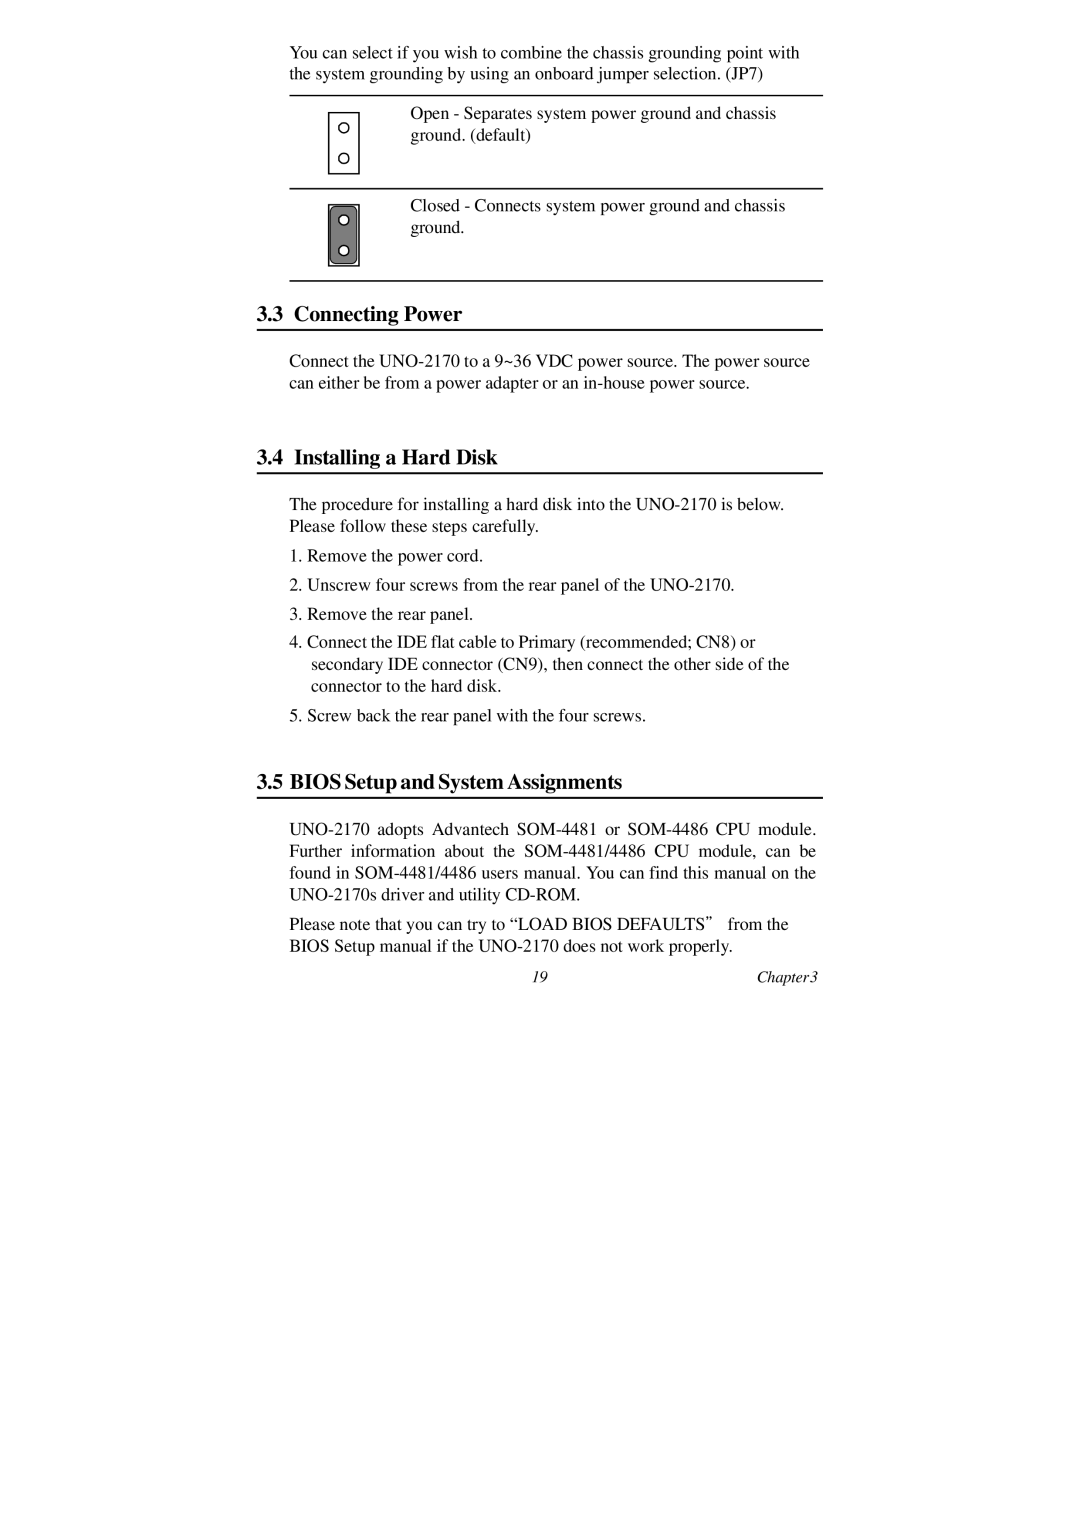
You can select if you wish to combine the chassis grounding point with the system grounding by using an onboard jumper selection. (JP7)
Open - Separates system power ground and chassis ground. (default)
Closed - Connects system power ground and chassis ground.
3.3 Connecting Power
Connect the
3.4 Installing a Hard Disk
The procedure for installing a hard disk into the
1.Remove the power cord.
2.Unscrew four screws from the rear panel of the
3.Remove the rear panel.
4.Connect the IDE flat cable to Primary (recommended; CN8) or secondary IDE connector (CN9), then connect the other side of the connector to the hard disk.
5.Screw back the rear panel with the four screws.
3.5BIOS Setup and System Assignments
Please note that you can try to “LOAD BIOS DEFAULTS" from the BIOS Setup manual if the
19 | Chapter3 |