Manuals
/
BenQ
/
Home Audio
/
Home Theater System
BenQ
MX701
user manual
Operation, Starting up the projector
Models:
MX701
1
18
62
62
Download
62 pages
10.8 Kb
15
16
17
18
19
20
21
22
Troubleshooting
Specification
Install
Timing chart
Current input signal
Password
Setting the presentation timer
Indicators
Connecting audio
Warranty
Page 18
Image 18
Page 17
Page 19
Page 18
Image 18
Page 17
Page 19
Contents
Welcome
Maintenance
Important safety
Warranty and Copyright
Troubleshooting
Important safety instructions
Safety Instructions
Safety Instructions Continued
following environments
Ceiling mounting the projector
Projector features
Introduction
Shipping contents
Standard accessories
Optional accessories
Projector exterior view
Front/upper side
Rear/lower side
timings for the displayed image
Projector
Controls and functions
Down
Remote control
Remote control effective range
Replacing the remote control battery
Positioning your projector
Choosing a location
Projection dimensions
Obtaining a preferred projected image size
Positioning your projector
Connection
Connecting video source devices
Connecting audio
Operation
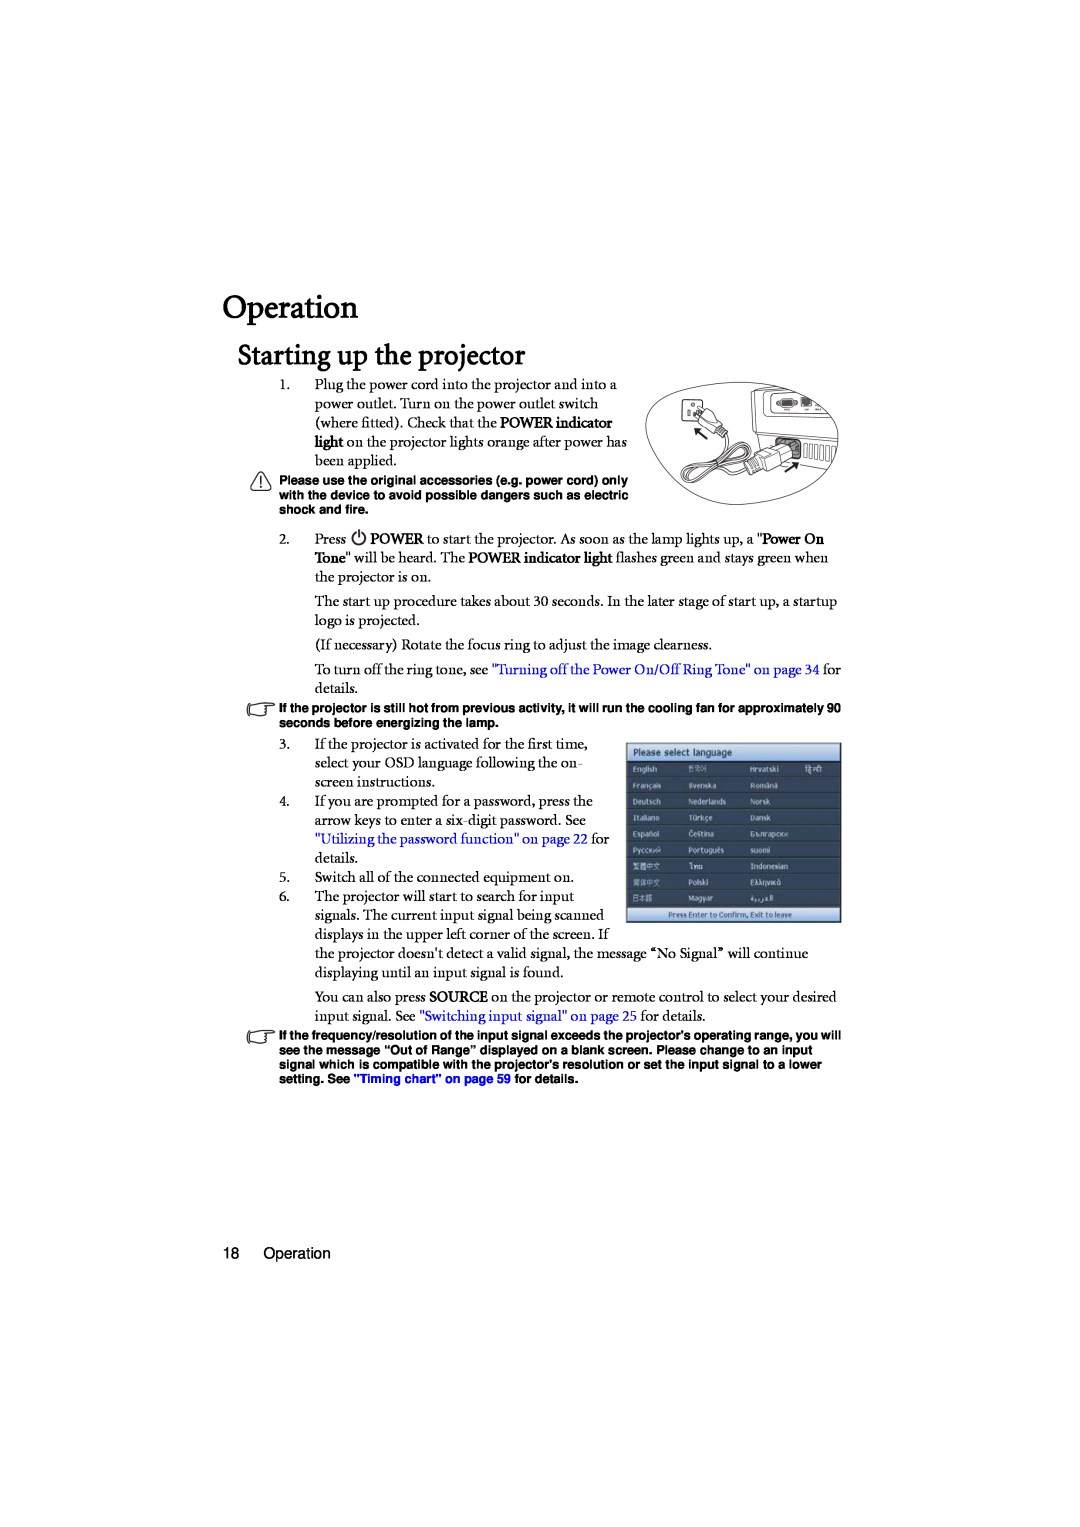
Starting up the projector
Auto-adjustingthe image
Adjusting the projected image
Adjusting the projection angle
Fine-tuningthe image size and clarity
Correcting keystone
SYSTEM SETUP Basic
Using the menus
Current input signal
SYSTEM SETUP Basic
Setting a password
Using a security cable lock
Utilizing the password function
Securing the projector
If you forget the password
Entering the password recall procedure
Changing the password
Disabling the password function
Switching input signal
Changing Color Space
Magnifying and searching for details
Selecting the aspect ratio
About the aspect ratio
Using Wall Color
Optimizing the image
Selecting a picture mode
Adjusting Contrast
Fine-tuningthe image quality in user modes
Adjusting Brightness
Adjusting Color
3D Color Management
Setting the presentation timer
To cancel the timer, perform the following steps
Hiding the image
Remote paging operations
Freezing the image
Locking control keys
Operating in a high altitude environment
Creating your own startup screen
To activate the High Altitude Mode
Adjusting the sound
Cable connection
If you are in a non-DHCPenvironment
ii.You can adjust the Network Settings
Operation
Direct power off
Shutting down the projector
Menu operation
Menu system
4. SYSTEM SETUP Basic
Main menu Sub-menu
Options
Options
SETUP
Main menu Sub-menu
SYSTEM
Description of each menu
1. DISPLAY menu 2. PICTURE menu
3. SOURCE menu 4. SYSTEM SETUP Basic menu
Function
5. SYSTEM SETUP Advanced menu
Settings
5. SYSTEM SETUP Advanced menu
Settings
Reset All
Description
6. INFORMATION menu
Function
Current
Cleaning the projector case
Maintenance
Cleaning the lens
Care of the projector
Lamp information
Getting to know the lamp hour
Extending lamp life
Timing of replacing the lamp
Status
Message
52 Maintenance
Replacing the lamp
4.Disconnect the lamp connector from the
2.Loosen the screw that secures the lamp
7.Use the handle to slowly pull the lamp out of
Resetting the lamp timer
Light
Indicators
Power events
Status & Description
Troubleshooting
Specifications
Projector specifications
Ceiling Mount screw
Dimensions
Ceiling mount installation
M4 x 8 Max L = 8 mm
Timing chart
Supported timing for PC input
UXGA
Supported timing for HDMI HDCP input
60 Specifications
Timing
Supported timing for Component-YPbPr input
Supported timing for Video and S-Videoinputs
Timing
Copyright
Warranty and Copyright information
Limited warranty
Disclaimer
Top
Page
Image
Contents