135 S specifications
The Bernina 135 S sewing machine is a versatile and reliable option for sewing enthusiasts and professional crafters alike. Known for its precision and durability, this machine offers a range of features that make it suitable for various sewing tasks, from basic stitching to more complex projects.One of the primary features of the Bernina 135 S is its user-friendly interface. The machine is equipped with a clear and intuitive control panel, allowing users to quickly navigate through different settings and functions. This ease of use makes it an excellent choice for both beginners and experienced sewers, enabling them to focus on their creativity rather than fumbling with complicated controls.
The Bernina 135 S offers a robust selection of stitch options, including utility stitches, decorative stitches, and quilting stitches. With over 30 built-in stitch patterns, sewers can easily find the perfect stitch for their fabric and project. The adjustable stitch length and width further enhance the customization options, allowing for detailed work and unique designs.
In addition to its impressive stitch selection, the Bernina 135 S is designed with advanced technology to ensure precise sewing. The machine features a powerful motor for consistent speed and stability, allowing it to handle heavy fabrics with ease. The built-in needle threader simplifies the threading process, making it quick and straightforward to get started on projects.
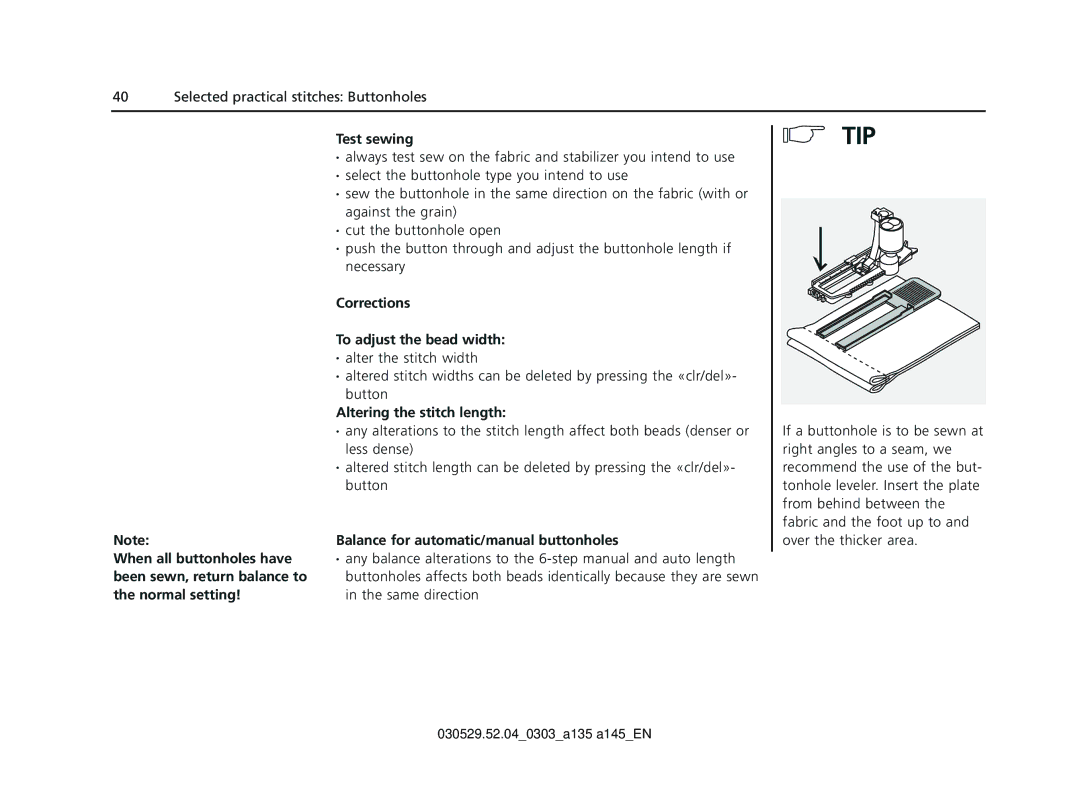
Another notable characteristic of the Bernina 135 S is its automatic buttonhole function. This feature takes the guesswork out of creating buttonholes, providing consistent results with various fabric types. The machine also includes several presser feet attachments that expand its versatility, making it suitable for a wide range of applications, including quilting, garment construction, and home décor projects.
The Bernina 135 S is built with quality and longevity in mind. Its sturdy construction assures users that it can withstand frequent use, making it a long-term investment for any sewing enthusiast.
In summary, the Bernina 135 S combines user-friendly functionality with advanced sewing technology, offering a robust machine that meets the demands of various sewing projects. With its impressive features, customizable options, and durability, it stands out as a reliable choice for those looking to enhance their sewing experience.

