Assembly
The only tool you’ll need to assemble your vacuum is a screwdriver.
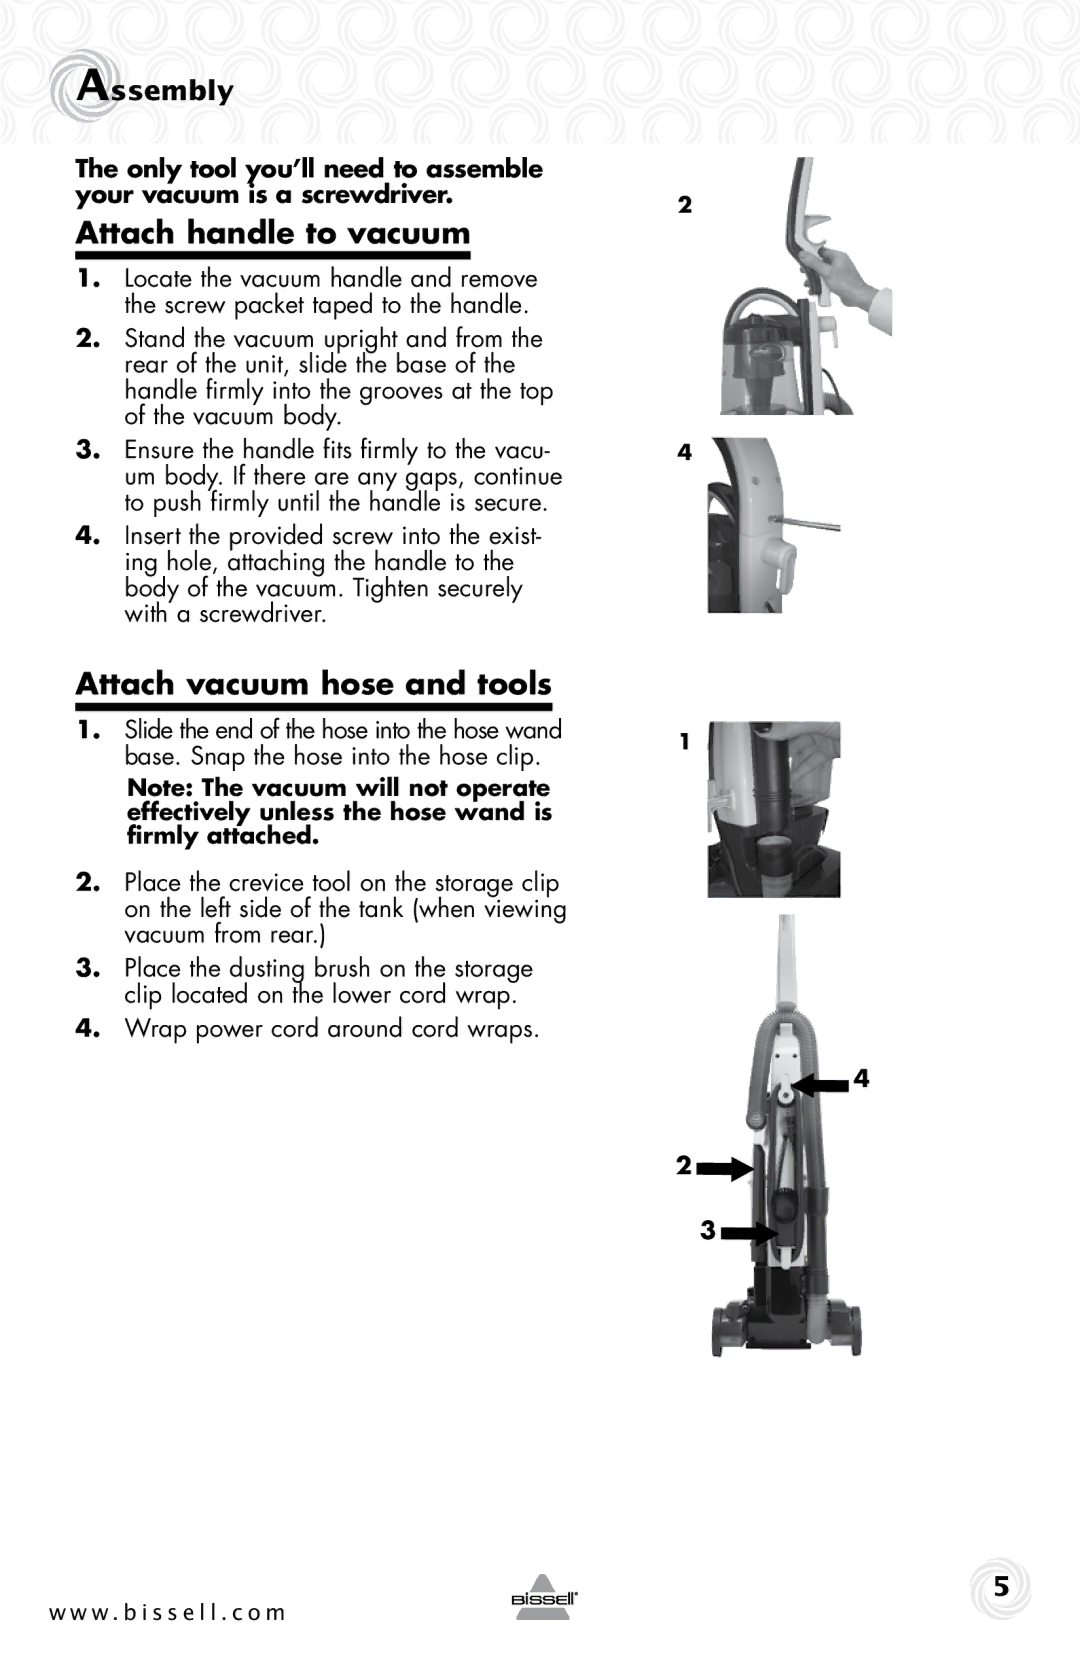
Attach handle to vacuum
1.Locate the vacuum handle and remove the screw packet taped to the handle.
2.Stand the vacuum upright and from the rear of the unit, slide the base of the handle firmly into the grooves at the top of the vacuum body.
3.Ensure the handle fits firmly to the vacu- um body. If there are any gaps, continue to push firmly until the handle is secure.
4.Insert the provided screw into the exist- ing hole, attaching the handle to the body of the vacuum. Tighten securely with a screwdriver.
Attach vacuum hose and tools
1.Slide the end of the hose into the hose wand base. Snap the hose into the hose clip.
Note: The vacuum will not operate effectively unless the hose wand is firmly attached.
2.Place the crevice tool on the storage clip on the left side of the tank (when viewing vacuum from rear.)
3.Place the dusting brush on the storage clip located on the lower cord wrap.
4.Wrap power cord around cord wraps.
2
4
1
![]() 4
4
2![]()
3![]()
5
w w w . b i s s e l l . c o m