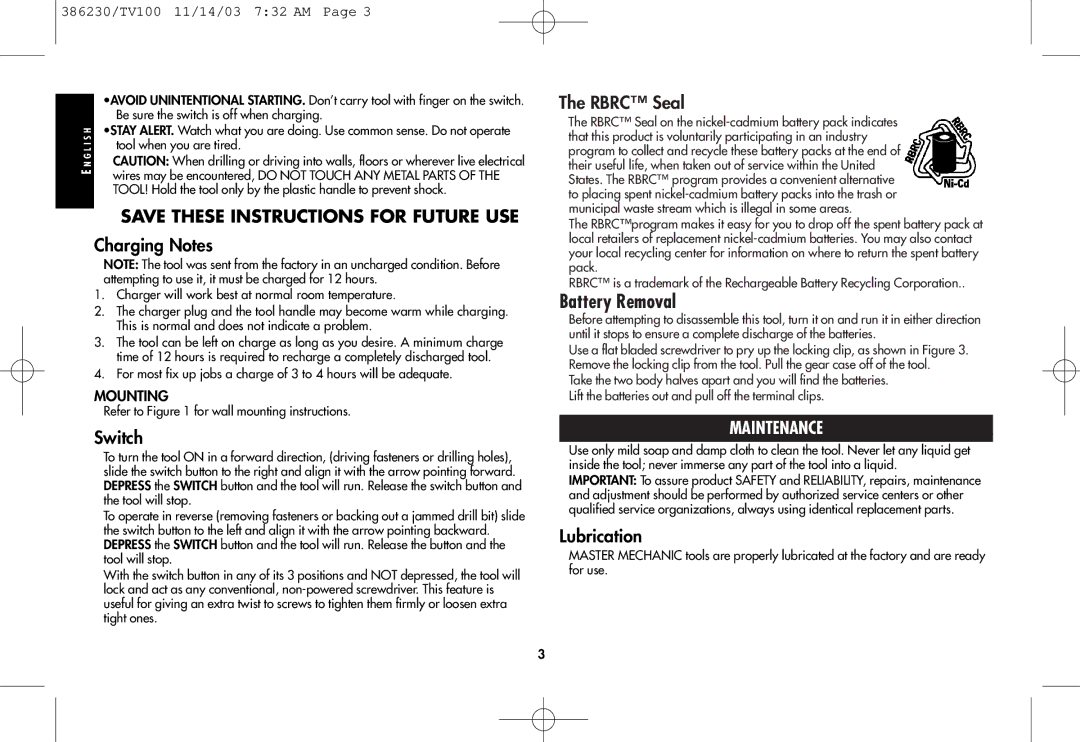
386230, TV100 specifications
The Black & Decker TV100,386230 is a versatile and efficient tool that embodies the brand's reputation for durability and performance. This high-quality equipment is designed to meet the needs of both DIY enthusiasts and professional users, making it a must-have addition to any workshop or home improvement arsenal.One of the standout features of the TV100,386230 is its powerful motor. With a robust design, this tool delivers impressive torque and speed, allowing users to tackle a variety of projects with ease. Whether it’s drilling through tough materials or driving screws into hardwood, the motor ensures reliable performance time after time.
In addition to its power, the TV100,386230 boasts an ergonomic design that enhances user comfort during extended use. The tool is lightweight and features a non-slip grip, reducing fatigue and improving control. This design consideration is particularly beneficial for users who require precision and accuracy in their tasks.
Another significant characteristic of the Black & Decker TV100,386230 is its versatility. This tool is equipped with multiple speed settings and torque adjustments, allowing users to customize their approach based on the specific requirements of the job. This flexibility makes it suitable for a wide range of applications, from light household repairs to more demanding construction tasks.
The built-in LED work light is another noteworthy technology integrated into the TV100,386230. This feature illuminates dark work areas and enhances visibility, making it easier for users to see what they're doing, especially in tight or poorly lit spaces. This added convenience ensures that quality work is achieved, regardless of the environment.
Durability is also a key focus for Black & Decker, and the TV100,386230 is constructed from high-quality materials designed to withstand the rigors of frequent use. The rugged exterior helps protect internal components, ensuring the longevity of the tool even in challenging conditions.
Furthermore, the TV100,386230 is compatible with a range of accessories and attachments, further expanding its functionality. Users have the option to equip the tool with different drill bits, driving bits, and more, allowing for seamless transitions between various tasks.
In summary, the Black & Decker TV100,386230 is a powerful, ergonomic, and versatile tool ideal for a variety of applications. With its advanced features, user-friendly design, and durable construction, it stands out as a reliable solution for anyone looking to enhance their toolkit. Whether for professional use or home projects, this tool proves to be an invaluable asset.

