90564808
SETTING THE AUTOMATIC SHUT-OFF PRESSURE - FIGURE G
Note: The LCD will only show inflation pressures when the inflator is being used. In both inflation and pump mode the unit will show battery status.
•To switch between the different units (psi, bar or kPa), press - & + buttons (21, 23) at the same time until the required units are displayed.
•Press and hold either buttons - & + (21, 23) for 3 seconds until the display flashes.
•While the display is flashing press the - or + (21, 23) until the required pressure is displayed.
•After 3 seconds the display will flash and return to a reading of "0.0". This is normal.
•Connect the universal valve adaptor and accessories, if required, to the item to be inflated, making sure that the lever of the valve adaptor is in the down position to lock it in place.
•To start the inflator press the power button (22) on the LCD.
•When the item to be inflated has reached the preset value the unit will automatically turn off. Note: You may notice the actual pressure reading may drop after a couple of seconds, this is normal.
•To stop the inflator at any time press the power button (22) on the LCD.
•Remove the valve adaptor or accessory from the inflated item and the 12 Volt adapter (8) from your vehicle's 12 Volt accessory socket.
•Turn the main power switch (1) to the off position (b).
Note: If the main power switch is turned off, all settings will be lost and will need to be re- entered following the instructions under the heading 'Setting the automatic
USING THE INFLATOR AS A PRESSURE GAUGE
•Switch the main power switch (1) to the inflate position (c fig. G).
•Connect the universal valve adaptor (6) to the item to be checked.
•The LCD will display the items pressure.
•After checking, turn the main power switch (1) off and return the air hose to the storage location.
OPERATING THE HIGH-VOLUME PUMP
Note: Do not operate the pump when the vehicleʼs engine is running.
Note: Make sure that your 12 Vdc accessory socket is live. On some vehicles the accessory socket may only become live when the ignition key is in the accessory position. To inflate using the
•Switch the main power switch (1) to the pump position (a, fig. G).
•Remove the
•Insert the hose (with accessories if required) to the item to be inflated.
•To start the pump press the power switch (22) on the LCD.
•When the item is inflated as required or to stop the pump at any time press the power switch (22) on the LCD.
•Remove the hose from the item and store it on the unit.
•Turn the main power switch (1) to the off position (b fig. G).
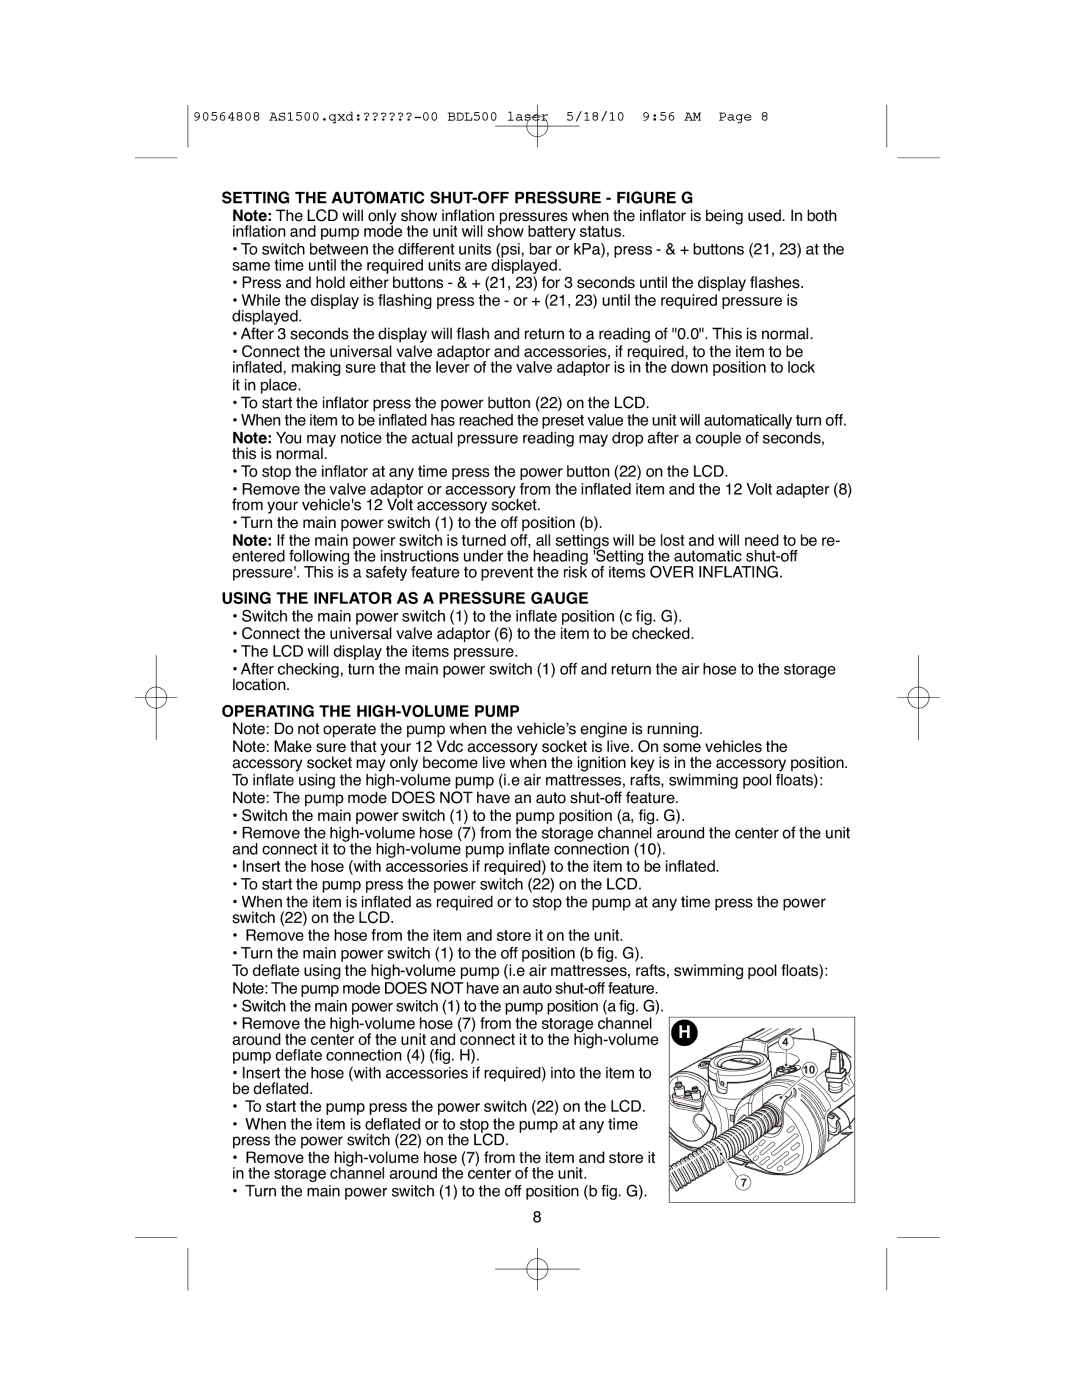
To deflate using the
Note: The pump mode DOES NOT have an auto
•Switch the main power switch (1) to the pump position (a fig. G).
•Remove the
•Insert the hose (with accessories if required) into the item to be deflated.
•To start the pump press the power switch (22) on the LCD.
•When the item is deflated or to stop the pump at any time press the power switch (22) on the LCD.
•Remove the
•Turn the main power switch (1) to the off position (b fig. G).
H | 4 |
| 10 |
| 7 |
8
