
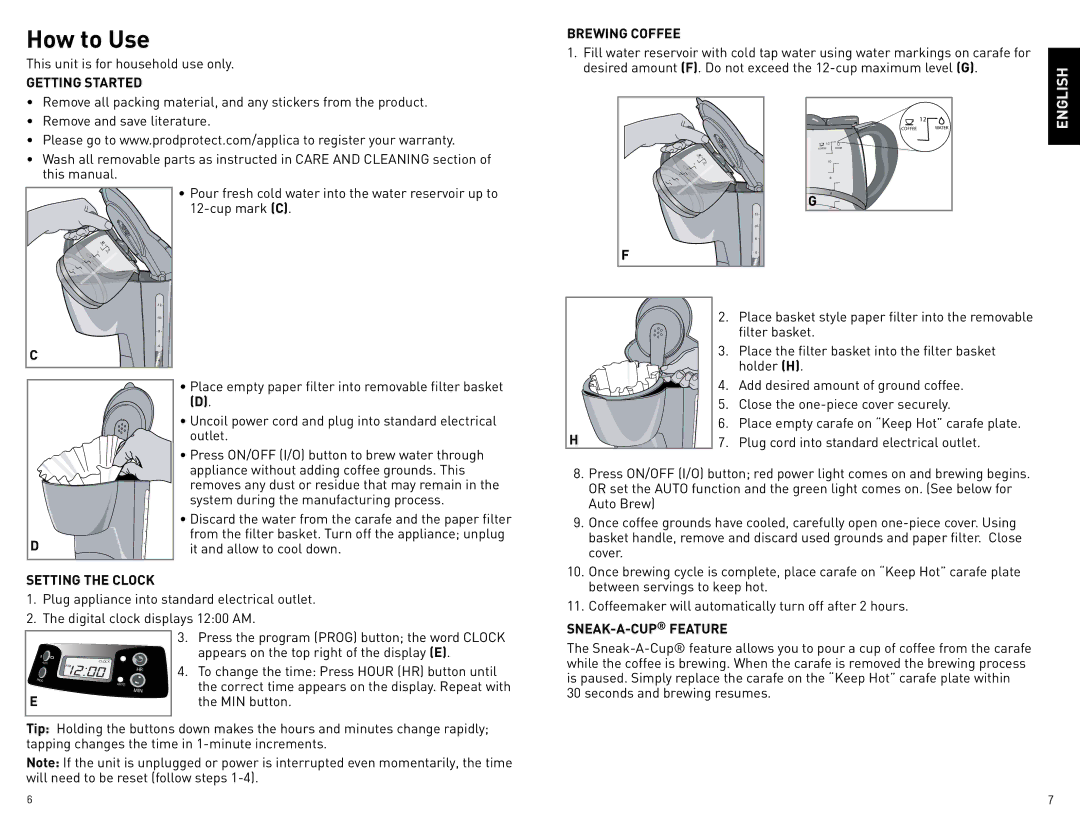
BCM1410BC, BCM1410BCUC specifications
The Black & Decker BCM1410BCUC and BCM1410BC are versatile and innovative coffee makers designed for coffee enthusiasts who seek convenience, quality, and style in their brewing experience. These coffee makers stand out in the market due to their user-friendly features, advanced technologies, and compact designs.One of the key highlights of the BCM1410BCUC and BCM1410BC is their programmable settings. With a 24-hour programmable timer, users can wake up to the enticing aroma of freshly brewed coffee. This feature allows for customization, ensuring that coffee is ready when you need it most. Simply set the timer the night before, and the machine will automatically brew your coffee at the desired time.
The brew strength selector is another standout feature, enabling users to choose between regular and bold brewing options. Whether you prefer a light cup of coffee or a rich, robust flavor, these coffee makers can accommodate your personal taste, ensuring each cup is just right.
Equipped with a 12-cup capacity, the BCM1410BCUC and BCM1410BC can easily cater to families or gatherings, allowing multiple servings in one go. The dual coffee filter basket accommodates both ground coffee and soft coffee pods, making it versatile for various brewing preferences.
In terms of technology, these coffee makers utilize a state-of-the-art brewing system that optimizes coffee extraction. The hot-water distribution technology ensures even saturation of coffee grounds, resulting in a balanced flavor profile. This is crucial for those who appreciate the nuances of their coffee.
The sleek and modern design of the Black & Decker BCM1410BCUC and BCM1410BC means they can fit seamlessly into any kitchen decor. The easy-to-read water window allows for precise water measurements, eliminating the guesswork involved in filling the reservoir. Additionally, the non-stick "keep warm" plate ensures that your coffee remains at the ideal serving temperature for extended periods.
Cleaning the machine is hassle-free thanks to removable parts and the dishwasher-safe filter basket. This feature saves time and effort, allowing busy users to enjoy their coffee without worrying about complicated maintenance.
In summary, the Black & Decker BCM1410BCUC and BCM1410BC coffee makers offer a combination of programmable convenience, customizable brewing strength, and stylish aesthetics. Their innovative technologies and capacity to brew great-tasting coffee make them an excellent choice for coffee lovers everywhere.