
CTO649C specifications
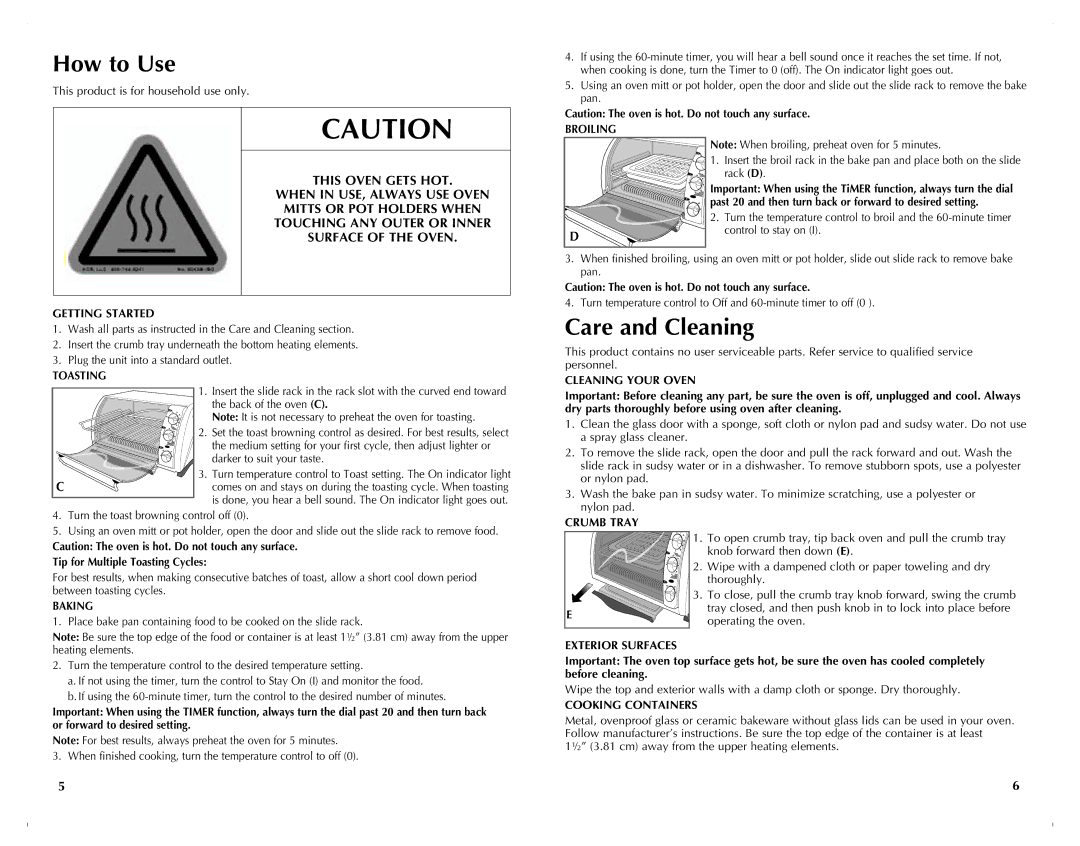
The Black & Decker CTO649C is a powerful countertop toaster oven designed to meet the demands of modern kitchens. Known for its versatility, this appliance provides an array of cooking options that cater to various meal preparations. One of its standout features is the ability to toast, bake, broil, and keep warm. This multifunctionality allows users to effortlessly switch between different cooking methods depending on their culinary needs.Equipped with a spacious interior, the CTO649C accommodates a significant amount of food, making it ideal for families or hosting gatherings. It can fit a 12-inch pizza or up to six slices of bread, enabling users to prepare meals efficiently. The adjustable temperature control is another key characteristic, allowing for precise cooking at temperatures ranging from 150°F to 450°F. This feature is especially beneficial for achieving the perfect toast, pizza, or baked goods.
The toaster oven also features a 60-minute timer with a stay-on function, which ensures that meals are cooked thoroughly without the risk of overcooking. The clear-view glass door provides easy monitoring of the cooking process, while the easy-to-use dials add to the appliance's user-friendly design.
In terms of construction, the Black & Decker CTO649C boasts a sleek and modern design that fits well with different kitchen aesthetics. The stainless steel finish not only adds a touch of elegance but also provides durability and easy cleaning. The removable crumb tray simplifies maintenance, ensuring that the countertop remains pristine after cooking.
Safety is paramount, and this toaster oven is designed with a cool-touch exterior that minimizes the risk of burns during operation. Additionally, the non-slip feet provide stability, making it secure while in use.
Overall, the Black & Decker CTO649C stands out as an exceptional countertop appliance, combining functionality, safety, and an attractive design. With its versatile cooking options and thoughtful features, it is a valuable addition to any kitchen, appealing to both novice cooks and culinary enthusiasts alike. The combination of technology and efficiency makes the CTO649C a reliable partner in meal preparation, ultimately enhancing the cooking experience.