4.Filter holder is top rack dishwasher safe or it may be hand washed in warm, sudsy water.
5.Rinse carbon filter with tap water.
6.Place carbon filter back inside filter holder.
7.Close the filter holder tightly until it snaps into place (see illustration D).
8.Place filter holder inside the water reservoir and insert it into the recess at the bottom right hand corner (see illustration E).
Note: To replace filter see Water Filter Replacement section.
Tip: Replace carbon filter every 60 brewing cycles or every 2 months after removing it from the sealed packaging. (Call the 800 number on the front cover for replacements)
MINERAL DEPOSITS AND CLOGGING
Mineral deposits left by hard water can clog your coffeemaker. Excessive steaming or a prolonged brewing cycle are signs that a cleaning is needed. Cleaning is recommended every 60 brewing cycles.
Important: Remove the water filter holder with the carbon filter from the water reservoir before cleaning the unit.
10.Wash the brew basket and carafe and carafe lid as instructed in CARE AND CLEANING.
11.Put the water filter holder with the carbon filter inside the water reservoir and insert it into the recess at the bottom right hand corner (see illustration E).
Bypassing the Clean Cycle
To bypass the Clean cycle, press and hold down the AUTO button for approximately 2 seconds.
Manual Cleaning
1. | Open water reservoir lid. |
2. | Pour white vinegar into the water reservoir up to the |
| window. Add fresh water up to the |
3. | Press brew basket release button to expose brew basket. |
4. | Insert a new paper filter in the brew basket. Set the empty carafe on the “Keep |
| Hot” plate. |
5. | Turn the coffeemaker on and let half the cleaning solution brew into the |
| carafe. Turn the coffeemaker off and let it soak for at least 15 minutes to |
| soften the deposits. |
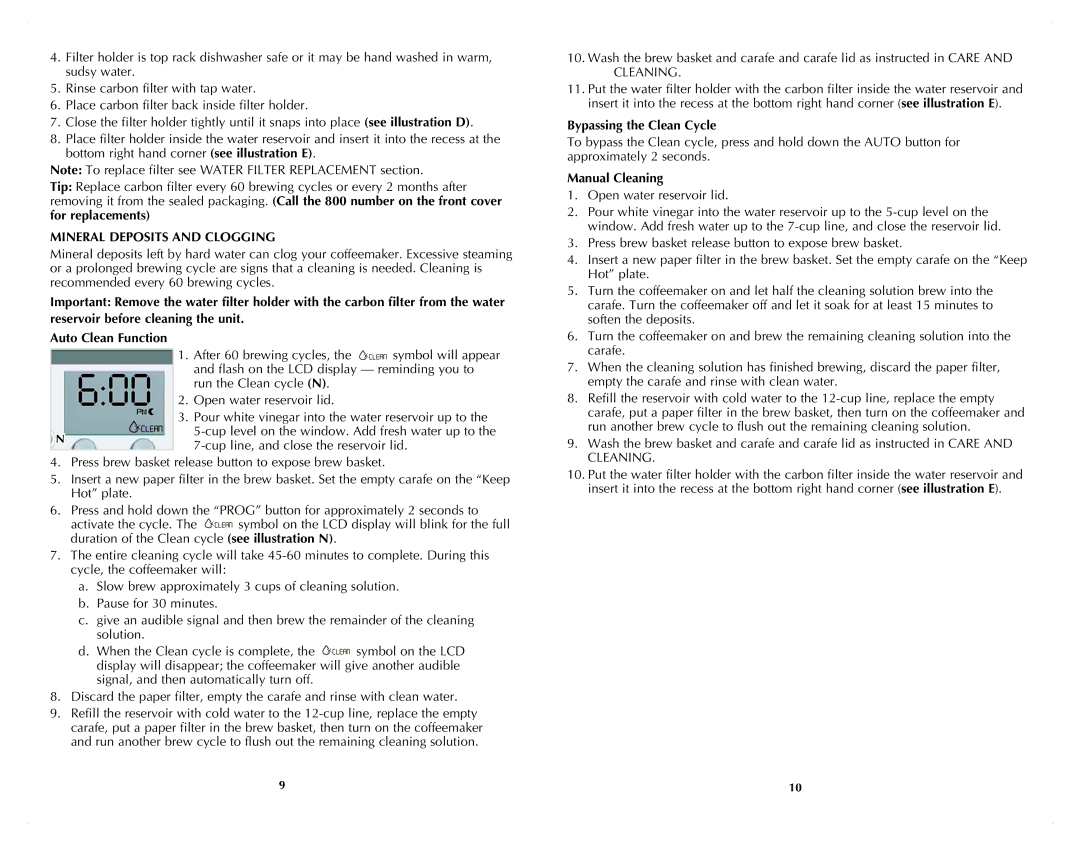
Auto Clean Function
6:00
N
1.After 60 brewing cycles, the ![]()
![]()
![]()
![]()
![]()
![]() symbol will appear and flash on the LCD display — reminding you to run the Clean cycle (N).
symbol will appear and flash on the LCD display — reminding you to run the Clean cycle (N).
2.Open water reservoir lid.
3.Pour white vinegar into the water reservoir up to the
6. | Turn the coffeemaker on and brew the remaining cleaning solution into the |
| carafe. |
7. | When the cleaning solution has finished brewing, discard the paper filter, |
| empty the carafe and rinse with clean water. |
8. | Refill the reservoir with cold water to the |
| carafe, put a paper filter in the brew basket, then turn on the coffeemaker and |
| run another brew cycle to flush out the remaining cleaning solution. |
9. | Wash the brew basket and carafe and carafe lid as instructed in CARE AND |
4.Press brew basket release button to expose brew basket.
5.Insert a new paper filter in the brew basket. Set the empty carafe on the “Keep Hot” plate.
6.Press and hold down the “PROG” button for approximately 2 seconds to
activate the cycle. The ![]()
![]()
![]()
![]()
![]()
![]() symbol on the LCD display will blink for the full duration of the Clean cycle (see illustration N).
symbol on the LCD display will blink for the full duration of the Clean cycle (see illustration N).
7.The entire cleaning cycle will take
a.Slow brew approximately 3 cups of cleaning solution.
b.Pause for 30 minutes.
c.give an audible signal and then brew the remainder of the cleaning solution.
d.When the Clean cycle is complete, the ![]()
![]()
![]()
![]()
![]()
![]() symbol on the LCD display will disappear; the coffeemaker will give another audible signal, and then automatically turn off.
symbol on the LCD display will disappear; the coffeemaker will give another audible signal, and then automatically turn off.
8.Discard the paper filter, empty the carafe and rinse with clean water.
9.Refill the reservoir with cold water to the
CLEANING. |
10. Put the water filter holder with the carbon filter inside the water reservoir and |
insert it into the recess at the bottom right hand corner (see illustration E). |
9 | 10 |