
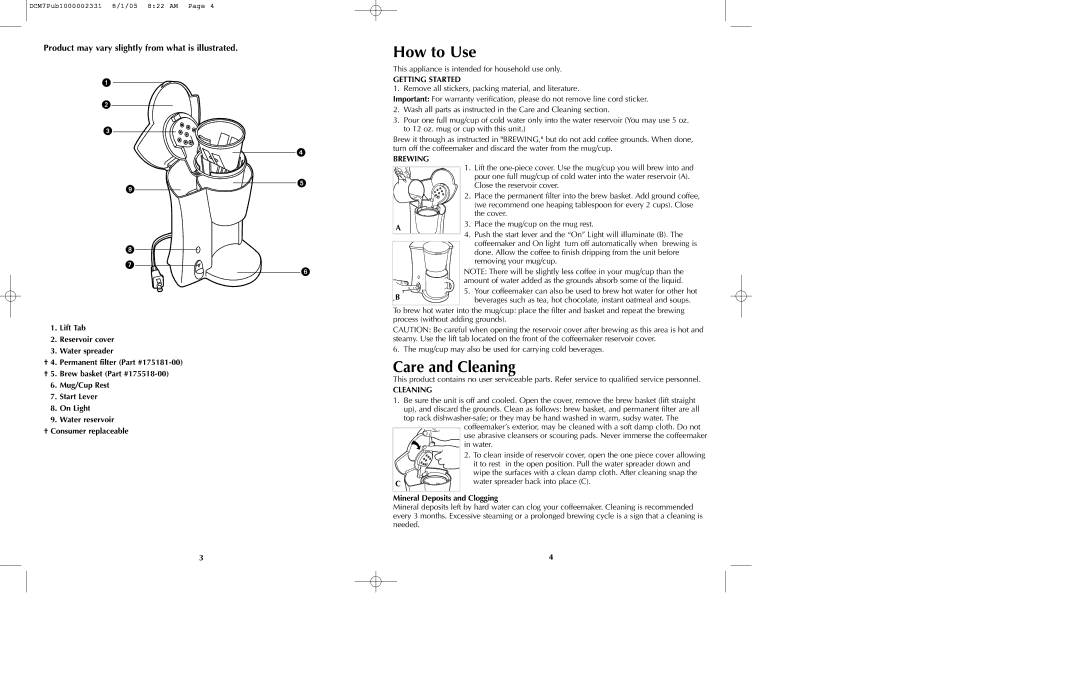
DCM7 specifications
The Black & Decker DCM7 is a highly regarded 12-cup programmable coffee maker that has become a staple in many kitchens due to its reliability and user-friendly features. This coffee maker is designed for those who appreciate the convenience of freshly brewed coffee at any time of day. With its compact design and efficient operation, the DCM7 is perfect for both small households and larger family gatherings.One of the standout features of the DCM7 is its 12-cup capacity, allowing users to brew enough coffee for multiple servings without the need for constant refills. The coffee maker is equipped with a dishwasher-safe removable filter basket, making cleanup easy and convenient. Users can also choose to use either a paper filter or a reusable filter, adding to the versatility of the appliance.
The DCM7 includes a 24-hour programming feature that enables users to set their coffee to brew automatically at a specified time. This means that coffee lovers can wake up to the aroma of freshly brewed coffee every morning, making it an ideal choice for busy mornings. The easy-to-read water level indicator ensures proper measurements for the perfect brew every time.
Another notable characteristic of the Black & Decker DCM7 is its built-in "Sneak-A-Cup" feature. This allows users to pause the brewing cycle temporarily and pour a cup of coffee before brewing has completed. This feature is particularly convenient for those who cannot wait for the full pot to finish brewing.
The coffee maker also features a nonstick "keep warm" plate that helps to maintain the temperature of the brewed coffee without scorching it. This plate automatically engages after brewing, ensuring that your coffee stays warm and ready to serve.
In terms of technology, the DCM7 is designed with a simple one-switch operation that makes brewing coffee straightforward and intuitive. The unit's durable construction and quality materials ensure that it will withstand daily use without showing signs of wear.
Overall, the Black & Decker DCM7 is a reliable and efficient coffee maker that combines practicality with user-friendly features. Its programmability and generous capacity make it a trustworthy companion for coffee enthusiasts who value both convenience and quality in their daily brew. Whether brewing a quick cup or a full pot, the DCM7 delivers flavor and functionality, earning its place as a favorite in homes everywhere.