
GR380/85, GR385 specifications
The Black & Decker GR380/85 and GR385 are powerful and versatile garden tools designed to tackle various outdoor tasks effectively. These models, renowned for their reliability and performance, stand out in the garden equipment market due to their innovative features and user-friendly design.At the core of both models is a robust motor that delivers ample power, ensuring efficient operation whether you are mowing your lawn or managing smaller garden tasks. The GR380/85 comes equipped with a 1600W motor, while the GR385 features slightly more power, making it ideal for tackling taller grass and tougher terrains. The increased power ensures that these mowers can handle various types of grass and garden conditions with ease.
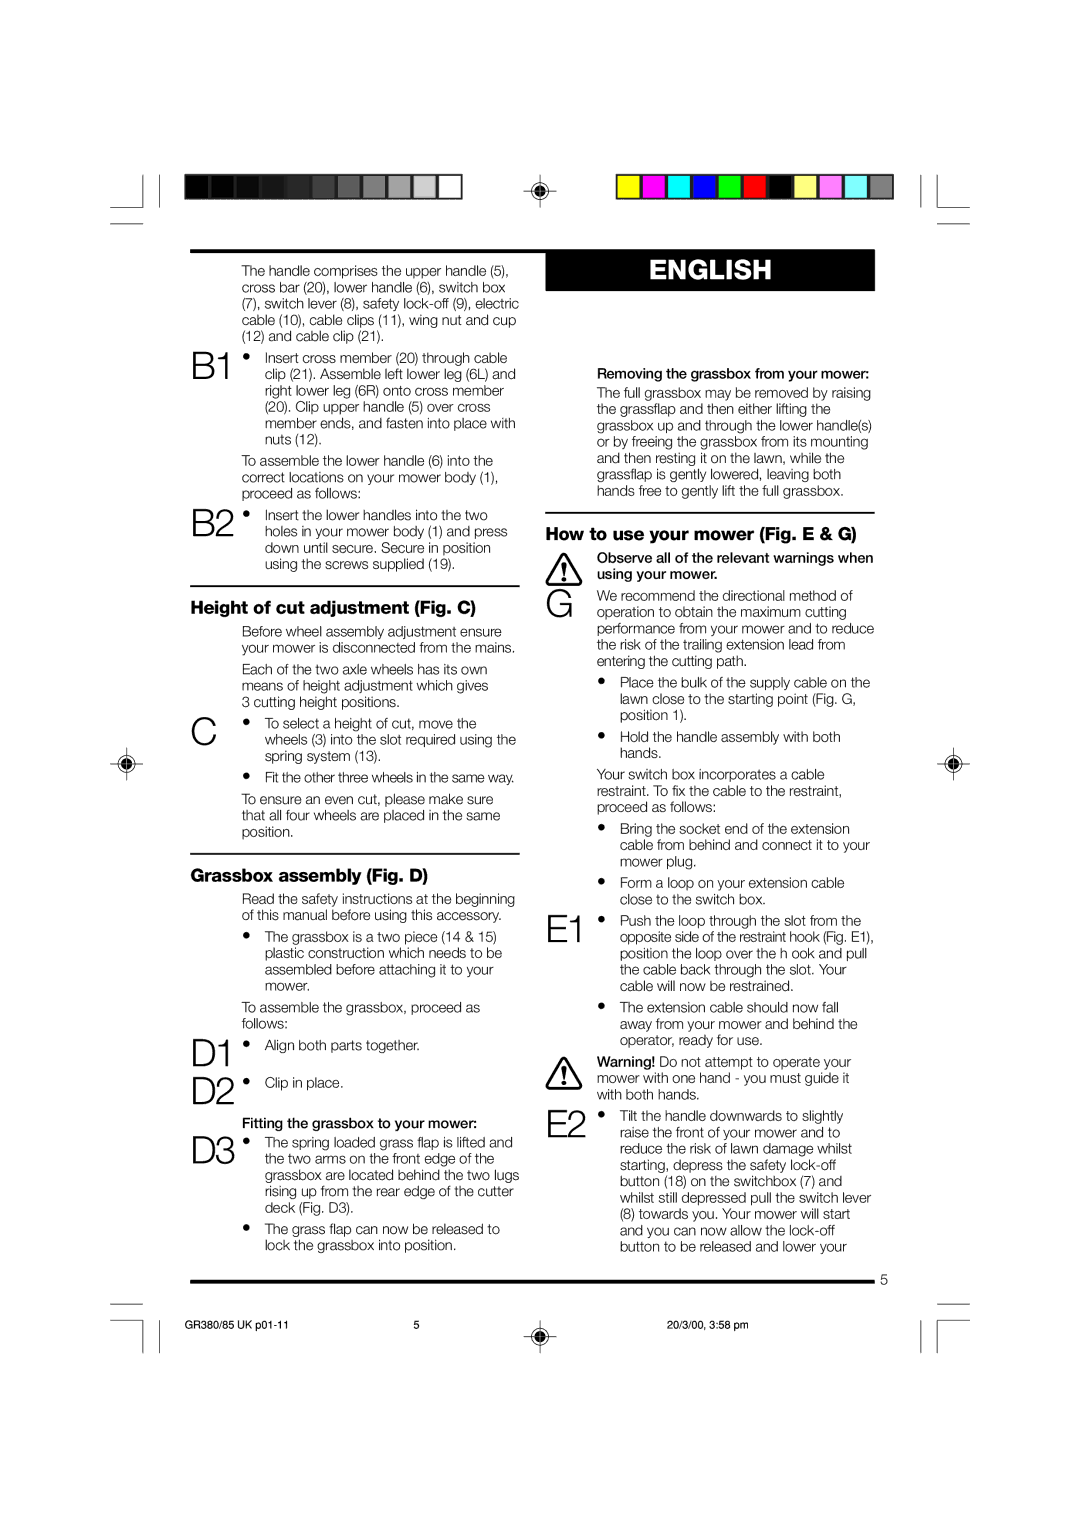
One of the main characteristics that differentiate these models is their adjustable cutting height. Users can choose from multiple height settings, enabling them to achieve their desired grass length without difficulty. This feature is especially beneficial for maintaining a healthy lawn, as it allows for cutting at various heights depending on the season and grass type.
Both models are equipped with efficient grass collection systems, ensuring that clippings are collected neatly as you mow. The GR380/85 features a 40-liter grass box, while the GR385 boasts a slightly larger capacity. This means less time spent emptying clippings and more time enjoying a well-manicured yard.
The build quality of the GR380/85 and GR385 is another highlight. Constructed with durable materials, these mowers are designed for longevity, providing reliable performance season after season. Additionally, the lightweight design of both models enhances maneuverability, making it easy to navigate turns and edges while mowing.
Safety features are also a significant consideration in these models. They come with a safety switch that prevents accidental starts, ensuring that users can operate them confidently and securely.
In conclusion, the Black & Decker GR380/85 and GR385 are excellent choices for homeowners looking to maintain their gardens. With powerful motors, adjustable cutting heights, effective grass collection systems, and reliable build quality, these models provide efficient and user-friendly solutions for various outdoor tasks. Whether you are an experienced gardener or a novice, these mowers can help you achieve a pristine lawn with minimal effort.