GSR10Pub1000002369 6/14/05 4:57 PM Page 6
ASSEMBLING YOUR UNIT
Inserting Flexible Hose
1. To connect the flexible hose, align connector prongs with holes on the unit and push inside the connector (C).
2. Slide the lock nut through the hose all the way to the end.
| 3. Place lock nut over the unit connector and twist clockwise |
C | tightly in place (D). |
 Inserting Trouser Clamps Holder Assembly
For your convenience the trouser clamps can be used as a regular clip hanger at the top of the telescopic pole or to clip the bottoms of the pants.
1. Loosen the holder lock nut by turning it counterclockwise.
D2. Find the slot at the bottom of the pole, insert and slide holder assembly with holder facing as shown (E).
4. Once the telescopic pole is inside the connector, twist the lock nut clockwise until tight (K).
Inserting Steam Nozzle Holder Assembly
K | 1. Pull up one extension tube at time and tighten each lock nut | |
by twisting clockwise (L). | ||
| 2. Insert steam nozzle holder assembly at the top of the | |
| telescopic pole and rotate it clockwise until securely | |
| in place (M). | |
| Steam Nozzle | |
L | 1. Insert steam nozzle into its holder (N). | |
2. Attach the lint brush to the nozzle by inserting end tabs | ||
| ||
| into the nozzle slots (P). |
![]() Your unit is now assembled!
Your unit is now assembled!
E
Note: If using the trouser clamps as a regular clip hanger, slide the holder assembly to the top of the pole.
3.Secure assembly in place by twisting the lock nut clockwise until it is tight (F).
Tip: Make sure the trouser holder is in the upright position.
M | How to Use |
This appliance is for household use only.
GETTING STARTED
Filling Water Tank
1. Make sure the unit is unplugged.
![]() 4. Insert and push trouser clamp bar securely into the holder.
4. Insert and push trouser clamp bar securely into the holder.
Inserting Telescopic Tube
1.With the trouser clamp holder in place, remove the lock nut from the unit connector by turning it counterclockwise (G).
F | 2. Insert and slide the narrow end of the lock nut through the flat | |
| ||
| end of the telescopic pole (H). | |
| 3. Hold the telescopic pole and insert into the connector. | |
| a. Look inside the connector and find the alignment notch (J). | |
| b. Take the telescopic pole, align the open slot at the end with | |
G | the notch inside the connector and push the telescopic pole | |
all the way inside the connector. You might have to wiggle | ||
| ||
| it to fit in. |
Important: The slot on the telescopic pole must slide over the notch inside the connector for the pole to slide into position.
2. Place unit on the floor.
N3. Grasp water tank handle and remove water tank.
4. Turn the water tank upside down and remove the cap by turning it counterclockwise (Q).
5. Fill the water tank with water.
Important: Do not add cleaning solutions or any other chemicals
Pto the water in the tank. Only use regular tap water.
6.Replace the cap and tighten by turning it clockwise.
7.Insert water tank back into the unit securely in place.

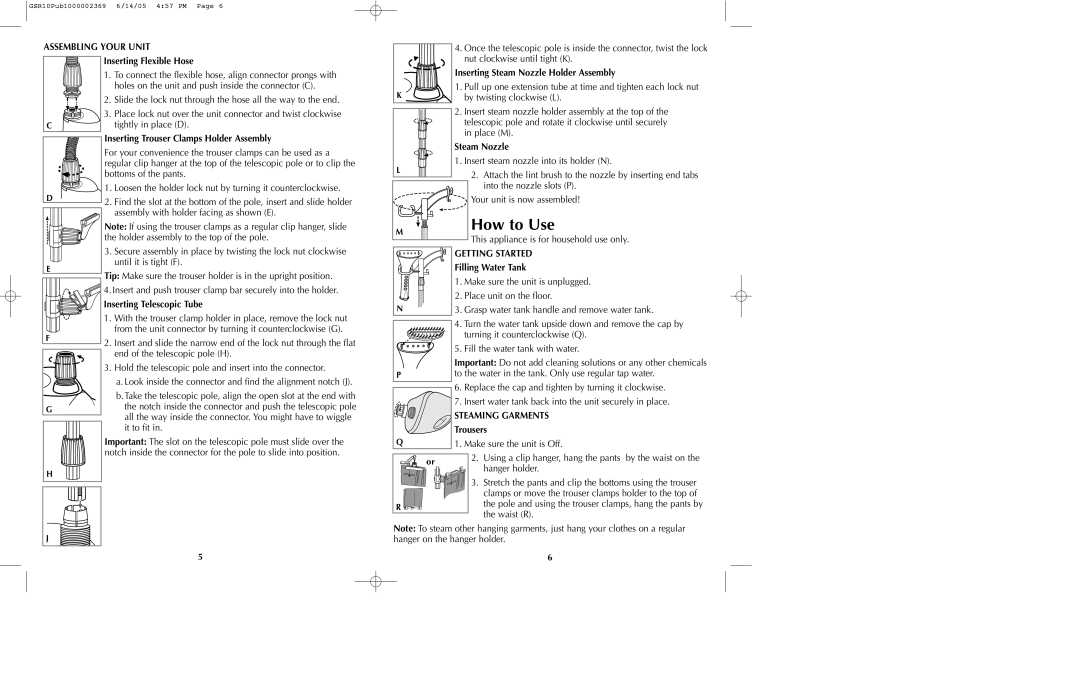
 STEAMING GARMENTS Trousers
Q1. Make sure the unit is Off.
H
or |
R |
2.Using a clip hanger, hang the pants by the waist on the hanger holder.
3.Stretch the pants and clip the bottoms using the trouser clamps or move the trouser clamps holder to the top of the pole and using the trouser clamps, hang the pants by the waist (R).
J
5
Note: To steam other hanging garments, just hang your clothes on a regular hanger on the hanger holder.
6