OPERATING INSTRUCTIONS |
| |
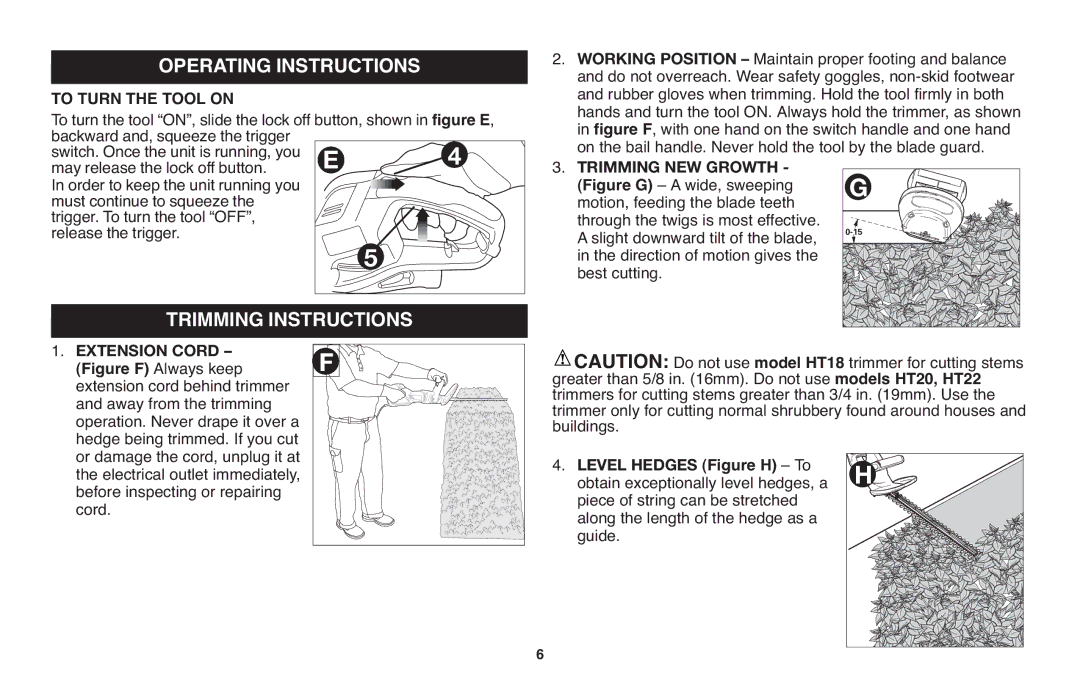
TO TURN THE TOOL ON |
|
|
To turn the tool “ON”, slide the lock off button, shown in figure E, | ||
backward and, squeeze the trigger | E | 4 |
switch. Once the unit is running, you | ||
may release the lock off button. |
|
|
In order to keep the unit running you |
|
|
must continue to squeeze the |
|
|
trigger. To turn the tool “OFF”, |
|
|
release the trigger. | 5 |
|
|
| |
TRIMMING INSTRUCTIONS |
| |
1. (FigureEXTENSIONF) AlwaysCORDkeep– | F |
|
extension cord behind trimmer |
|
|
and away from the trimming |
|
|
operation. Never drape it over a |
|
|
hedge being trimmed. If you cut |
|
|
or damage the cord, unplug it at |
|
|
the electrical outlet immediately, |
|
|
before inspecting or repairing |
|
|
cord. |
|
|
2. WORKING POSITION – Maintain proper footing and balance | |
and do not overreach. Wear safety goggles, | |
and rubber gloves when trimming. Hold the tool firmly in both | |
hands and turn the tool ON. Always hold the trimmer, as shown | |
in figure F, with one hand on the switch handle and one hand | |
on the bail handle. Never hold the tool by the blade guard. | |
3. TRIMMING NEW GROWTH - | G |
(Figure G) – A wide, sweeping | |
motion, feeding the blade teeth |
|
through the twigs is most effective. | |
A slight downward tilt of the blade, |
|
in the direction of motion gives the |
|
best cutting. |
|
CAUTION: Do not use model HT18 trimmer for cutting stems | |
greater than 5/8 in. (16mm). Do not use models HT20, HT22 | |
trimmers for cutting stems greater than 3/4 in. (19mm). Use the | |
trimmer only for cutting normal shrubbery found around houses and | |
buildings. |
|
4. LEVEL HEDGES (Figure H) – To | H |
obtain exceptionally level hedges, a | |
piece of string can be stretched |
|
along the length of the hedge as a |
|
guide. |
|
6