90518305 03 MS600 ZONE
 SAFETY WARNINGS AND INSTRUCTIONS: SANDERS
•ALWAYS WEAR PROPER EYE AND RESPIRATORY PROTECTION.
•Clean your tool out periodically.
 OTHER IMPORTANT SAFETY WARNINGS AND INSTRUCTIONS
Extension Cords
When using an extension cord, be sure to use one heavy enough to carry the current your product will draw. An undersized cord will cause a drop in line voltage resulting in loss of power and overheating. The following table shows the correct size to use depending on cord length and nameplate ampere rating. If in doubt, use the next heavier gauge. The smaller the gauge number, the heavier the cord.
|
|
| Minimum Gauge for Cord Sets |
| ||
Volts |
| Total Length of Cord in Feet | ||||
120V |
| |||||
|
|
| ||||
240V |
| |||||
|
|
| ||||
Ampere Rating |
|
|
|
| ||
More |
| Not more | American Wire Gauge |
| ||
Than |
| Than |
|
|
|
|
0 | - | 6 | 18 | 16 | 16 | 14 |
6 | - | 10 | 18 | 16 | 14 | 12 |
10 | - | 12 | 16 | 16 | 14 | 12 |
12 | - | 16 | 14 | 12 | Not Recommended | |
SANDING
Lead Based Paint
Sanding of lead based paint is NOT RECOMMENDED due to the difficulty of controlling the contaminated dust. The greatest danger of lead poisoning is to children and pregnant women. Since it is difficult to identify whether or not a paint contains lead without a chemical analysis, we recommend the following precautions when sanding any paint:
Personal Safety
•No children or pregnant women should enter the work area where the paint sanding is being done until all clean up is completed.
•A dust mask or respirator should be worn by all persons entering the work area. The filter should be replaced daily or whenever the wearer has difficulty breathing.
•NOTE: Only those dust masks suitable for working with lead paint dust and fumes should be used. Ordinary painting masks do not offer this protection. See your local hardware dealer for the proper (NIOSH approved) mask.
•NO EATING, DRINKING or SMOKING should be done in the work area to prevent ingesting contaminated paint particles. Workers should wash and clean up BEFORE eating, drinking or smoking. Articles of food, drink, or smoking should not be left in the work area where dust would settle on them.
Environmental Safety
•Paint should be removed in such a manner as to minimize the amount of dust generated.
•Areas where paint removal is occurring should be sealed with plastic sheeting of 4 mils thickness.
•Sanding should be done in a manner to reduce tracking of paint dust outside the work area.
Cleaning and Disposal
•All surfaces in the work area should be vacuumed and thoroughly cleaned daily for the duration of the sanding project. Vacuum filter bags should be changed frequently.
•Plastic drop cloths should be gathered up and disposed of along with any dust chips or other removal debris. They should be placed in sealed refuse receptacles and disposed of through regular trash
•All toys, washable furniture and utensils used by children should be washed thoroughly before being used again.
6
Motor
Be sure your power supply agrees with nameplate marking. 120 Volts AC only means your tool will operate on standard 60 Hz household power. Do not operate AC tools on DC. A rating of 120 volts AC/DC means that you tool will operate on standard 60 Hz AC or DC power. This information is printed on the nameplate. Lower voltage will cause loss of power and can result in
OPERATING INSTRUCTIONS
![]() WARNING: To reduce the risk of serious personal injury, read, understand and follow all important safety warnings and instructions prior to using this tool.
WARNING: To reduce the risk of serious personal injury, read, understand and follow all important safety warnings and instructions prior to using this tool.
Switch
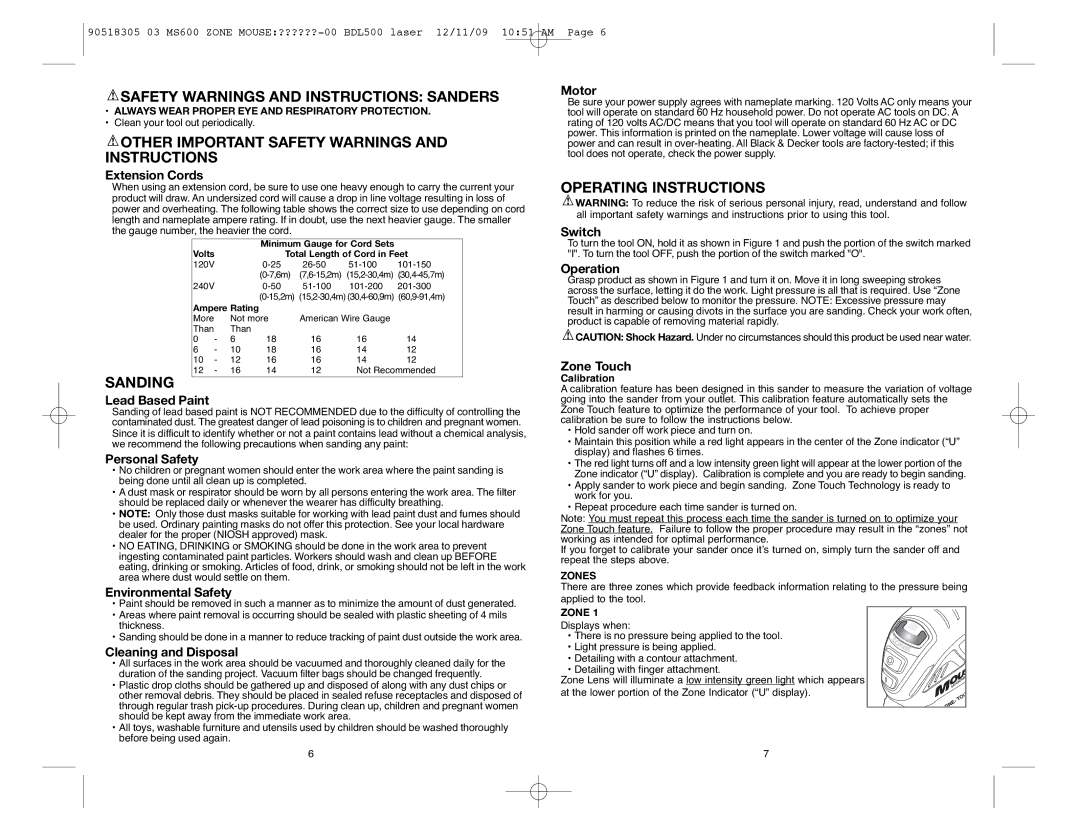
To turn the tool ON, hold it as shown in Figure 1 and push the portion of the switch marked "I". To turn the tool OFF, push the portion of the switch marked "O".
Operation
Grasp product as shown in Figure 1 and turn it on. Move it in long sweeping strokes across the surface, letting it do the work. Light pressure is all that is required. Use “Zone Touch” as described below to monitor the pressure. NOTE: Excessive pressure may result in harming or causing divots in the surface you are sanding. Check your work often, product is capable of removing material rapidly.
![]() CAUTION: Shock Hazard. Under no circumstances should this product be used near water.
CAUTION: Shock Hazard. Under no circumstances should this product be used near water.
Zone Touch
Calibration
A calibration feature has been designed in this sander to measure the variation of voltage going into the sander from your outlet. This calibration feature automatically sets the Zone Touch feature to optimize the performance of your tool. To achieve proper calibration be sure to follow the instructions below.
•Hold sander off work piece and turn on.
•Maintain this position while a red light appears in the center of the Zone indicator (“U” display) and flashes 6 times.
•The red light turns off and a low intensity green light will appear at the lower portion of the Zone indicator (“U” display). Calibration is complete and you are ready to begin sanding.
•Apply sander to work piece and begin sanding. Zone Touch Technology is ready to work for you.
•Repeat procedure each time sander is turned on.
Note: You must repeat this process each time the sander is turned on to optimize your Zone Touch feature. Failure to follow the proper procedure may result in the “zones” not working as intended for optimal performance.
If you forget to calibrate your sander once itʼs turned on, simply turn the sander off and repeat the steps above.
ZONES
There are three zones which provide feedback information relating to the pressure being applied to the tool.
ZONE 1
Displays when:
• There is no pressure being applied to the tool.
• Light pressure is being applied.
• Detailing with a contour attachment.
• Detailing with finger attachment.
Zone Lens will illuminate a low intensity green light which appears at the lower portion of the Zone Indicator (“U” display).
7