LGB5128A, Black Box SFP Managed Switch Eco specifications
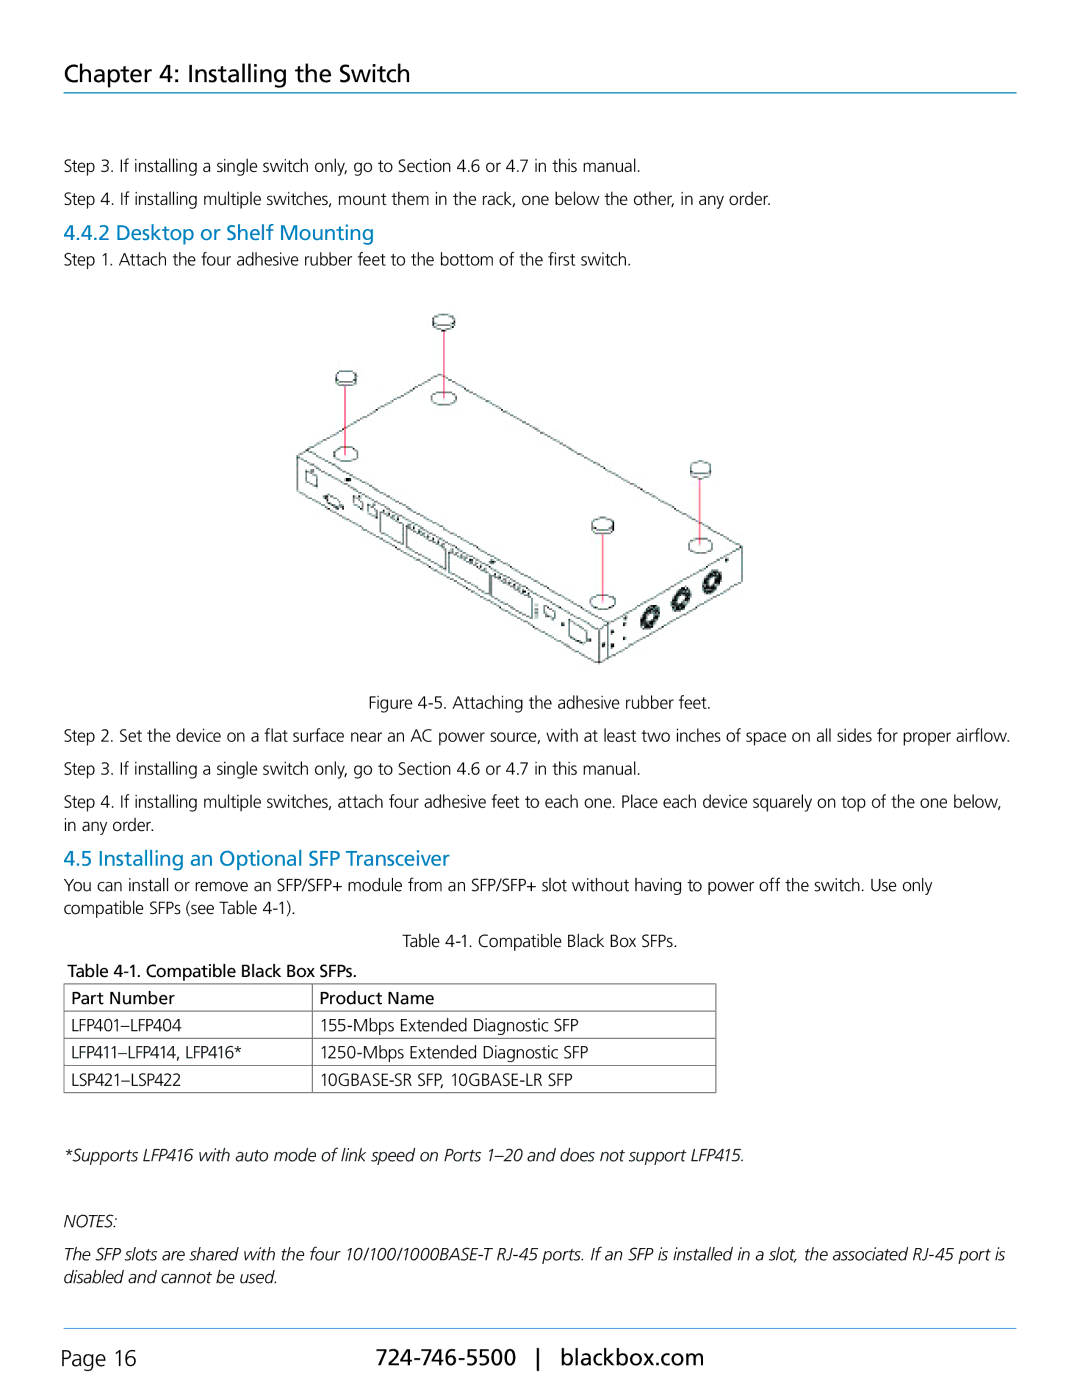
The Black Box LGB5128A, known for its robust design and advanced capabilities, is a standout component in the realm of network switches. Specifically, it is a managed switch that brings forth a spectrum of features tailored to enhance performance for various networking needs. Built to accommodate the demands of modern enterprises, the LGB5128A combines efficiency with scalability.At its core, the LGB5128A is equipped with 28 ports, featuring a combination of 24 Gigabit Ethernet ports and 4 specialized SFP (Small Form-factor Pluggable) ports. This configuration allows users to enjoy flexibility in connectivity options, supporting copper and fiber connections. Its ability to seamlessly integrate into existing infrastructures makes it an ideal choice for businesses planning to expand their networks without a complete overhaul.
One of the defining features of the Black Box LGB5128A is its managed switch capabilities. Administrators can easily configure, monitor, and manage the network through a user-friendly interface. This includes web-based management, Command Line Interface (CLI), and SNMP support, providing multiple layers for network management. Advanced features such as VLAN, QoS (Quality of Service), and Link Aggregation ensure that data traffic is efficiently handled and prioritized, improving overall network performance.
The LGB5128A also emphasizes security with features like 802.1X port-based authentication, providing a robust framework to prevent unauthorized access. Moreover, it supports IGMP snooping, which optimizes multicast traffic, ensuring that bandwidth is used effectively. Another important characteristic is its redundancy support, including Rapid Spanning Tree Protocol (RSTP), which reinforces network reliability and uptime.
In terms of technological advancements, the managed switch incorporates features such as Power over Ethernet (PoE) capabilities in some models, enabling seamless power delivery to connected devices. This is particularly beneficial for powering devices like IP cameras and VoIP phones without the need for additional power sources.
Overall, the Black Box LGB5128A managed switch stands out in the networking landscape with its extensive features, security measures, and scalability options. Its blend of performance, flexibility, and management capabilities makes it an exceptional choice for businesses aiming to enhance their networking infrastructure while ensuring peak performance and security.

