Chapter 4: Configuration and Setup
Step 2. Note the point where the power wire meets the rear hole in the divider. Measure back 6" toward the power brick and fold the wire in half to create a loop in the center of the wire. This loop will be used in Step 3, below. Unplug the power wire from the netbook and remove the netbook from the divider.
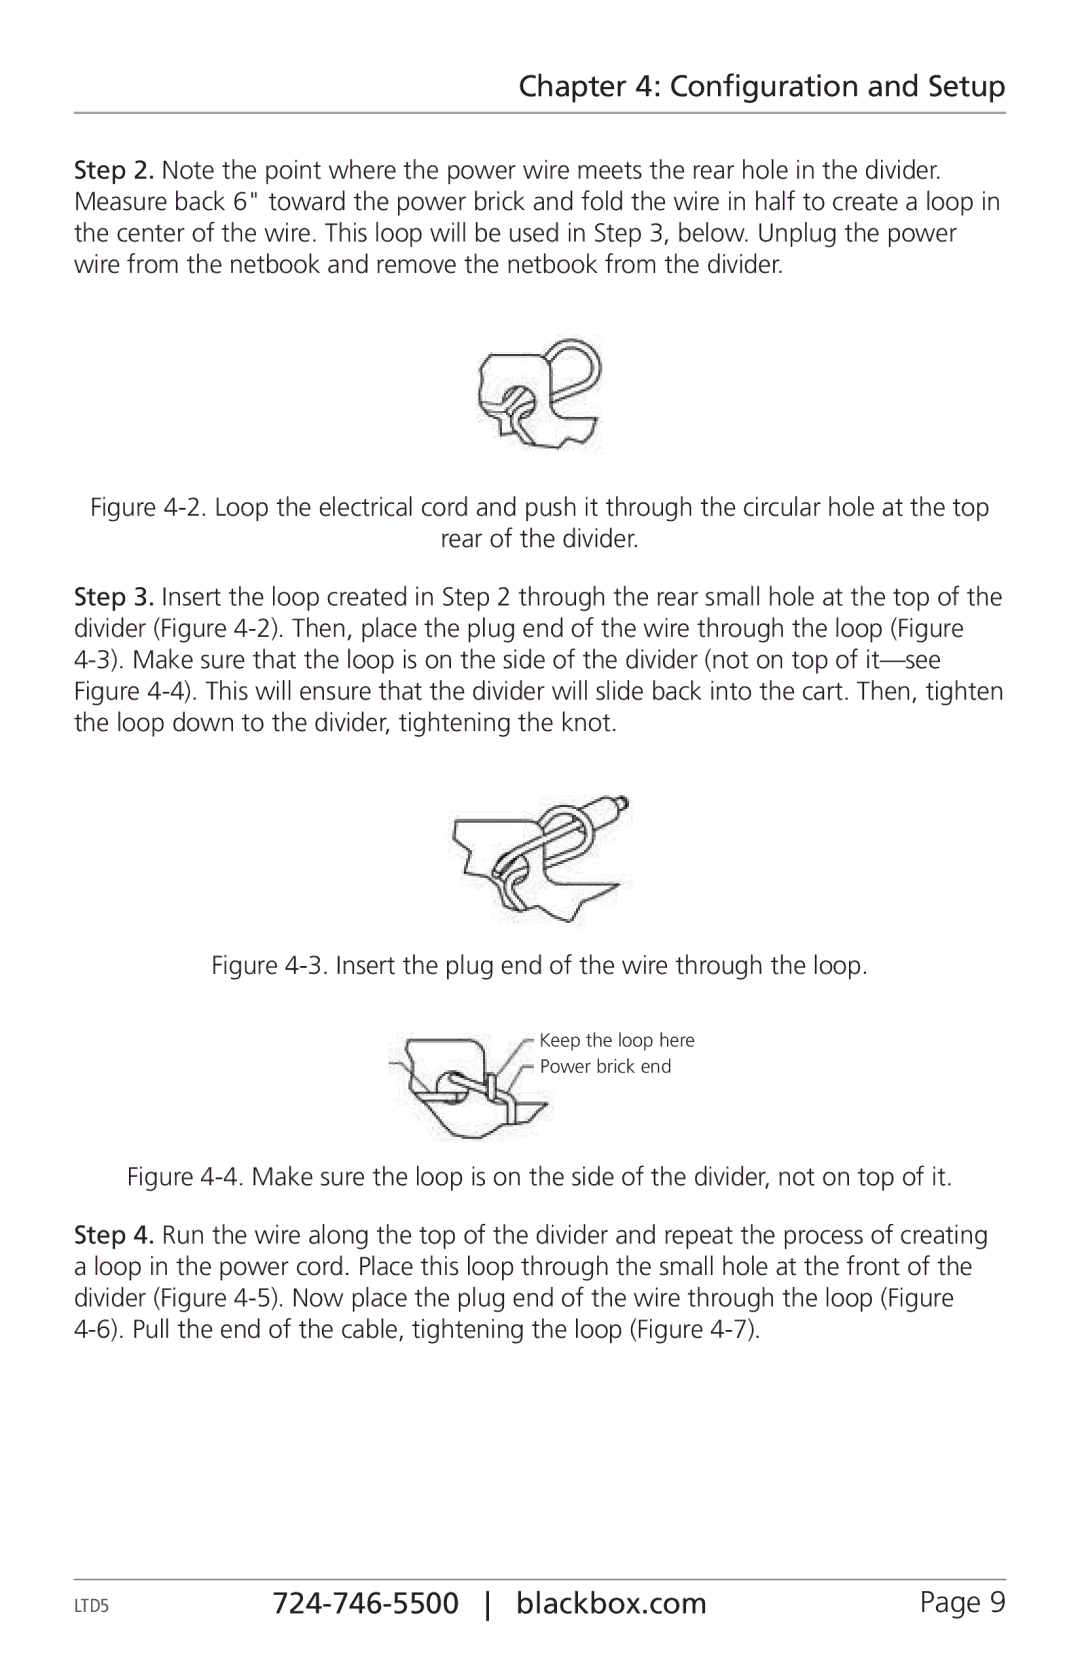
Figure 4-2. Loop the electrical cord and push it through the circular hole at the top
rear of the divider.
Step 3. Insert the loop created in Step 2 through the rear small hole at the top of the divider (Figure 4-2). Then, place the plug end of the wire through the loop (Figure 4-3). Make sure that the loop is on the side of the divider (not on top of it—see Figure 4-4). This will ensure that the divider will slide back into the cart. Then, tighten the loop down to the divider, tightening the knot.
Figure 4-3. Insert the plug end of the wire through the loop.
Keep the loop here
Power brick end
Figure 4-4. Make sure the loop is on the side of the divider, not on top of it.
Step 4. Run the wire along the top of the divider and repeat the process of creating a loop in the power cord. Place this loop through the small hole at the front of the divider (Figure 4-5). Now place the plug end of the wire through the loop (Figure 4-6). Pull the end of the cable, tightening the loop (Figure 4-7).
LTD5 |
| Page 9 |