ELECTRICAL CONNECTION
a. Make sure your car battery is a 12 volt (6 filler caps) negative ground system (if not, a converter will be necessary).
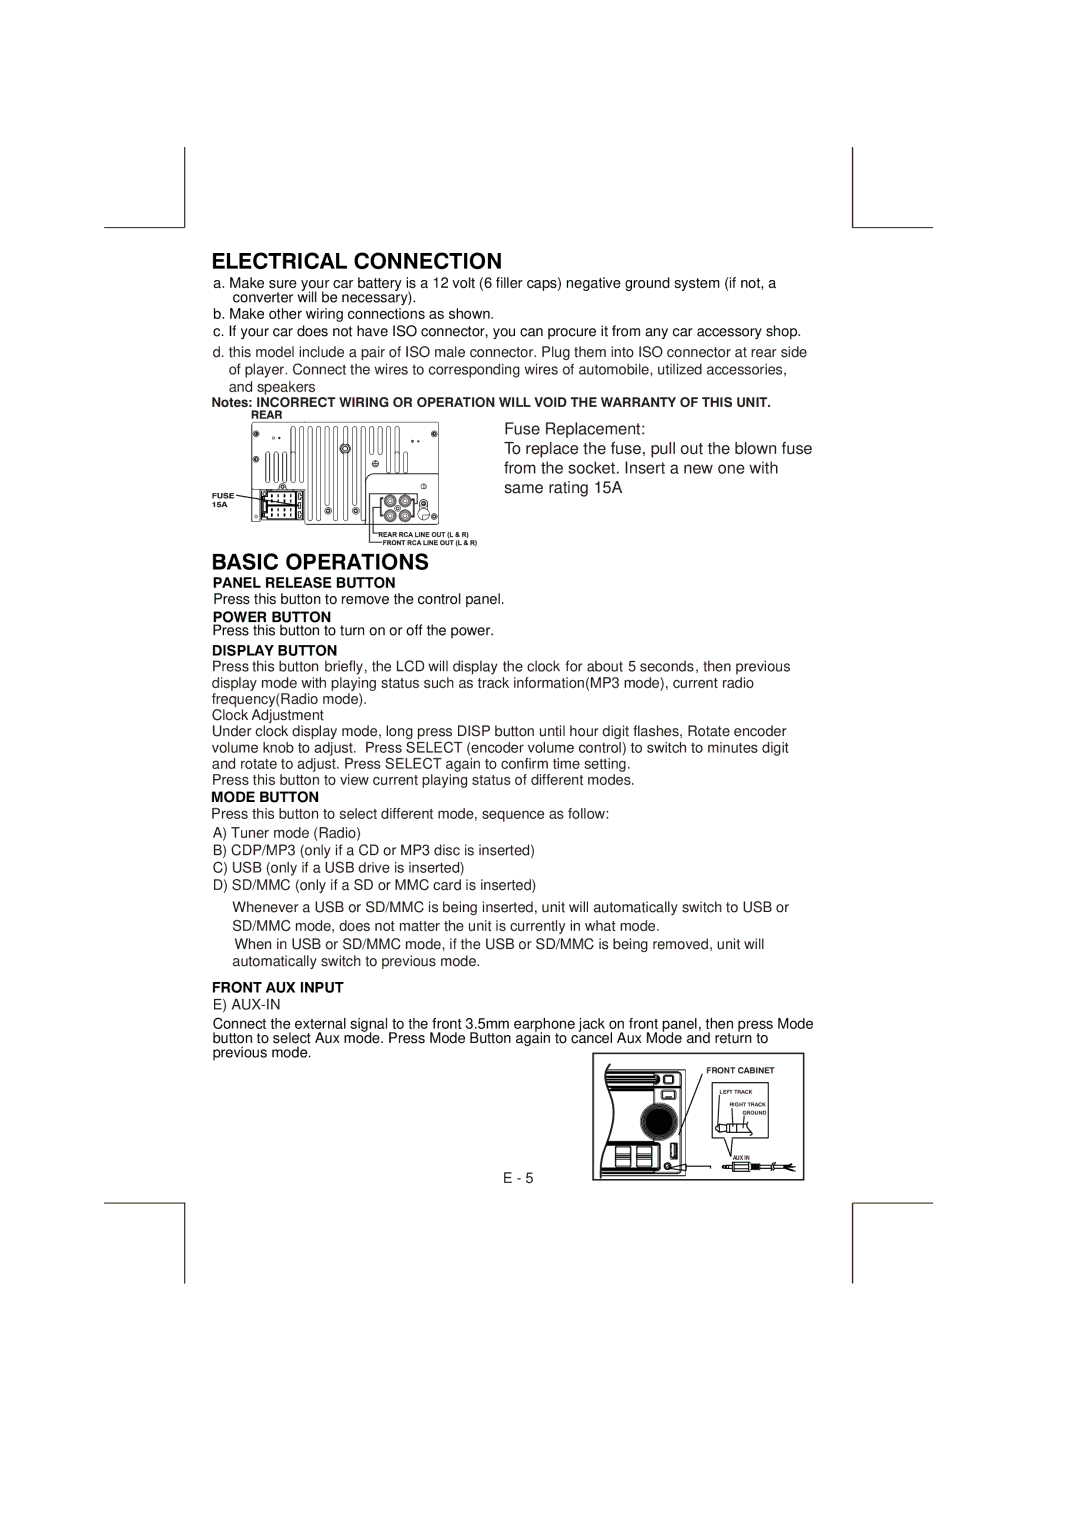
b. Make other wiring connections as shown.
c. If your car does not have ISO connector, you can procure it from any car accessory shop.
d. this model include a pair of ISO male connector. Plug them into ISO connector at rear side of player. Connect the wires to corresponding wires of automobile, utilized accessories, and speakers
Notes: INCORRECT WIRING OR OPERATION WILL VOID THE WARRANTY OF THIS UNIT.
Fuse Replacement:
To replace the fuse, pull out the blown fuse from the socket. Insert a new one with same rating 15A
BASIC OPERATIONS
PANEL RELEASE BUTTON
Press this button to remove the control panel.
POWER BUTTON
Press this button to turn on or off the power.
DISPLAY BUTTON
Press this button briefly, the LCD will display the clock for about 5 seconds, then previous display mode with playing status such as track information(MP3 mode), current radio frequency(Radio mode).
Clock Adjustment
Under clock display mode, long press DISP button until hour digit flashes, Rotate encoder volume knob to adjust. Press SELECT (encoder volume control) to switch to minutes digit and rotate to adjust. Press SELECT again to confirm time setting.
Press this button to view current playing status of different modes.
MODE BUTTON
Press this button to select different mode, sequence as follow:
A)Tuner mode (Radio)
B)CDP/MP3 (only if a CD or MP3 disc is inserted)
C)USB (only if a USB drive is inserted)
D)SD/MMC (only if a SD or MMC card is inserted)
Whenever a USB or SD/MMC is being inserted, unit will automatically switch to USB or SD/MMC mode, does not matter the unit is currently in what mode.
When in USB or SD/MMC mode, if the USB or SD/MMC is being removed, unit will automatically switch to previous mode.
FRONT AUX INPUT
E) AUX-IN
Connect the external signal to the front 3.5mm earphone jack on front panel, then press Mode button to select Aux mode. Press Mode Button again to cancel Aux Mode and return to previous mode.
FRONT CABINET
LEFT TRACK
RIGHT TRACK
GROUND
AUX IN
E - 5
