3300 specifications
The Bounty Hunter 3300 is a powerful metal detector renowned for its advanced features, user-friendly design, and robust technology. It is aimed at treasure hunters, hobbyists, and anyone interested in exploring the underground mysteries that lie beneath their feet. The Bounty Hunter 3300 prides itself on its simplicity and effectiveness, making it an excellent choice for both novices and experienced detectorists.One of the primary features of the Bounty Hunter 3300 is its lightweight and ergonomic design. Weighing in at just a few pounds, it allows users to conduct long treasure-hunting sessions without experiencing fatigue. The adjustable stem ensures that users of all heights can find a comfortable position, promoting hours of enjoyable exploration.
Equipped with a sensitive 8-inch search coil, the 3300 is adept at detecting various metal objects, from small coins to larger treasures buried deep underground. The detector's depth indicator provides real-time feedback on how deep the target is buried, aiding users in their digging efforts. The device also features a comprehensive discrimination mode, allowing users to filter out unwanted metal types like iron and aluminum, ensuring that valuable targets are not missed.
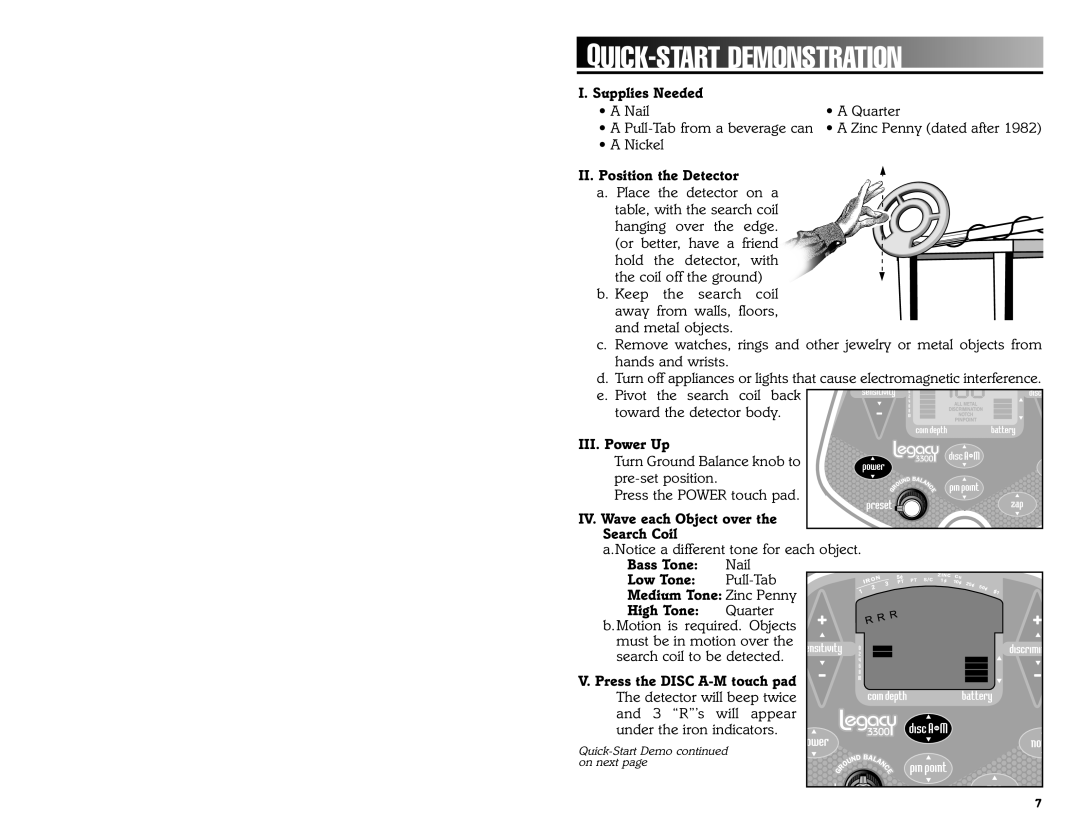
The Bounty Hunter 3300 employs advanced Ground Balancing technology, which helps the detector adapt to different soil conditions. This feature significantly reduces false signals caused by mineralization in the soil, allowing for a more precise detecting experience. Additionally, its intuitive LCD screen displays all the necessary information, including target identification, sensitivity settings, and battery levels, making it accessible at a glance.
Another noteworthy aspect of the Bounty Hunter 3300 is its target identification system, which provides audio cues corresponding to different metal types. This feature enables users to differentiate between valuable metals and less desirable finds, adding efficiency to their treasure hunting excursions. The adjustable sensitivity settings allow for customization based on the environment, ensuring optimal performance in various terrains.
In conclusion, the Bounty Hunter 3300 stands out as a dependable metal detector that combines advanced technology and user-friendly features. With its lightweight design, effective discrimination capabilities, and reliable depth detection, it's an ideal companion for anyone eager to uncover the hidden treasures of the world beneath them. Whether for recreational purposes or serious treasure hunting, the Bounty Hunter 3300 promises an engaging and rewarding experience.

