Charging and cleaning the shaver
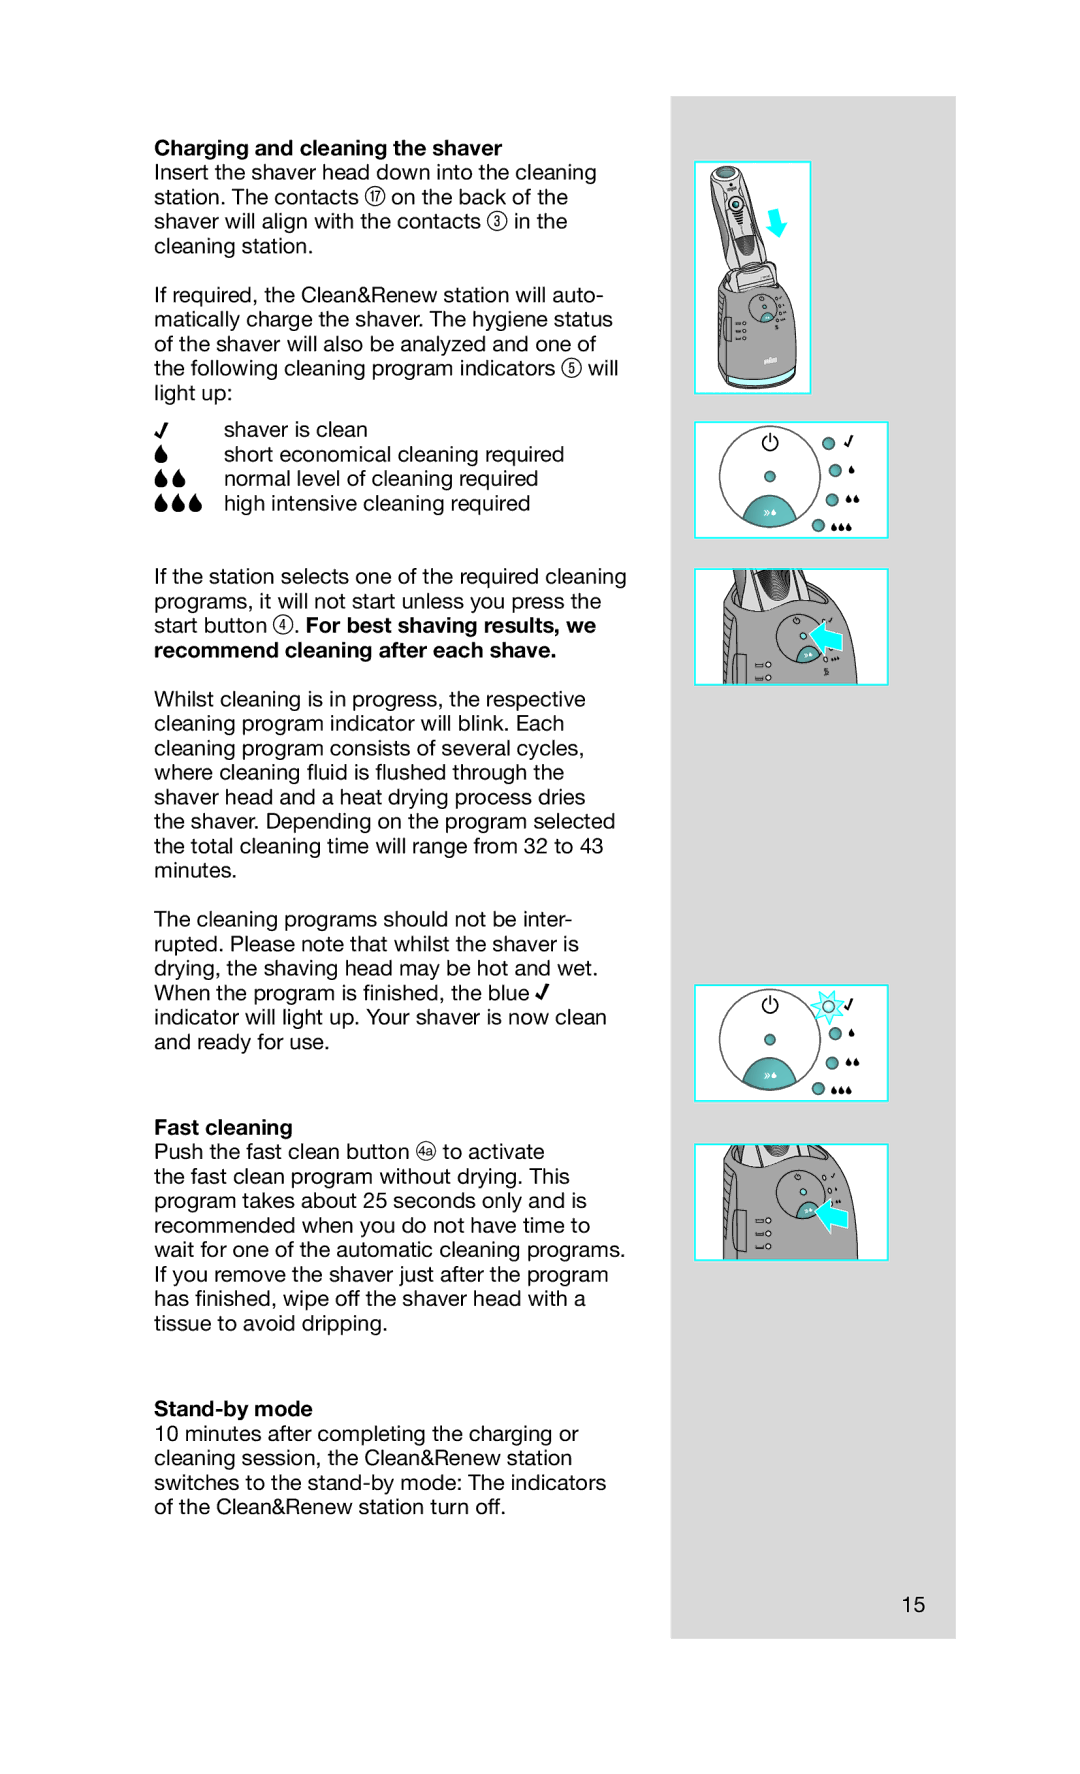
Insert the shaver head down into the cleaning station. The contacts u on the back of the shaver will align with the contacts 3 in the cleaning station.
If required, the Clean&Renew station will auto- matically charge the shaver. The hygiene status of the shaver will also be analyzed and one of the following cleaning program indicators 5 will light up:
shaver is clean
short economical cleaning required normal level of cleaning required high intensive cleaning required
If the station selects one of the required cleaning programs, it will not start unless you press the start button 4. For best shaving results, we recommend cleaning after each shave.
Whilst cleaning is in progress, the respective cleaning program indicator will blink. Each cleaning program consists of several cycles, where cleaning fl uid is fl ushed through the shaver head and a heat drying process dries the shaver. Depending on the program selected the total cleaning time will range from 32 to 43 minutes.
The cleaning programs should not be inter- rupted. Please note that whilst the shaver is drying, the shaving head may be hot and wet. When the program is fi nished, the blue ![]() indicator will light up. Your shaver is now clean and ready for use.
indicator will light up. Your shaver is now clean and ready for use.
Fast cleaning
Push the fast clean button D to activate the fast clean program without drying. This program takes about 25 seconds only and is recommended when you do not have time to wait for one of the automatic cleaning programs. If you remove the shaver just after the program has fi nished, wipe off the shaver head with a tissue to avoid dripping.
Stand-by mode
10 minutes after completing the charging or cleaning session, the Clean&Renew station switches to the
trimmer
Series
7
15