Section 4: Operation
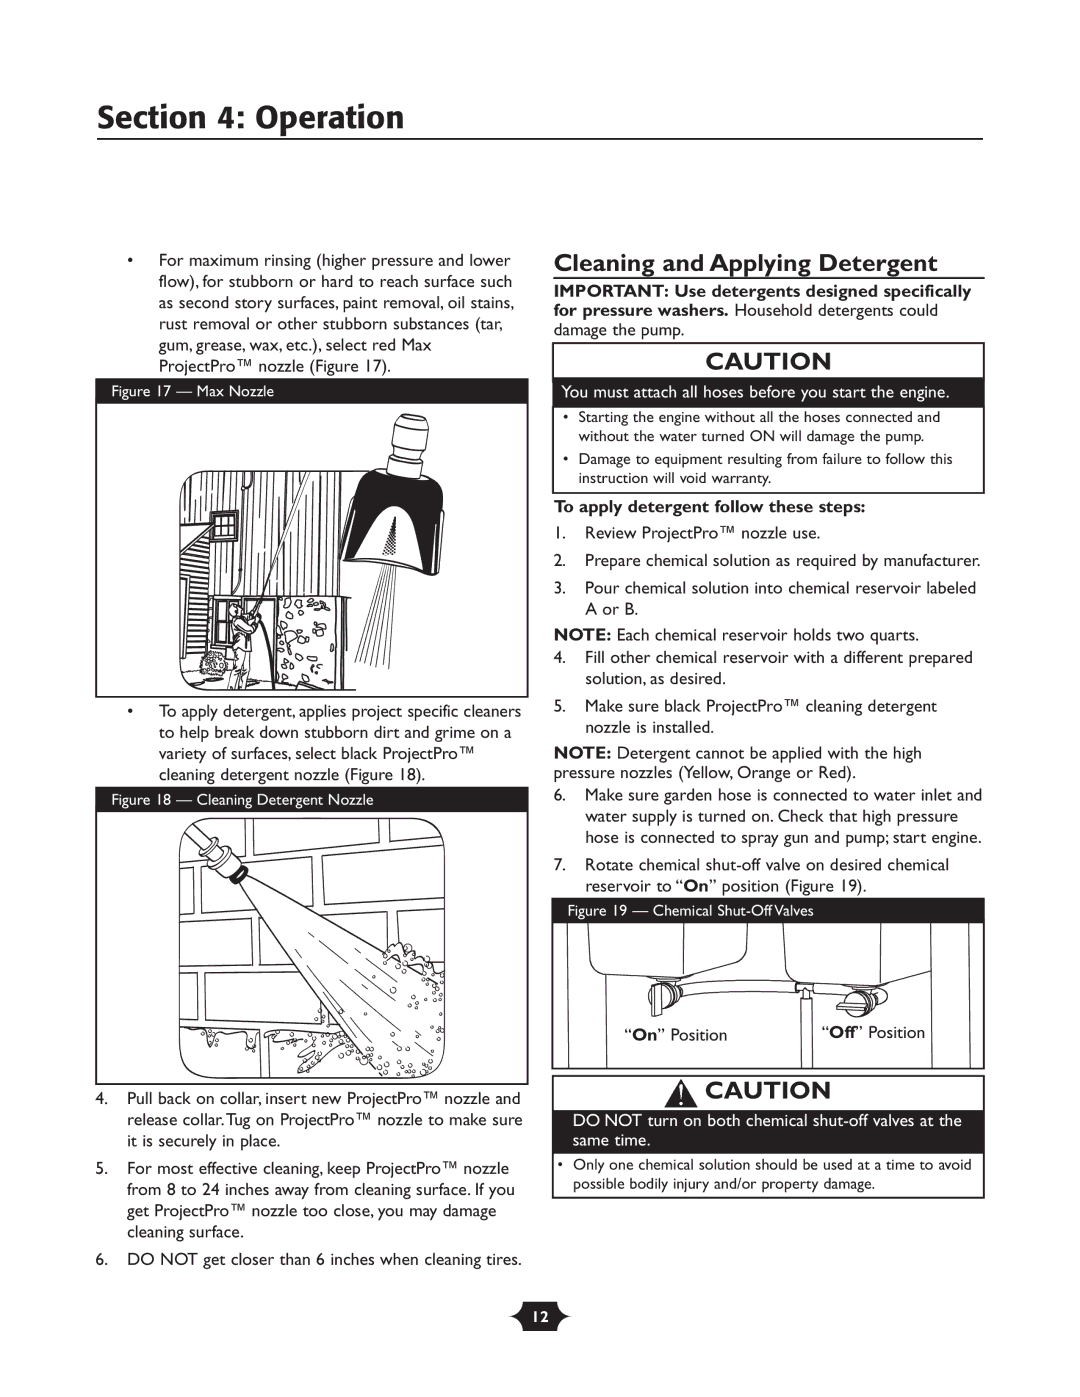
•For maximum rinsing (higher pressure and lower flow), for stubborn or hard to reach surface such as second story surfaces, paint removal, oil stains, rust removal or other stubborn substances (tar, gum, grease, wax, etc.), select red Max ProjectPro™ nozzle (Figure 17).
Figure 17 — Max Nozzle
•To apply detergent, applies project specific cleaners to help break down stubborn dirt and grime on a variety of surfaces, select black ProjectPro™ cleaning detergent nozzle (Figure 18).
Figure 18 — Cleaning Detergent Nozzle
4.Pull back on collar, insert new ProjectPro™ nozzle and release collar.Tug on ProjectPro™ nozzle to make sure it is securely in place.
5.For most effective cleaning, keep ProjectPro™ nozzle from 8 to 24 inches away from cleaning surface. If you get ProjectPro™ nozzle too close, you may damage cleaning surface.
6.DO NOT get closer than 6 inches when cleaning tires.
Cleaning and Applying Detergent
IMPORTANT: Use detergents designed specifically for pressure washers. Household detergents could damage the pump.
CAUTION
You must attach all hoses before you start the engine.
•Starting the engine without all the hoses connected and without the water turned ON will damage the pump.
•Damage to equipment resulting from failure to follow this instruction will void warranty.
To apply detergent follow these steps:
1.Review ProjectPro™ nozzle use.
2.Prepare chemical solution as required by manufacturer.
3.Pour chemical solution into chemical reservoir labeled A or B.
NOTE: Each chemical reservoir holds two quarts.
4.Fill other chemical reservoir with a different prepared solution, as desired.
5.Make sure black ProjectPro™ cleaning detergent nozzle is installed.
NOTE: Detergent cannot be applied with the high pressure nozzles (Yellow, Orange or Red).
6.Make sure garden hose is connected to water inlet and water supply is turned on. Check that high pressure hose is connected to spray gun and pump; start engine.
7.Rotate chemical
Figure 19 — Chemical Shut-Off Valves
“On” Position | “Off” Position |
CAUTION | |
DO NOT turn on both chemical
•Only one chemical solution should be used at a time to avoid possible bodily injury and/or property damage.
12