
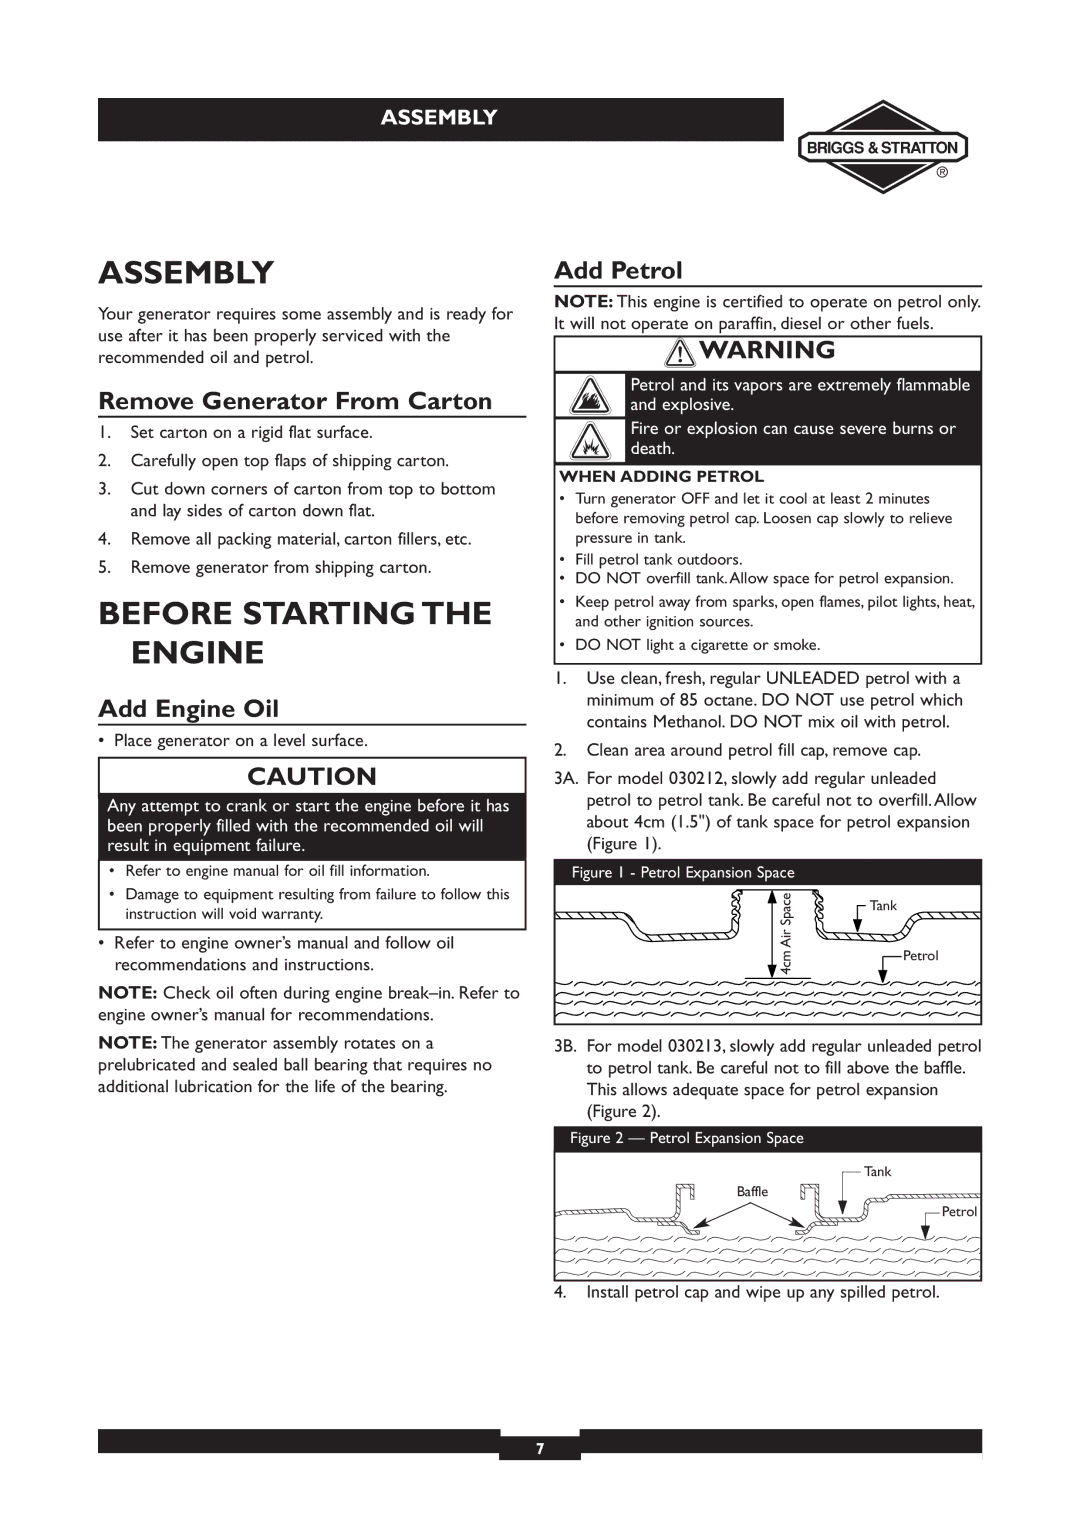
030212, 030213 specifications
Briggs & Stratton is a well-known name in the realm of small engines, particularly for outdoor power equipment. The models 030212 and 030213 showcase the company’s commitment to quality, innovation, and performance. These engines are primarily designed for residential and commercial applications, offering reliability and efficiency for various power equipment needs.The Briggs & Stratton 030212 and 030213 engines are distinguished by their robust construction and advanced engineering. One of the notable features is their overhead valve (OHV) design, which enhances airflow and fuel efficiency. This design not only results in lower emissions but also delivers better torque and power during operation. As a result, users can expect higher performance from these engines, making them ideal for lawn mowers, generators, pressure washers, and other outdoor equipment.
Both models come equipped with a reliable recoil start system, ensuring that starting the engine is user-friendly and straightforward. In terms of maintenance, Briggs & Stratton has integrated a simple oil check and fill system, allowing operators to easily monitor and maintain oil levels to optimize engine performance and longevity.
Another standout characteristic of these engines is their enhanced fuel efficiency. By incorporating state-of-the-art fuel management technology, the 030212 and 030213 minimize fuel consumption while maximizing output. This not only translates to cost savings for users but also contributes to environmentally friendly operation.
The engines also feature a dual-air cleaner system. This system helps ensure clean air intake, reducing dust and debris that can impact engine performance. The enhanced filtration contributes to longer engine life and decreased maintenance intervals, allowing users to focus on their tasks rather than frequent engine upkeep.
Furthermore, the engines boast a compact and lightweight design, which makes them easy to install and transport. This portability is a significant advantage for those who use them across multiple locations or in varied applications.
Overall, the Briggs & Stratton 030212 and 030213 engines exemplify the company’s dedication to innovation and performance. With their advanced features, user-friendly design, and efficiency-conscious engineering, these models serve as reliable power sources for a range of outdoor and utility applications, solidifying Briggs & Stratton's reputation in the small engine market.