Troubleshooting, Adjustments, & Service
Skid Shoe Adjustment
On smooth surfaces such as concrete or asphalt, the scraper bar should scrape the surface. On surfaces such as gravel, the scraper bar should be set high enough so that it will not pick up debris.
1.Lower the snow blade and adjust the skid shoes to achieve the correct plowing height.
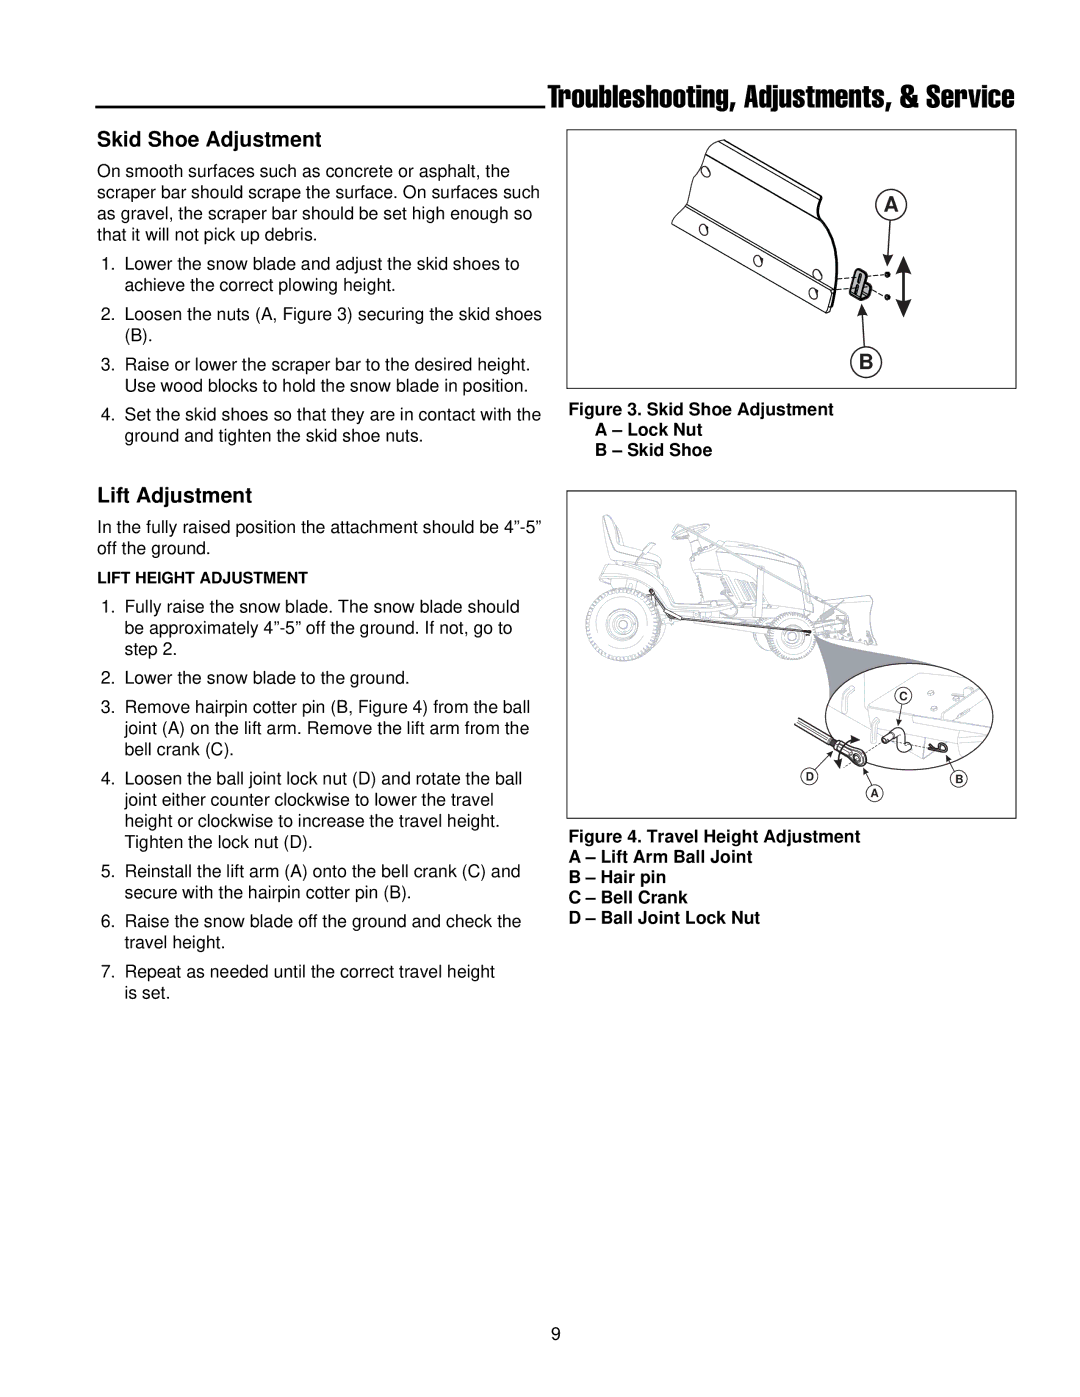
2.Loosen the nuts (A, Figure 3) securing the skid shoes
(B).
3.Raise or lower the scraper bar to the desired height. Use wood blocks to hold the snow blade in position.
4.Set the skid shoes so that they are in contact with the ground and tighten the skid shoe nuts.
A
B
Figure 3. Skid Shoe Adjustment
A – Lock Nut
B – Skid Shoe
Lift Adjustment
In the fully raised position the attachment should be
LIFT HEIGHT ADJUSTMENT
1.Fully raise the snow blade. The snow blade should be approximately
2.Lower the snow blade to the ground.
3.Remove hairpin cotter pin (B, Figure 4) from the ball joint (A) on the lift arm. Remove the lift arm from the bell crank (C).
4.Loosen the ball joint lock nut (D) and rotate the ball joint either counter clockwise to lower the travel height or clockwise to increase the travel height. Tighten the lock nut (D).
5.Reinstall the lift arm (A) onto the bell crank (C) and secure with the hairpin cotter pin (B).
6.Raise the snow blade off the ground and check the travel height.
7.Repeat as needed until the correct travel height is set.
| C |
D | B |
| |
| A |
Figure 4. Travel Height Adjustment
A – Lift Arm Ball Joint
B – Hair pin
C – Bell Crank
D – Ball Joint Lock Nut
9