17MAINTENANCE continued
17.5BELT REPLACEMENT continued
Blade Drive Belt Replacement continued
13.Reinstall the left and right belt guide fingers under the engine base using all fasteners in the exact order they were removed.
NOTE: Before installing the fasteners inspect them for wear and replace as necessary.
14.Torque the four engine bolts to 40
Note: With clutch levers engaged, be sure belt guides do not touch belts after installation.
15.Observe the idler pulley when the blade drive lever is lowered and released (see figure
NOTE: Idler should tighten the belt when blade drive lever is pressed and the belt should be slack when the lever is released. With the lever depressed, the edge of the belt guide should not rub on the belt.
16.Replace the cover
17.Reconnect spark plug wire.
18.Start engine and check for proper operation of blade drive system.
Figure
Spindle Drive Belt
Tools required: 3/8 inch socket, 1/2 inch socket.
1.Disconnect spark plug wire.
2.Follow steps to remove the Blade Drive Belt (on the spindle pulley side only) from the previous section.
3.Loosen the two idler plate nuts (Item 143).
4.Slide the belt idler to release the belt tension.
5.Observe the belt routing, then remove the old belt and install the new belt using the original routing.
6.Tension the belt using a long screwdriver or other pry bar to push the idler pulley against the belt.
Note: Take care not to damage the idler pulley.
7.Tighten the two idler plate nuts just enough to avoid slippage while checking the belt tension.
8.Check belt deflection. Finger pressure should give 0.5” to 0.75” (see figure
9.Increase/decrease belt tension for proper deflection.
10.Finish Tightening the two idler plate nuts.
11.Follow steps to reinstall Blade Drive Belt from the previous section.
11.Replace cover.
12.Reconnect spark plug wire.
Figure
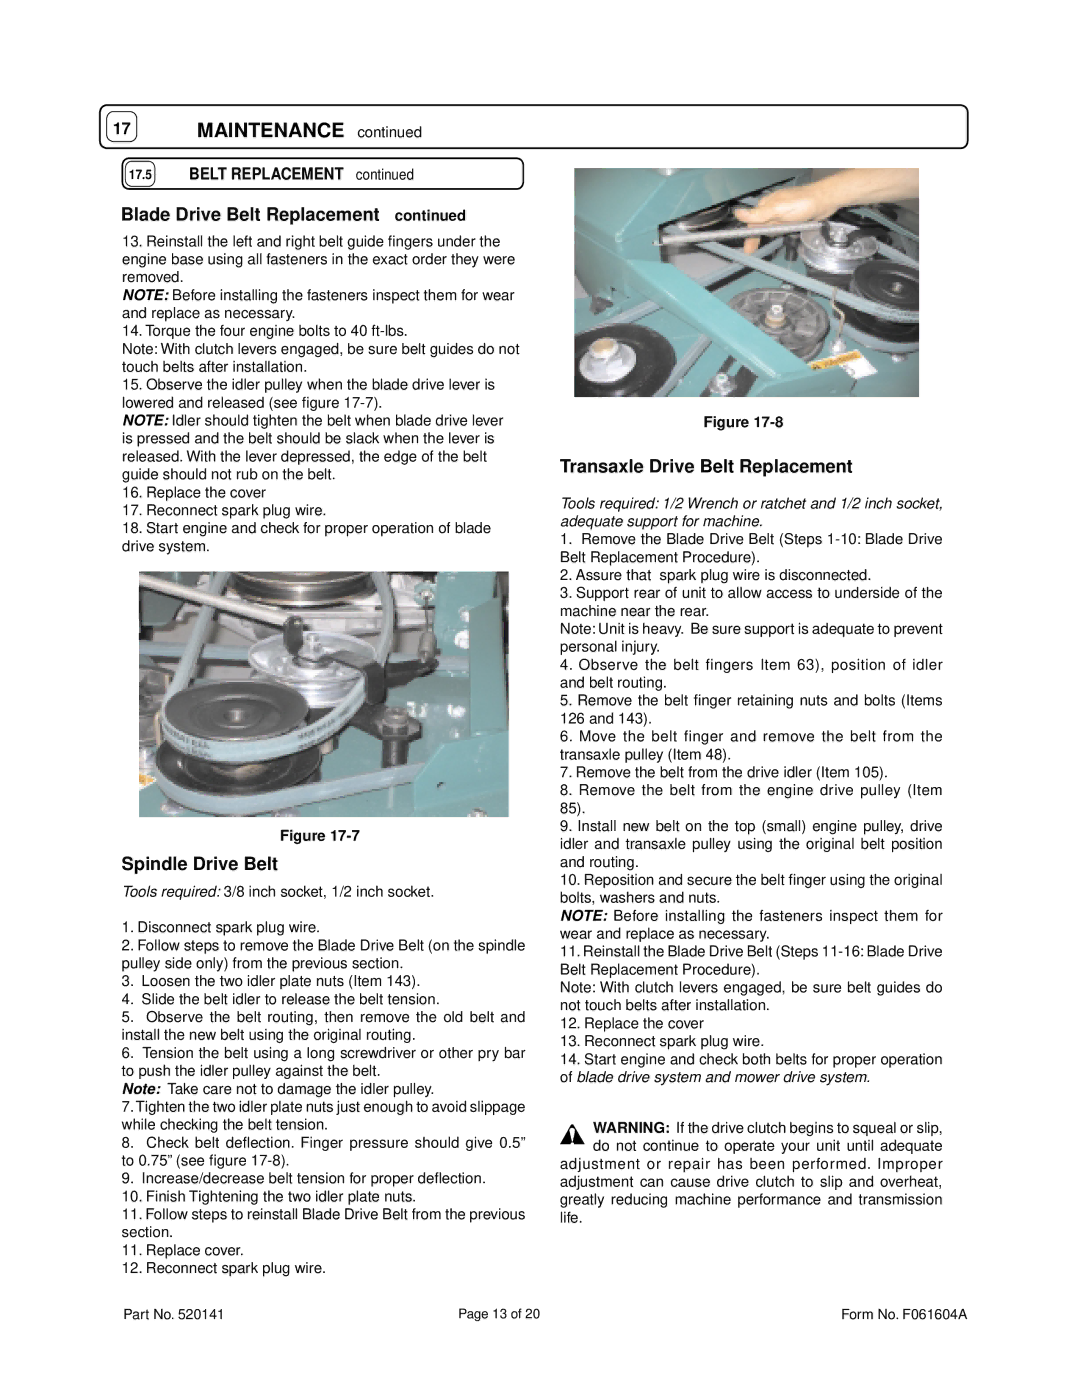
Transaxle Drive Belt Replacement
Tools required: 1/2 Wrench or ratchet and 1/2 inch socket, adequate support for machine.
1.Remove the Blade Drive Belt (Steps
2.Assure that spark plug wire is disconnected.
3.Support rear of unit to allow access to underside of the machine near the rear.
Note: Unit is heavy. Be sure support is adequate to prevent personal injury.
4.Observe the belt fingers Item 63), position of idler and belt routing.
5.Remove the belt finger retaining nuts and bolts (Items
126and 143).
6.Move the belt finger and remove the belt from the transaxle pulley (Item 48).
7.Remove the belt from the drive idler (Item 105).
8.Remove the belt from the engine drive pulley (Item
85).
9.Install new belt on the top (small) engine pulley, drive idler and transaxle pulley using the original belt position and routing.
10.Reposition and secure the belt finger using the original bolts, washers and nuts.
NOTE: Before installing the fasteners inspect them for wear and replace as necessary.
11.Reinstall the Blade Drive Belt (Steps
Note: With clutch levers engaged, be sure belt guides do not touch belts after installation.
12.Replace the cover
13.Reconnect spark plug wire.
14.Start engine and check both belts for proper operation of blade drive system and mower drive system.
WARNING: If the drive clutch begins to squeal or slip, ![]() do not continue to operate your unit until adequate adjustment or repair has been performed. Improper adjustment can cause drive clutch to slip and overheat, greatly reducing machine performance and transmission
do not continue to operate your unit until adequate adjustment or repair has been performed. Improper adjustment can cause drive clutch to slip and overheat, greatly reducing machine performance and transmission
life.
Part No. 520141 | Page 13 of 20 | Form No. F061604A |