![]() WARNING
WARNING
•DO NOT allow gasoline or other flammable vapors or liquids to come in contact with lantern while lighting or at any time during use of lantern.
•If the lantern burns with a yellow, smoky flame, turn the lantern to the OFF position, wait for it to cool and check the air tube and burners for spider webs, dirt and other debris.
•Do not obstruct the flow of combustion and ventilating air around the lantern.
Lighting Lantern
Step 1
Turn the valve to HIGH and push the ignite button. The valve should click and a spark should ignite the mantles. If the lantern fails to light, repeat this step. If the lantern does not light after several tries, turn the valve to OFF and inspect the lantern.
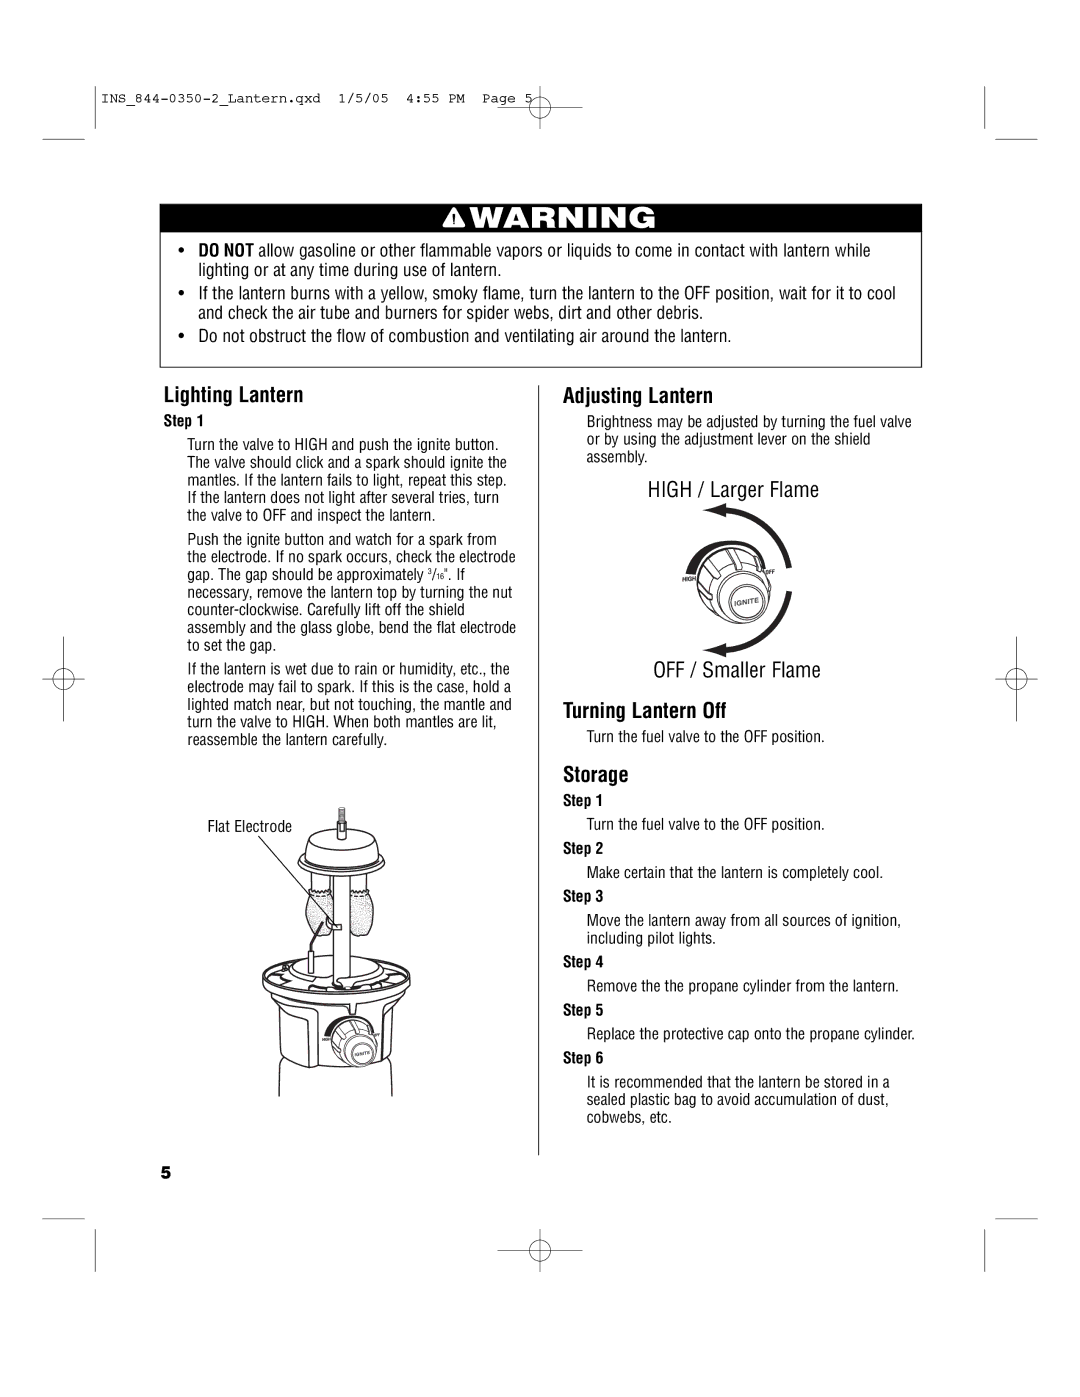
Push the ignite button and watch for a spark from the electrode. If no spark occurs, check the electrode gap. The gap should be approximately 3/16". If necessary, remove the lantern top by turning the nut
If the lantern is wet due to rain or humidity, etc., the electrode may fail to spark. If this is the case, hold a lighted match near, but not touching, the mantle and turn the valve to HIGH. When both mantles are lit, reassemble the lantern carefully.
Flat Electrode
Adjusting Lantern
Brightness may be adjusted by turning the fuel valve or by using the adjustment lever on the shield assembly.
HIGH / Larger Flame
OFF / Smaller Flame
Turning Lantern Off
Turn the fuel valve to the OFF position.
Storage
Step 1
Turn the fuel valve to the OFF position.
Step 2
Make certain that the lantern is completely cool.
Step 3
Move the lantern away from all sources of ignition, including pilot lights.
Step 4
Remove the the propane cylinder from the lantern.
Step 5
Replace the protective cap onto the propane cylinder.
Step 6
It is recommended that the lantern be stored in a sealed plastic bag to avoid accumulation of dust, cobwebs, etc.
5
