TESTING INSTRUCTIONS
Step 1
After installing your light, leave the switch in the “OFF” position and charge in full, direct sunlight for THREE FULL SUNNY DAYS.
Step 2
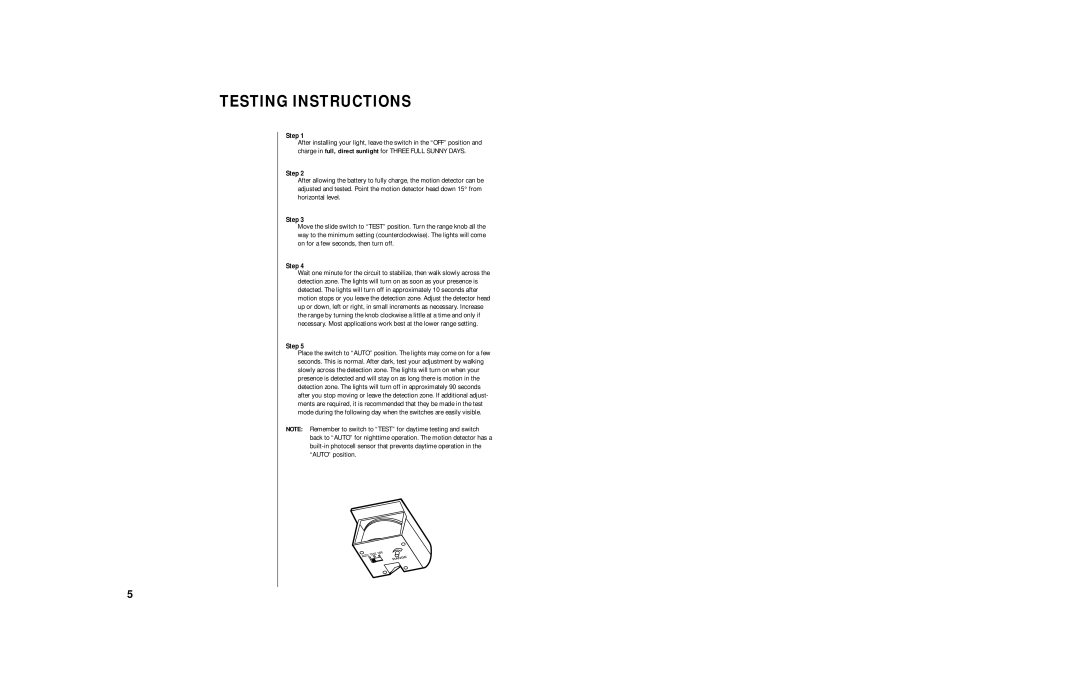
After allowing the battery to fully charge, the motion detector can be adjusted and tested. Point the motion detector head down 15° from horizontal level.
Step 3
Move the slide switch to “TEST” position. Turn the range knob all the way to the minimum setting (counterclockwise). The lights will come on for a few seconds, then turn off.
Step 4
Wait one minute for the circuit to stabilize, then walk slowly across the detection zone. The lights will turn on as soon as your presence is detected. The lights will turn off in approximately 10 seconds after motion stops or you leave the detection zone. Adjust the detector head up or down, left or right, in small increments as necessary. Increase the range by turning the knob clockwise a little at a time and only if necessary. Most applications work best at the lower range setting.
Step 5
Place the switch to “AUTO” position. The lights may come on for a few seconds. This is normal. After dark, test your adjustment by walking slowly across the detection zone. The lights will turn on when your presence is detected and will stay on as long there is motion in the detection zone. The lights will turn off in approximately 90 seconds after you stop moving or leave the detection zone. If additional adjust- ments are required, it is recommended that they be made in the test mode during the following day when the switches are easily visible.
NOTE: Remember to switch to “TEST” for daytime testing and switch back to “AUTO” for nighttime operation. The motion detector has a
5