LATCH Installation
 Before You Begin:
•Check that your vehicle has lower anchors.
* Refer to your vehicle owner’s manual or contact the vehicle manufacturer for the maximum weight rating for their lower anchors. Use vehicle belt (not lower connectors) for installations with children who weigh more than the vehicle lower anchor limit. Unless specified otherwise by the vehicle manufacturer, assume a 40 pound (18.1 kg) child is the vehicle lower anchor limit.
•Remove the lower connectors from the storage slots in the base. Press the adjuster release button and pull the strap to full length. Repeat for the second strap.
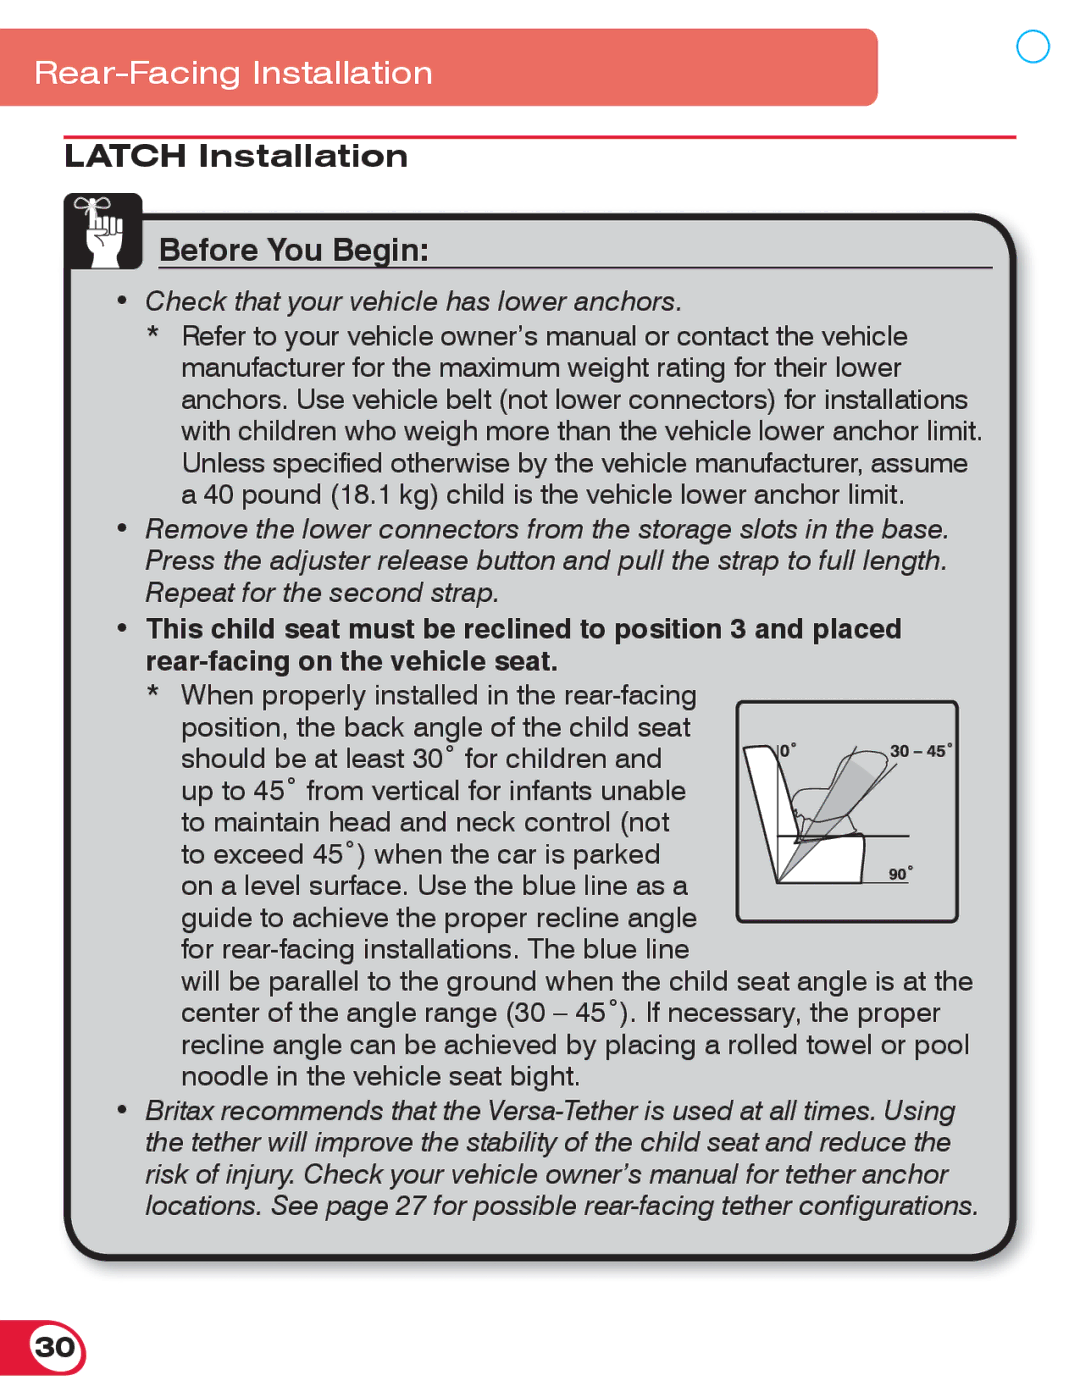
•This child seat must be reclined to position 3 and placed
*When properly installed in the
should be at least 30˚ for children and up to 45˚ from vertical for infants unable
to maintain head and neck control (not to exceed 45˚) when the car is parked
on a level surface. Use the blue line as a guide to achieve the proper recline angle
for
will be parallel to the ground when the child seat angle is at the center of the angle range (30 – 45˚). If necessary, the proper recline angle can be achieved by placing a rolled towel or pool noodle in the vehicle seat bight.
•Britax recommends that the
30