
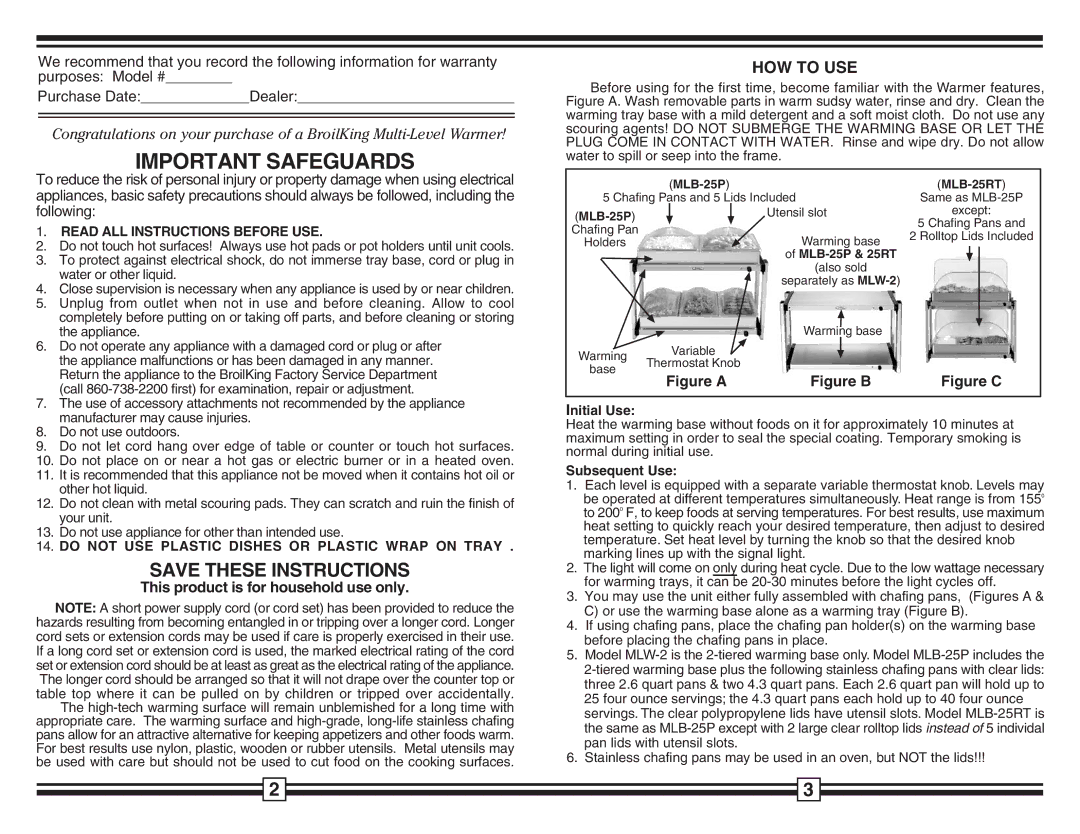
MLW-25RT specifications
The Broil King MLW-25RT is an innovative addition to the outdoor cooking landscape, merging robustness with performance to elevate your grilling experience. Designed for both novice chefs and grilling aficionados, this mobile grill delivers exceptional quality and reliability, making it a top choice for backyard barbecues and culinary adventures.At the heart of the MLW-25RT is its advanced grilling system, featuring powerful burners that ensure even heat distribution across the cooking surface. This grill is equipped with three high-performance stainless steel tube burners that produce a total output of 30,000 BTU, providing the heat required for searing steaks and maintaining optimal temperatures for slow-cooked meals. This makes it versatile enough to handle a variety of cooking techniques, from direct grilling to indirect roasting.
The grill boasts a cooking area of over 500 square inches, offering ample space for grilling multiple items simultaneously. The durable, cast iron cooking grids help retain heat, giving those perfect grill marks while ensuring that your food cooks evenly. The porcelain-coated warming rack adds extra vertical space, allowing you to keep finished dishes warm without compromising the main cooking area.
One of the standout features of the Broil King MLW-25RT is its intuitive control system. It is designed with large, ergonomic knobs that allow for precise temperature control. The easily readable built-in thermometer provides an added advantage, ensuring that the grill maintains the desired temperature for optimal cooking results.
In terms of technology, the MLW-25RT incorporates Broil King's signature Flav-R-Wave cooking system. This innovative feature not only enhances flavor by vaporizing drippings but also provides a shield over the burners, extending their lifespan and ensuring that maintenance is minimal.
Mobility is another significant aspect of the MLW-25RT. It features sturdy wheels, allowing for easy transportation and maneuverability around your outdoor space. Whether you are hosting a weekend barbecue or just grilling for the family on a weeknight, the versatility of this grill ensures a seamless experience.
With an elegant design, including a sleek black exterior and stainless steel accents, the Broil King MLW-25RT is not only functional but also a stylish addition to any backyard setup. In summary, the Broil King MLW-25RT combines power, functionality, and aesthetics, making it an excellent choice for anyone looking to invest in a high-quality grilling solution that delivers delicious results every time.