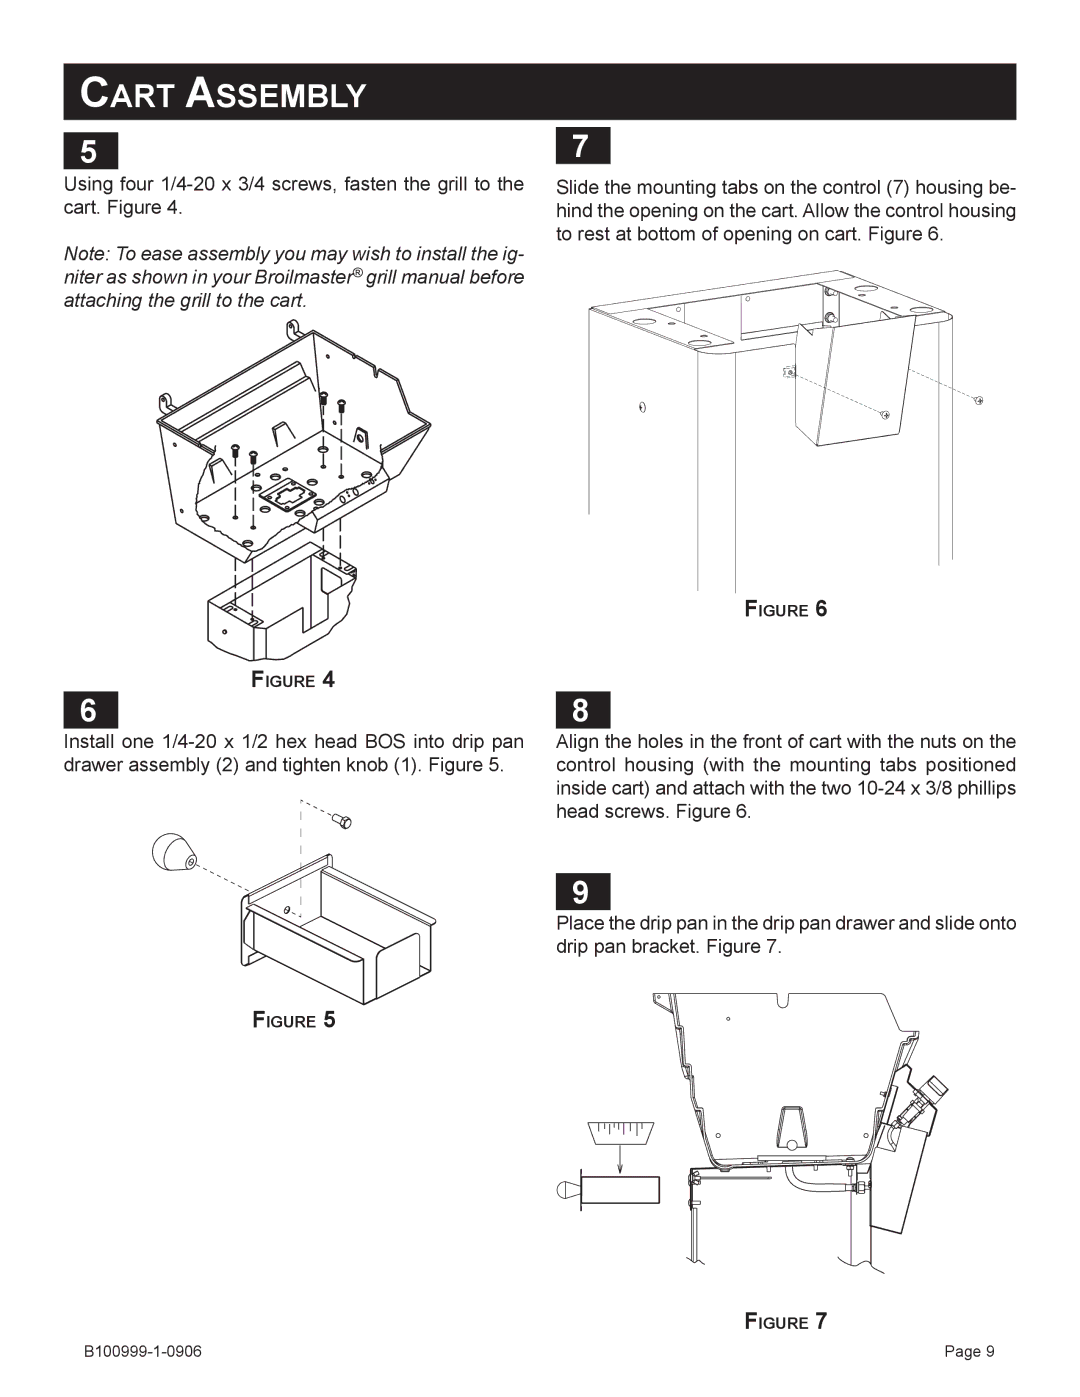
PC2CART-1, DC2CART-1 specifications
The Broilmaster DC2CART-1 and PC2CART-1 are two outstanding grill cart options designed for grilling enthusiasts who appreciate quality and functionality in their outdoor cooking experiences. These carts not only enhance the grilling process but also add an element of style to any patio or backyard setting.One of the main features of the Broilmaster DC2CART-1 is its durable construction. Built with high-quality materials, this grill cart is designed to withstand the elements and provide longevity. The rugged steel frame and powder-coated finish offer solid protection against rust and corrosion, ensuring that your investment remains in excellent condition for years.
The DC2CART-1 offers a spacious cooking area, allowing for multiple dishes to be grilled simultaneously. Its adjustable grates ensure even heat distribution, which is essential for achieving perfectly cooked meals every time. The grill features a unique dual cooking system—using both radiant heat and convective heat—which allows for versatile cooking options. Whether you're searing steaks or slow-cooking ribs, this grill cart can handle it all.
The Broilmaster PC2CART-1, on the other hand, brings a different approach with its compact design, making it ideal for smaller spaces without sacrificing performance. This cart is also equipped with innovative features, including a full-width drip tray that simplifies clean-up after your grilling sessions. The grease management system ensures that any drippings are collected effectively, preventing flare-ups and making maintenance a breeze.
In terms of technology, both models incorporate an easy-start ignition system that allows for quick and reliable lighting. Safety is always a priority, and these carts are designed with stability in mind, featuring sturdy wheels that can easily lock in place while cooking.
Another notable characteristic is the versatility of fuel options with the Broilmaster carts. They support various fuel types, including natural gas and propane, catering to individual preferences. This flexibility ensures that grilling remains accessible and enjoyable for everyone.
In conclusion, both the Broilmaster DC2CART-1 and PC2CART-1 stand out due to their robust construction, versatile cooking systems, and user-friendly features. They offer grilling enthusiasts an exceptional platform for creating delicious meals while ensuring an enjoyable outdoor cooking experience. Whether you opt for the expansive DC2CART-1 or the space-saving PC2CART-1, you can trust that you have made a wise choice for your grilling adventures.

