
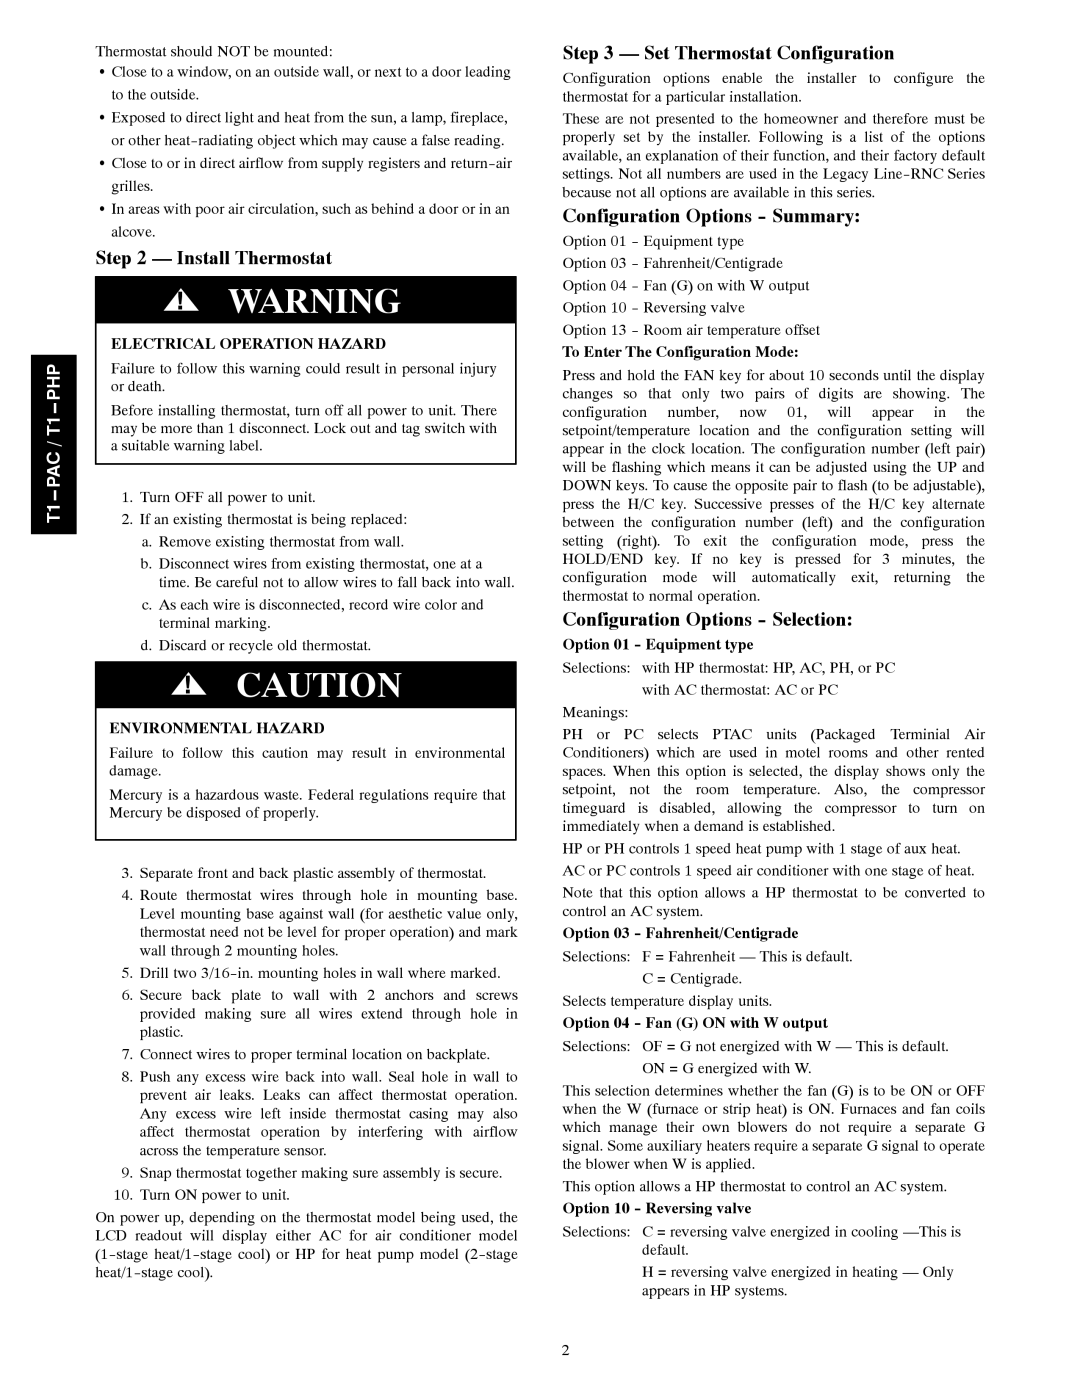
T1--PHP, T1--PAC specifications
Bryant T1--PAC and T1--PHP are two innovative solutions developed by Bryant, designed to cater to the evolving needs of the heating, ventilation, and air conditioning (HVAC) market. These units serve as a testament to Bryant's commitment to quality, efficiency, and cutting-edge technology, ensuring optimal comfort levels while minimizing energy consumption.The Bryant T1--PAC, or Packaged Air Conditioner, is engineered to deliver powerful cooling performance for both residential and commercial applications. It features a sleek and compact design that allows for easy installation and maintenance. One of its key characteristics is its multi-stage compressor, which effectively adjusts cooling capacity based on real-time demand, ensuring energy efficiency without compromising comfort. Additionally, this model incorporates a high-efficiency fan and advanced thermodynamic technology that helps to reduce noise levels, making it a quiet operation choice for noise-sensitive environments.
The T1--PAC is also equipped with a user-friendly digital thermostat, providing precise temperature control and programmability. This feature allows users to customize their cooling schedules according to their lifestyle, resulting in increased energy savings. Furthermore, the unit utilizes environmentally friendly refrigerants, aligning with modern sustainability practices and regulatory standards.
On the other hand, the Bryant T1--PHP, or Packaged Heat Pump, offers versatile heating and cooling capabilities. It is designed to efficiently provide both temperature control and humidity management throughout the year. The T1--PHP integrates heat pump technology that extracts ambient heat from the air, even in cooler temperatures, and transfers it indoors, thus maximizing energy efficiency.
Among its notable features is the variable-speed compressor, which not only enhances comfort by maintaining consistent indoor temperatures but also optimizes electrical consumption. Another advantage of the T1--PHP is its built-in defrost cycle, which ensures reliable operation in colder climates by preventing ice buildup on the outdoor coil.
Both systems are constructed with durable materials, ensuring longevity and resilience against the elements. Additionally, the units come with a comprehensive warranty, reflecting the manufacturer's confidence in the product's reliability and performance.
In summary, the Bryant T1--PAC and T1--PHP stand out in the HVAC industry for their advanced technology, energy efficiency, and user-friendly features. They cater to a wide range of climate control needs, making them ideal choices for homeowners and businesses seeking dependable and efficient heating and cooling solutions.